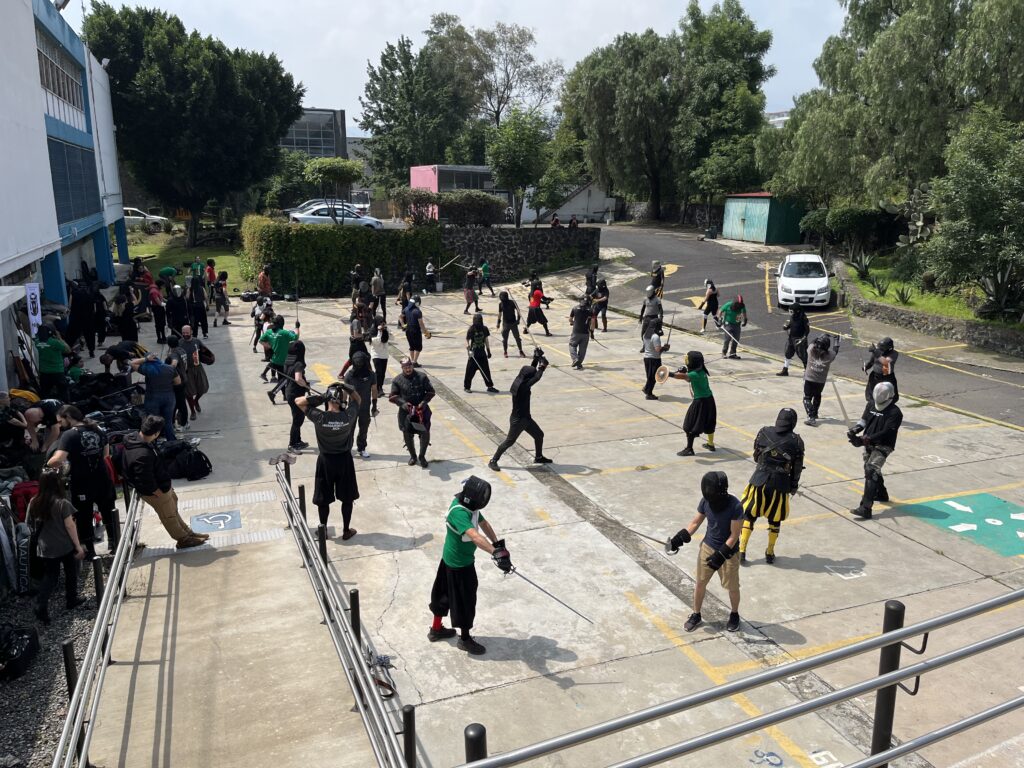
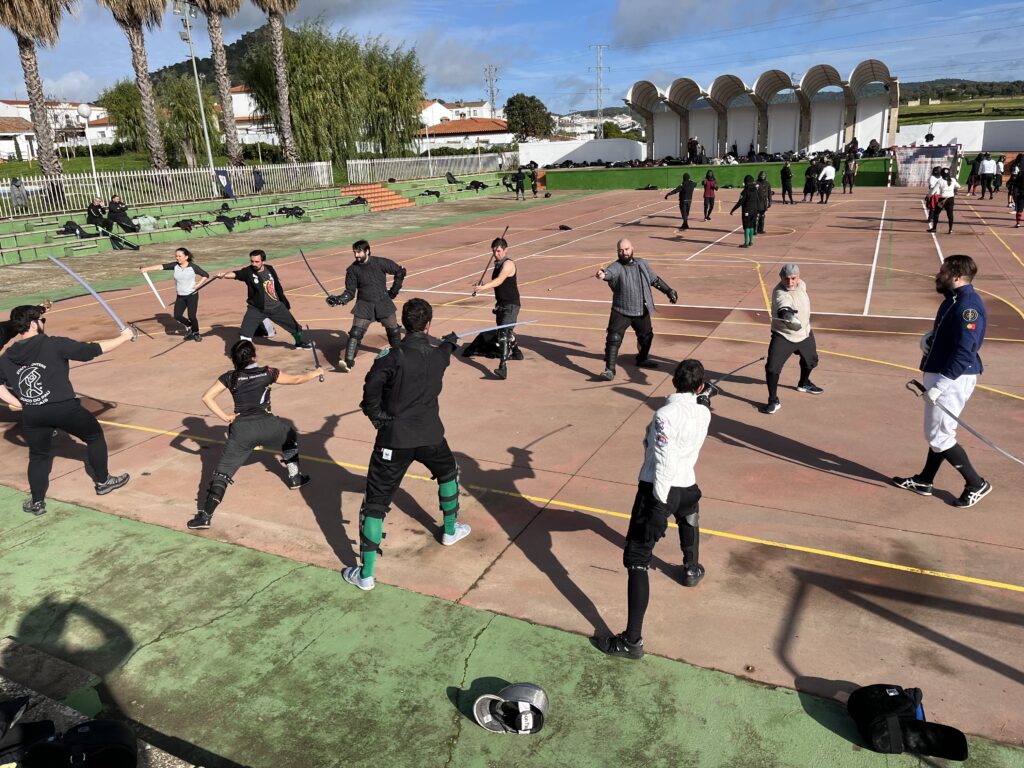
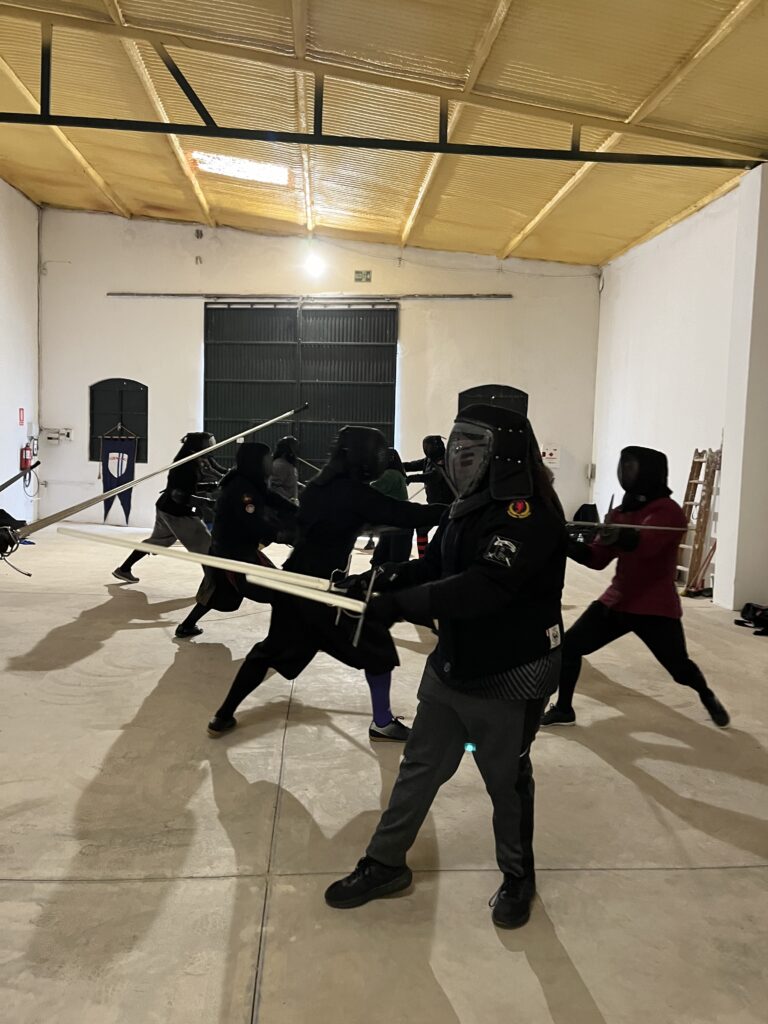
This post is intended to be useful to the attendees at the recent seminar I taught with Chris Vanslambrouck in Madison, Wisconsin. It may also be of interest to folk who couldn't make it.
First up, huge thanks to Heidi Zimmerman who organised the seminar. It literally couldn’t have happened without her. And thanks also to Chris Vanslambrouck, who co-taught the seminar, with related plays from Meyer. Given that there was also a lot of Meyer technique being taught that weekend, it’s a miracle we covered so much ground, so hats off to the students. I’ve assembled a list of the material we covered, some planned, some answers to questions posed by the students.
We then did a parry and strike from donna, against the mandritto fendente, and a parry and strike from dente di zenghiaro, against the same blow. The latter is the beginning of our Second Drill:
This lead us to the universal counter-remedy: the pommel strike (as shown in the 8th play of the master of coda longa on horseback).
We then defended against thrusts with the Exchange of thrusts:
Then Breaking the thrust:
In the afternoon session we covered the rear-weighted guards (donna and fenestra), and briefly went over the 3 turns (volta stabile, meza volta, tutta volta), and the four steps (accrescere/discrescere; passare/tornare).
We then did a not-very-deep mechanical dive into the guard bicorno, including how to use it to prevent an exchange, and as a feint. This included an introduction to the woman in the window drill:
The following day, Sunday, we did a pretty thorough overview of Capoferro's rapier. We began with basic footwork:
passes,
lunge,
step,
lean
Which you can find here:
Then played Hunt the debole (to get an idea of what the sword is supposed to be doing- keeping you safe!).
We then worked through Plate 7 (stringer on the inside, thrust through the left eye):
And plate 16 (stringer on the outside, thrust to the neck):
Plate 8 (slip the leg)
Plate 10 (enter against the cut),
Plate 13 (the scannatura)
And plates 17 and/or 19, the avoidances of the right foot or waist:
We also did a pretty deep dive on the mechanics of the lunge. We didn't video the Madison seminar, but I covered the lunge in a similar way in this seminar:
We also looked at the mechanics of passing, specifically the difference between the passing foot pointing forwards or out to the side.
Then we constructed a mechanically sound seconda position, starting from first principles. I covered this in a blog post, here: Function First, then Form
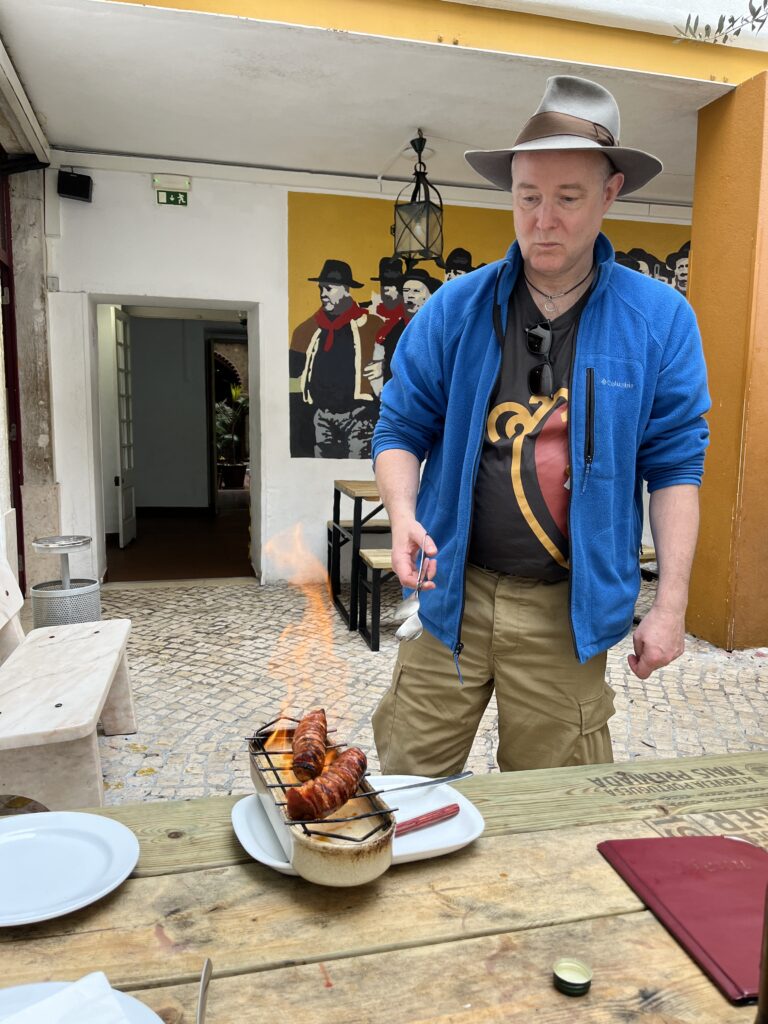
I’m just back from the International Rapier Seminar, held in Warsaw last weekend. It was an absolute blast, so the first order of business is a heartfelt dziękuję/gracias/thank you to the organisers, especially Lorenzo Braschi for inviting me (he was the very man who introduced me to the mighty porrón in Spain in 2012), and to Karol for driving all the way out to the Ryanair airport to get me, which was only marginally closer to Warsaw than it is to my house.
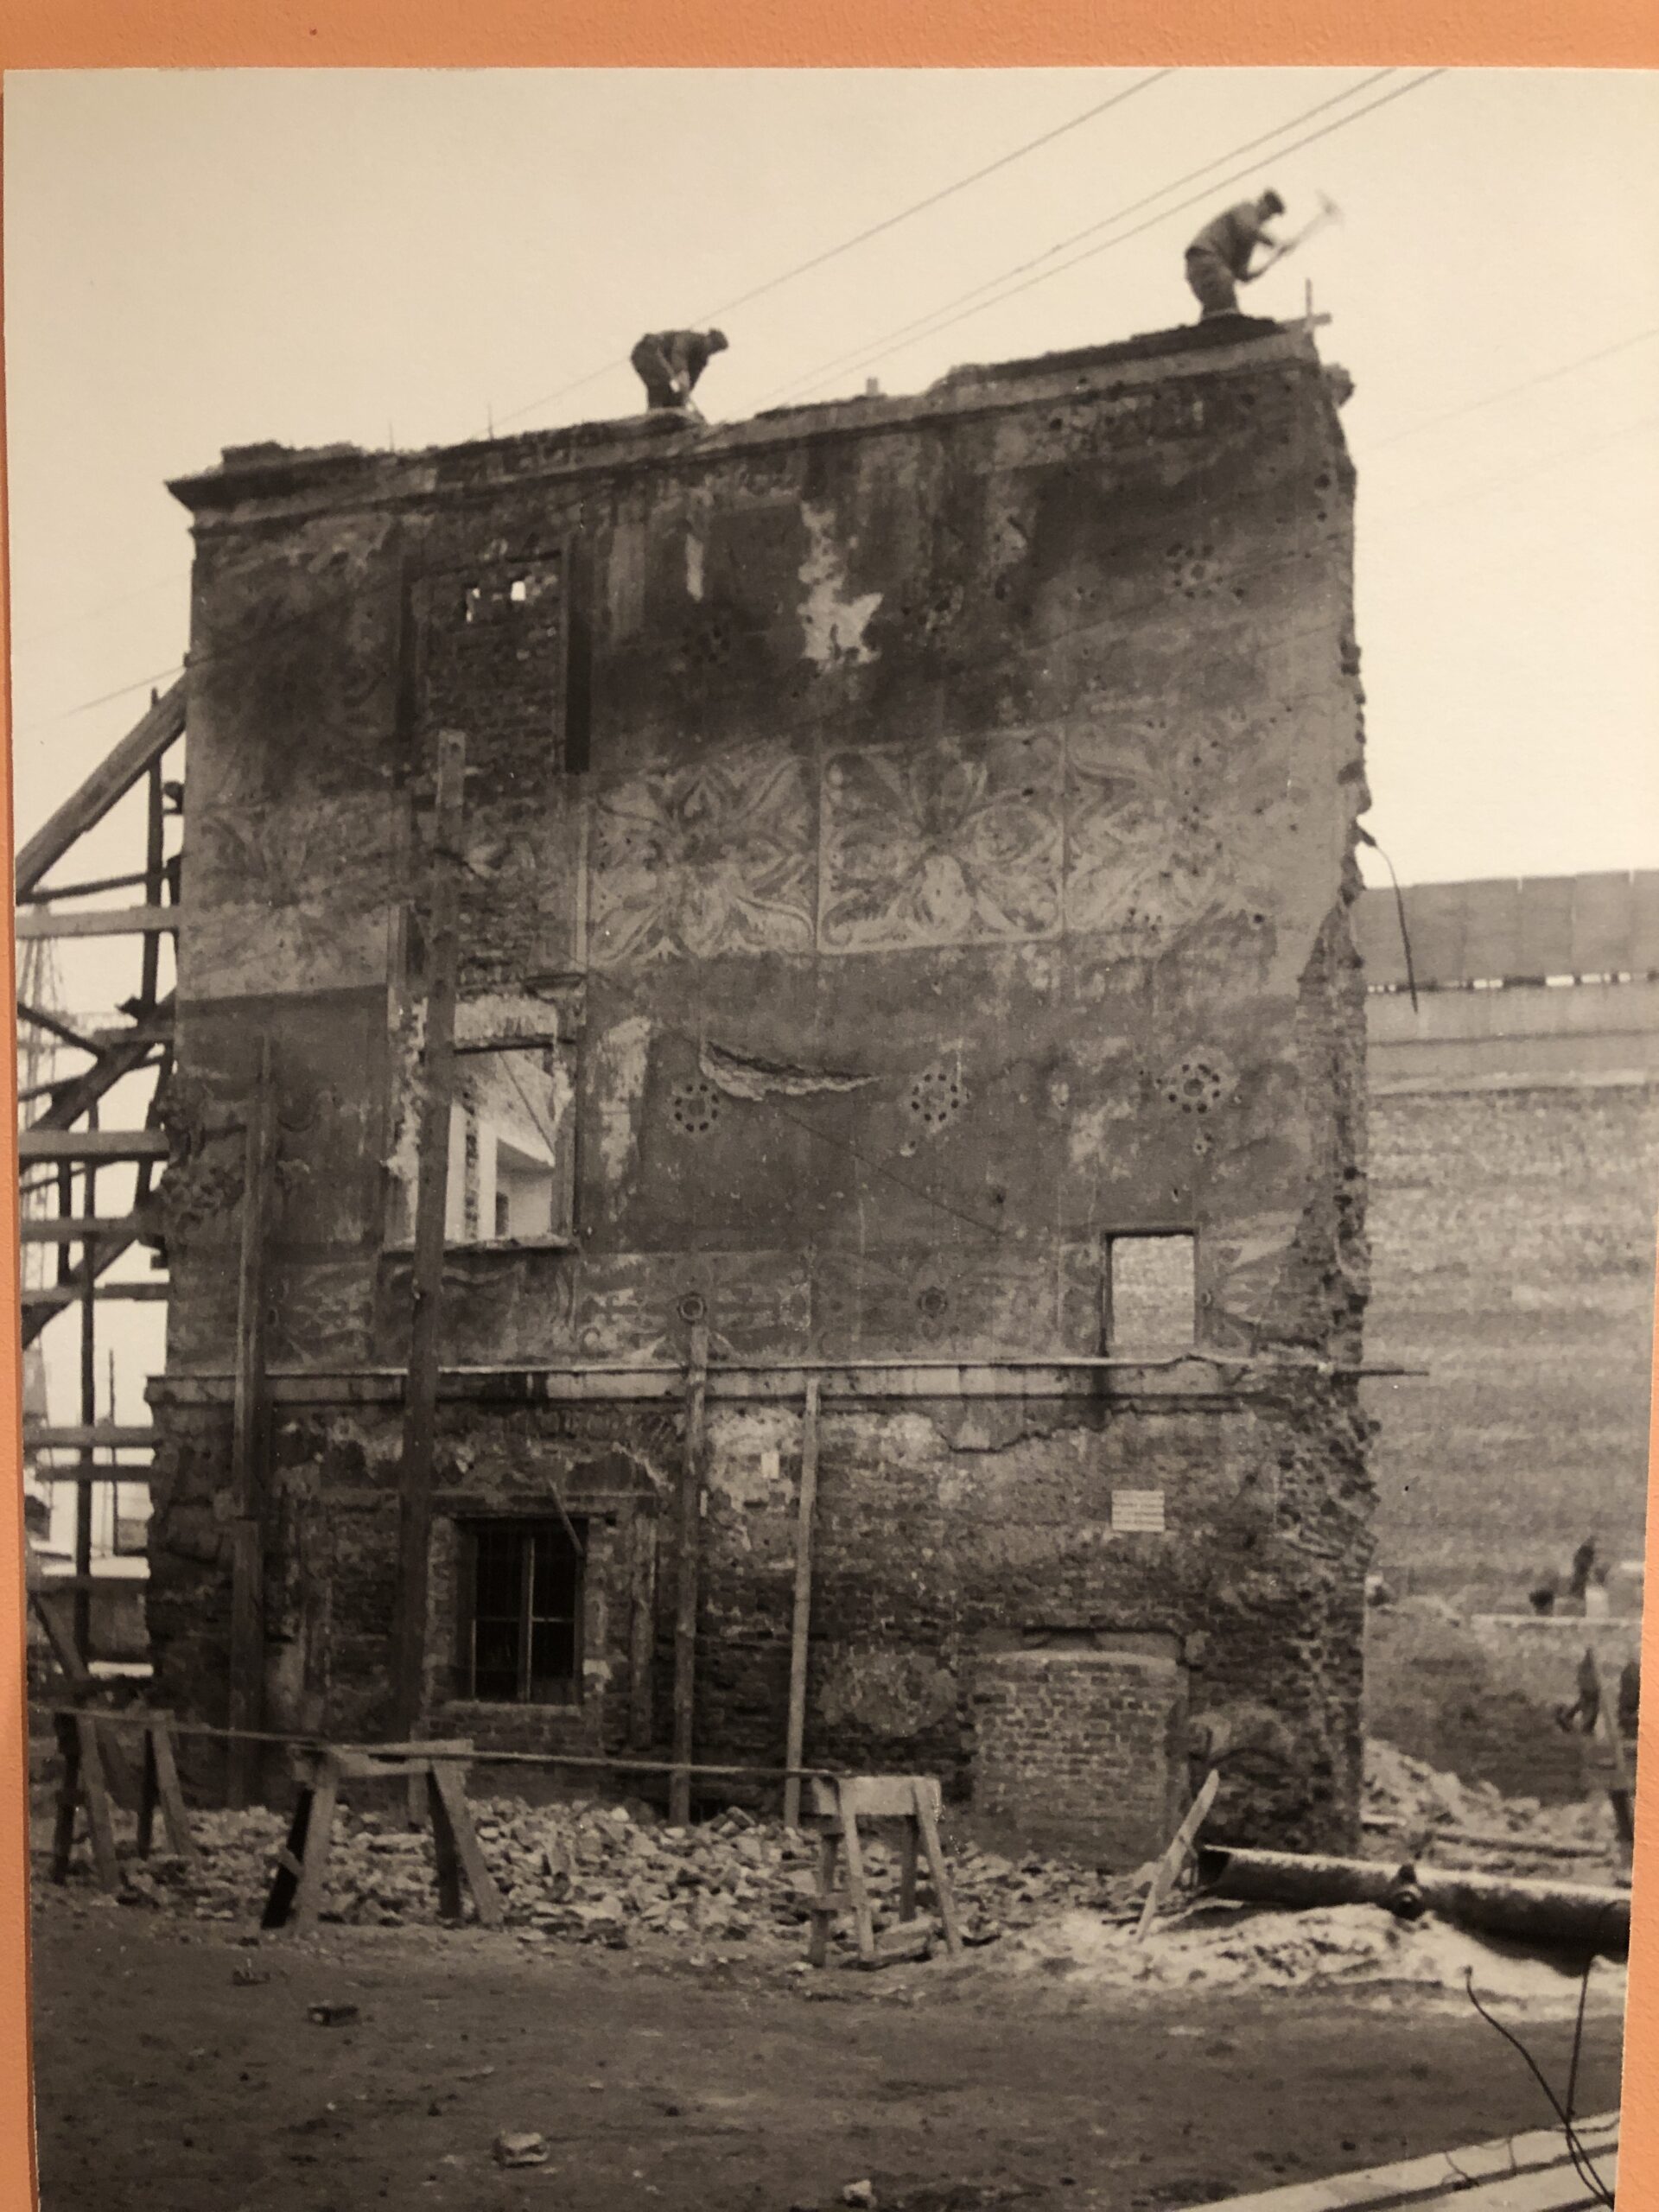
The event kicked off at 5pm on the Friday, so I spent the day in Warsaw being a tourist, mostly at the Warsaw Museum, which had a special exhibition on the reconstruction of Warsaw after the Nazi’s wantonly destroyed it (as in, 65% of the city completely levelled, 80% badly damaged) after the Uprising of 1944. I didn’t know much about the city before I got there, and it frankly blew me away. The sheer scale of the clearing and rebuilding beggars the imagination, especially when you realise it was done with picks, shovels, and horse-drawn carts, in a country ravaged by the war.
Walking around the old town, you wouldn’t immediately guess that the buildings were built 70 years ago.
The event began with a get-together, a bit of sparring and lots of chatting, and I got to meet a student I’ve been interacting with pretty much weekly since 2020 (hi Jas!). I taught two classes on the Saturday: How to Train, followed immediately by How to Teach. I can summarise them for you like so:
1. Run a diagnostic, fix the weakest link, run the diagnostic again
2. Generate the optimal rate of failure in your student/s.
Simple, yes. Easy? Not so much. But that’s why we practice, right? The classes were well attended, and I think well received. During the afternoon I dropped in and out of watching classes by the other instructors, and got to fence with Emilia Skirmuntt, she of episode 75 of the podcast. Plus a great catch-up with Alberto Bomprezzi, whom I haven’t seen since my trip to Spain in 2012, and meeting Jorge from Mexico who persuaded me to part with my proof copy of The Duellist’s Companion Second Edition.
There may or may not have been much carousing and revelry that evening…
Sunday was given over to the tournament, which had two excellent features: it didn’t occupy all the space, and I didn’t have to do any work on it. So I spent the day fencing people! Elmar, Radek (who went on to win the tournament, congratulations!), Chris, Heikki (the one Finn at the event), Cornelius, and Martin. Each bout was different, each one delightful in its own way. If I had them to give, I’d give out the special technical “this feels like fencing a specific historical system” award to Martin (organiser of Swords of the Renaissance, which I attended last year and will return to in September this year). We were both really tired (these events are exhausting), but there were moments when it felt like Capoferro and Fabris might not have been ashamed of us. Another highlight was working with Damian on grounding and mechanics. He’d asked for it in my class the day before, but we didn’t have time to go into sufficient detail. There's no substitute for working one-on-one with students.
I was too knackered by the heat to fence everyone I wanted to, so Pedro Velasco and Tomasz Kraśnicki, here’s your rain-check for my first two bouts next time!
The great thing about all the bouts, and the event itself really, is that it was all very collegial. There was plenty of competitive spirit, but none of the personality-driven jockeying for status etc. that can make fencing unpleasant. That’s down to the attendees, in part, but also to the spirit of the event itself, for which the organisers should be thoroughly applauded.
Dinner on Sunday night was a blast too; most of the attendees had gone home, but on my table at a restaurant in a square in the old town, there were 8 people, no two of them from the same country. We had the USA, UK, Denmark, Serbia, Bosnia, Finland, Denmark, and Italy represented. If I went on a bit much about flying and woodwork, then Marc, Nic, Nicole, and Vicky, my apologies. Blame the vodka! But to be fair, they did ask…
And breakfast on Monday involved an hour-long chat with Ton Puey, Chris Lee-Becker, and Pedro Velasco. I think that a huge part of the value of events like these is the unscheduled serendipitous interaction with colleagues and friends. I also found at least two new guests for the podcast whom I had never heard of before the weekend!
My main takeaways from this trip are 1) I should do more of them and 2) I need to work on my fencing fitness. My legs are killing me!
As is now traditional, the day after an event like this I'm flooded with Facebook friend requests, which is lovely, but I don't use Facebook. So, if you'd like to find me on social media, come to swordpeople.com and say hello!
One of my students mentioned tendonitis problems in his wrist on the Swordschool Discord server this week. It’s probably caused by holding his sword incorrectly, which forces the small stabiliser muscles to do more work than they evolved for. He is by no means the first student I’ve seen with this problem.
It has been my experience that almost every sword student at any level in any style is either holding their sword incorrectly, or at the very least, there was room for improvement. This is partly due to most modern sword makers producing handles that are a bit too big (my friends at Arms and Armor have a post on this, here), or a bit too round; and partly due to most people simply not understanding how the mechanics of sword holding is supposed to work.
In essence, your grip strength and wrist stabilisation strength should be acting as back-up systems only: the sword should stay in your hand with almost no strength being used at all, and when you strike, the force coming back from the target should be routed through the bones of your hands and wrist, and thence through your body to the ground, with no need to tighten up on impact at all.
Seriously. Not at all.
Have a look at this video of me hitting the wall target with a rapier, and bashing the tyre with a longsword. My hand is not just relaxed, it’s actually open, to demonstrate beyond reasonable doubt that grip strength is not required.
I have been banging this drum for many, many, years now (I first posted that video in 2012!), and have written this up in many places, and posted endless video content about it, and yet still the sword world has crappy sword holding skills. This is for three reasons:
1. the sword handle is too big
2. because this is very counter-intuitive
3. and also because most people are strong enough to fake it for a while; they think it’s correct, when actually their muscles are faking it for them. Until the pain in the first joint of the thumb kicks in. Or in the elbow. Or indeed anywhere along the chain from fingertip to toes.
So how should you hold the sword?
That depends on what kind of sword it is, and what you want to do with it.
Generally, the sword is either held back in the hand, like so:
Or extended in the grip, like so:
This is also how most chefs hold their kitchen knives when chopping and slicing.
There are exceptions: we do sometimes support the flat instead of the edge, like so:
The sword is usually held back in the hand when it’s also held back near the body, and extended in the hand when the sword arm is extended from the body. Some longsword folk have half-understood this concept and hold their longsword in the extended grip even when the guard is chambered (such as in posta di donna). Some swords are almost always held in the extended grip; rapiers, foils, smallswords are good examples. The basic rule still applies- when holding the sword it should be supported by the bones, not tied in place by the muscles.
The extended grip does not depend on grip strength; you can perfectly well hold the sword with one finger, if it's aligned correctly, like so:
I'm not recommending fighting like this, but it's worth making sure you're not depending on grip strength when holding the sword by opening the thumb, forefinger, ring finger, and little finger, and seeing what happens.
One common error is to extend the wrist, rather than extend the sword in the grip. You need to be able to distinguish between at least three positions of the hand relative to the forearm. Three-knuckle, two-knuckle, and one-knuckle. The easiest way to learn the differences between them is through “Eurythmic push-ups”. You can do them on a mat if you prefer, and you don’t actually need to do the push-up bit; just getting the feeling of the different wrist positions is very helpful.
Cocking the wrist between the ‘three-knuckle’ and ‘one-knuckle’ positions instead of allowing the sword to shift in the grip between the ‘chambered’ and ‘extended’ grips is another common cause of wrist problems.
Please pay attention, this may save you a lot of pain, as well as massively improve your general sword handling.
Holding the Longsword
I introduce the basics of how to hold a longsword in this video borrowed from my Solo Training course
Holding the Rapier
This footage from a rapier seminar I taught in 2012 goes into the correct grip for the rapier in some detail; you can watch the whole thing of course, or skip to about 22 minutes in, where we get into the grip.
If you are already having wrist problems, for any reason, you may find my Arm Maintenance course useful. It’s free, and bundled in with my Human Maintenance course.
Creating a working syllabus is hard. Where do you start? What comes next? How do you know when you’re ready to move on to the next thing? I find it helps to remember that there is no one correct answer, because the optimum structure for the syllabus depends on its goals, and the specific aptitudes and experience of the student.
Capoferro’s three tempi (half, full, and one-and-a-half)
Changing direction
That is a lot of material, and hard to remember, so I used the structure of the Rapier Footwork Form to organise it. This way, by the end of this book, you will have a series of actions clearly stuck in your head, which will act as an aide-memoire for all the plates that you know (including everything in the previous book: plates 7, 13 and 16). By running through the Form at the beginning of every training session, you will cover every major action in the system, and be reminded of the areas where you are strongest, and those that need most work.
You can see the form here:
I have also included some essential repetition from the previous book, notably the discussion on safety, and advice on how to use the book, because I know from experience that some readers will ignore “you need to read part one first”, and those things must be read before training.
Some people just want to learn how to sword fight. Others want to learn how to do the academic research side of historical swordsmanship. And some want to do both. These workbooks are obviously directed towards the “just teach me to sword fight” crowd, but I encourage all my students (and that includes you!) to at least be familiar with the primary source for your art, in this case, Gran Simulacro.
So what is form? and what it is for? Fundamentally, form is the mechanism we use for creating a narrative of the system within the students’ brains. You can think of a form as a string of pearls. In the beginning, each pearl is just one technique or action. It’s a tiny little seed pearl. But with practise, and a broadening understanding of the Art, each pearl becomes the locus for other concepts and actions to be stored. A single action acts as a trigger for a cascade of related actions. Form is therefore a set of chapter headings, under which you can store everything you ever learn about swordsmanship with the rapier; and once you have filled out each chapter, you have an index to your entire knowledge base.
I cannot state this too strongly: the Form is just the beginning. It is not the be-all and end-all. When you write your own chapters, it becomes The Book of your rapier knowledge and skill. Once that is established you can simply run through the Form at any time and identify the weakest link. Start working on that link, using the “attached” training material, then re-run the Form to see whether what you have been working on is still the weakest link. The Form is therefore a diagnostic tool, an aide-memoire, a mechanics exercise or a guide to the system; in fact, it is the core of your practice. This workbook is about writing those chapter headings, and then filling in those chapters.
The major pitfall of this approach is that the organisation of the material in the Form has more to do with training space constraints and what felt good when designing it (“where do I want to go from here?”) than it does with any overtly logical structure. It does not, for example, follow the order of the plates in Gran Simulacro. Nor is it arranged according to difficulty. You may find yourself wanting to re-arrange things. That’s fine: the structure is (as with all forms) at least partly arbitrary. You only need to have this canonically correct if you are following my school’s syllabus and intending to grade within it. Otherwise, take this and make it your own!
When I was a kid, I spent some time casting little lead soldiers. It was magic: you heat up the lead in a pan until it melts, pour it into the mould and wait for it to cool down, and out comes a cavalry officer, rifleman or whatever. We then had to trim off the inevitable little leaks and the rather large riser (the extra bit where you pour the metal in, called a “sprue” in the US). Then the figures were ready for painting. You can think of the Form in a similar way. The actions of the person doing the Form are moulded by the actions of the (imaginary or real) opponents, as well as by the overall training goals. As with the casting process, there are artefacts to be taken into account: little bits of metal that don’t really belong, or some turns or steps that you wouldn’t normally use but are necessary to keep the Form in the right shape. So long as you know what the Art should look like and what the applications are, or what a Royal Horse Guards trooper from 1815 is supposed to look like, the Form is useful. As soon as the mould (your understanding of which actions do what) gets sloppy, the Form becomes a shapeless, pointless mess.
So here is a rule to be followed whenever you think about any kind of Form:
Application first, Form second.
We do this in class. When teaching the Form to students, we absolutely always do pair-drill (or handling drill) first, then the same actions solo, and then we add it to the Form. We never, ever, have students practising actions that they don’t know at least one application for, and we distinguish very clearly between a play or technique and a handling drill or skill-development exercise.
This post is an adapted extract from the new workbook. You can find the whole book here.
Volume 2 of the new Rapier Workbook series is back from layout, and looking pretty spiffy. It will be going to the printers next week. Huzzah!
Volume 2 won't be so useful if you don't already have volume 1. You can get beautifully printed copies from the distributor here, or buy the print files to have printed locally or print them at home. I've set the pricing for the print files to “Pay what you want“. You can have them for free, or you can pay a million dollars for them (go on, I dare you), or anything in between. Just put the number in the price box, and that's what you pay.
You might think I'm mad for doing that, but here's my reasoning:
1) My readers are honest. If they say they can't afford the book, then they can't. But it costs me nothing to allow them to download it anyway, and that way they will get better at swordsmanship, which is the point of writing this book in the first place. Win-win.
2) My readers are generous when they can be. Some people will pay *more* than the suggested price, because they want to support my work.
3) Printing books at home is ok, but professional printing is usually much better. So some people will download the files for free, and then decide they can't live another day without the printed version.
4) This is the first book in a series. If you like the workbook format, and like my writing and teaching style, you're likely to go buy volume 2 when it comes out. Then volume 3, and 4.
Perhaps the most famous fencing treatise of the 1600s, Ridolfo Capoferro's Gran Simulacro is a wonderful book, and an essential read for all fencing scholars. Characteristically, he spells his name as both Capoferro, and Capo Ferro, in the book itself; just one of it's many interesting quirks! It covers fencing theory, rapier alone, rapier and dagger, rapier and cloak, and rapier and shield. You can download your free copy of the treatise from here.
You are welcome to the RAW image files too (at about 25mb per image), just contact spada.press and we'll arrange to share them with you. The book is free, but you are welcome to drop some money into the (virtual) tin; once the book has raised enough money to pay for production costs, we will gladly produce an affordable printed facsimile. Please note that this book is in Italian.
Further reading:
Translations: William Wilson and Jherek Swanger (free): Capoferro
Safety Guidelines for the Practice of Swordsmanship
These safety guidelines come from my Recreate Historical Swordsmanship from Historical Sources Course and have been adapted from The Duellist's Companion, The Swordsman's Companion, and The Swordsman's Quick Guide part 1: The Seven Principles of Mastery. All of those books are included as downloadable pdfs in the additional course material.
Climb if you will, but remember that courage and strength are nothing without prudence, and that a momentary negligence may destroy the happiness of a lifetime. Do nothing in haste; look well to each step; and from the beginning think what may be the end.
Edward Whymper’s admonition, from Scrambles amongst the Alps, elegantly encapsulates the correct attitude to all potentially lethal activities. Substitute “practice swordsmanship” for “climb”, and there is the correct mindset for any swordsman, beginner or expert. Take it to heart before you start training with a partner.
When training with weapons you hold your partner's life in your hands. This is a sacred trust and must not be abused.
Disclaimer: I accept no responsibility of any kind for injuries you sustain while you are not under my direct personal supervision. During this course you will be taught how to create safe training drills, and I am certain that if you follow the instructions there is a very low likelihood of injury. But if I am not there in person to create and sustain a safe training environment, I cannot be held responsible for any accidents that may occur.
Principles
The basic principles of safe training are:
Respect: for the Art, your training partners, the weapons, and yourself.
Caution: assume everything is dangerous unless you have reason to believe otherwise.
Know your limits. Just because it’s safe for somebody else, does not necessarily mean it’s safe for you. Never train or fence when you are tired, angry, or in any state of mind or body that makes accidents and injuries more likely.
Most groups that keep going for more than a year have a pretty good set of safety guidelines in place. Make sure you know what they are, and follow them.
My senior students routinely train with sharp swords, often with no protection. That’s not as dangerous as it sounds, when you remember that they have been training usually for 5+ years at that point, under my supervision.
Safety first: you cannot afford time off training for stupid injuries. Life’s too short. Whatever training you are doing must must must leave you healthier than you started it. You will not win Olympic gold medals this way, but you won’t end up a cripple either. The path to sporting glory is littered with the shattered bodies and minds of the unlucky many who broke themselves on the way. Don’t join them.
Every time I find myself teaching a group I don’t know, I tell them that the class will be successful from my point of view if everyone finishes class healthier than they started it. Most injuries in training occur either during tournament (highly competitive) freeplay, or are self-inflicted during things like warm-ups. In my school (and other classes) we have a zero tolerance policy on macho bullshit. If any exercise doesn’t suit you, for any reason, you can sit it out, or do some other exercise. If you are sitting it out, a good instructor will ask you why, and help you develop alternatives or work up to the exercise in easy stages, but will never pressure you to do something that might injure you.
This is also true of work-related injuries, like forearm problems from typing, or the ghastly effects of sitting all day. By avoiding the things that will hurt you, you will naturally seek out the things that are good for you. Hungry? Avoid sugar, avoid processed foods, and lo! there’s a fresh salmon salad. Tired? Sleep is better than barbiturates, no?
This requires good risk-assessment skills (I recommend Against the Gods, the Remarkable Story of Risk, by Peter Bernstein) and the courage to take risks that truly serve your overall aims. A safe life is not worth living, but foolish risk-taking will not make your life meaningful.
Try adopting these key habits:
Before any new activity, do a risk/reward calculation. How risky is it, and how
rewarding?
Practice saying no to training suggestions: even safe ones. Most people do stupidly
risky things due to peer pressure. Being able to say no to your peers is perhaps the most important skill in reducing injury rates. If this is hard, make it a habit to decline at least one suggestion every session, until it’s easy.
Equipment
Without doubt the single most important bit of safety equipment is good common sense. Fence according to the limits of your equipment, exercise control and respect the weapon at all times, and you will never have a serious injury. Minor bumps and bruises come with the territory.
There were some masters who believed that the safest course is to fence with sharp weapons and no protection. This is how it was often done in the past until the invention of fencing masks (though there are tournament records and declarations as early as the 14th century that record the use of blunt practice weapons; King Rene d’Anjou’s treatise of 1470 is perhaps the best source). Such masters are right in theory, in that freeplay with sharps is the best way for students to learn absolute respect for the weapon, and the importance of absolute control. There are a few contemporary masters with whom I will fence like this, and there is nothing like it for generating a perfect fencing approach. But try explaining that to the insurance companies, or in the event of a slip, the police or coroner. It was often said in the eighteenth century that you could tell a fencing master from his eye-patch and missing teeth. Never forget that even a blunt blade can break bones. When free fencing, or when practicing drills at speed, it is essential that you wear appropriate safety gear. You do this not for your own sake, though self-preservation does come into it, but for the bene t of your training partner. Your protection allows him to hit you safely.
Choosing protection is a very controversial subject. Too little, and you can end up badly hurt (even in practice). Too much, and you can’t fence properly. Firstly, it is important to establish what style of fencing you will be doing. If you are practising armoured combat, then buy the best fitting, best made armour that you can from an armourer who knows how you intend to use it and has seen what you want to do. This is the hardest style of fencing to appropriately regulate, because accurate technique requires you to go for the least armoured spots (throat, eyes, armpits, joints), but safety requirements obviously prohibit that.
As a general guideline, I recommend the following for most weapons.
An FIE standard fencing mask. This allows you to thrust at the face (a very common target), and generally attack the head. This does have three major caveats. Firstly, it leaves the back of the head open, and you must be very careful not to strike at this target. An added apron of thick leather affords some protection. Secondly, it does not protect the head and neck from the wrenching force of over-vigorous blows. It is vital that you and your opponent learn control before engaging in freeplay. Thirdly it is designed to protect the face from high-speed, light, flexible weapons, not slower, heavier, rigid ones. So continually check them for wear, and make absolutely sure that your weapons are properly bated.
A steel or leather gorget, or stiff collar, to protect the throat. Points can slip under the bib of a mask and crush the larynx.
(For women) a rigid plastic chest guard.
A point-resistant fencing jacket rated at least 500 newtons. Sturdy, preferably padded and/or armoured gauntlets, which should extend at least four inches past the jacket cuff to prevent points sliding up your sleeve. I have twice had fingers broken through unpadded mail gloves, and now use a pair of fingered gauntlets from Jiri Krondak, which cost about 150€.
A padded gambeson, or a plastron. If you are making one yourself, bear in mind that it should be thick enough to take the worst out of the impact of the blows, and prevent penetration from a thrust. All openings should be covered. The collar should be high enough that thrusts coming under the bib of the mask do not make contact with your throat. A plastron must wrap around the ribs, and properly cover the collar bones and shoulders. I usually wear a fencing jacket and plastron (as pictured).
A box for men (called a “cup” in the US). You only forget this once.
Rigid plastic protectors for the knees and
For the elbows, of the sort worn by in-line skaters (worn under the
clothes for that period look if you prefer), will save a lot of pain, and some injury.
Footwear: on the matter of footwear, few practitioners agree. In the longsword treatises, there are no heavy boots, and certainly no built-up heels. For a completely historical style, it is necessary to wear completely accurate period clothing at least occasionally, because it can affect the way you move. It does not matter much what you wear on your feet provided that you understand grounding, body-mechanics and footwork, but attaining that understanding is much easier barefoot or in very thin flat soles. Excessively grippy soles can lead to joint injury as you may stop too suddenly, or get stuck when you should be turning (particularly in falls at close quarters). The dangers of wearing too slippery soles are obvious. In the salle I usually wear medieval shoes or ‘barefoot’ shoes (aka five-fingers, or ‘toe shoes’), and recommend a thin, flat sole regardless.
The Sword
Training swords come in three main types. Authentic sharp reproductions, which are used for cutting practice and some pair work with advanced students, blunt swords that try to reproduce the handling characteristics of the sharps, and fencing swords that are designed to make fencing safer. These all have their pros and cons, and you should use the sword that’s right for your style and the kind of practice you will be doing.
It’s perfectly all right to use a wooden waster or something similar to start with, but do not imagine that there is any such thing as a safe training sword. Even modern sport fencing blades engineered for fencing sometimes break and puncture people, and anything heavy enough to reproduce the handling of a medieval or renaissance sidearm is going to be able to do damage.
For specific details on choosing a sword, please see Choosing a Sword, which is included in the additional material on this course.
Looking after your weapon is largely a matter of keeping it dry, clean, and free of stress risers (a stress riser is a weak point, usually a deep nick, which encourages the blade to fold at that point).
Occasional rubdowns with a moisture repellent oil and steel wool or scouring pad, followed by a coat of microcrystalline wax, should keep the blade and hilt clean (follow manufacturer’s recommendations if you have a gilt, blued or otherwise ornamented weapon). Do not be afraid to file down any large nicks, and file off any burrs: this is important from a safety perspective, as the blade is most likely to break at a nick, and burrs can be very sharp. The edges of a blunt weapon should always be kept smooth enough that you can run your bare hand hard up the edge and not get scratches or splinters. Even the toughest and most cherished sword will not survive repeated abuse: the best guarantor of longevity for your sword (and yourself) is correct technique.
Rules of Engagement
Once you have agreed to fence with someone, it is important to agree on rules of engagement. This is partly to ensure safety, and partly to create an environment in which you can learn. The two most simple rules are these:
Confine permitted actionss to the safety limits of your protective gear
Confine permitted actions to the technical range of the least trained combatant. In other words, do not allow face-thrusts when wearing open helms, or throws when one of you is not trained to fall safely. The rules can be adapted further to develop specifi aspects of technique: for instance, you may not allow any close quarters work at all, or even restrict allowable hits to one small target. The idea is to come to a clear, common -sense agreement before facing off. You are only ready for no-holds-barred, totally “authentic” fight simulation, when you can enter such a fight with your judgement unimpaired.
Following the rules of engagement will not make you soft, nor will it dull your edge if it comes to the real thing; rather it it will develop self-control.
These rules apply to all fencing:
Agree on a mutually acceptable level of safety.
Wear at least the minimum amount of safety gear commensurate with rule 1. Confine allowable technique to those within the limits of your equipment.
Confine allowable technique to the technical ability of the least trained
combatant.
Appoint either an experienced student or one of the combatants to
preside over the bout.
Agree on allowable targets.
Agree on what constitutes a “hit”.
Agree on priority or scoring convention in the event of simultaneous hits. Usually it is better
to allow a fatal blow before a minor wound, but simultaneous hits should be avoided whenever possible.
Agree on the duration of the bout either in terms of hits, such as first to five, or in real time.
Acknowledge all hits against yourself. This can be done by raising the left arm, or by stopping the bout with a salute, or by calling “Halt!” and telling your opponent where and how you think she hit you.
Maintain self-command at all times.
Safe Training
In my experience most injuries are self-inflicted. It is far more common for students to hurt themselves by doing something they shouldn’t, than to hurt their training partners. Here are a few simple guidelines for joint safety, which should be followed during all training. I am using the lunge as an example of a stressful action, but these principles apply to any physical action.
The knee must always bend in the line of the foot. Knees are hinges, with usually a little under 180° range of movement. The do not respond well to torque (power in rotation). So whenever you bend your knees, in any style for any reason, ensure that the line of your foot, the line of movement of your knee, and the line of movement of your weight, are parallel. This prevents twisting and thus injuries. This one simple rule, carefully followed, eliminates all knee problems other than those arising from impact or genetic disadvantage.
Whenever performing any strenuous task (such as lunging, or lifting heavy objects), tighten your pelvic floor muscles (imagine you need to go to the bathroom, but are stuck in a queue). This supports the base of your spine, and helps with hip alignment.
Joints have two forms of support: active and passive. Passive support refers mainly to the ligaments, which bind the joint capsule together. This is basically set, and can’t be trained. When training your joint strength, with exercises or stretching, avoid any action that strains the joint capsule. Any action that causes pain in the joint itself should be modified or avoided, as it may damage the soft tissues (ligaments, tendons, cartilage). These tissues have a very poor blood supply and hence heal very slowly.
Active support refers to the muscles around the joint, and these can be strengthened by carefully straining the joint with small weights and rotations. To strengthen a joint you must stress these muscles, without endangering the ligaments. Any competent physiotherapist can show you a range of exercises for building up the active support around your knees, wrists and elbows, where we need it most.
Rest is part of training. Your body needs time to recover, and is stimulated by the stress of exercise to grow stronger. However, the body is efficient, and will withdraw support from any muscle group that is not used, even if for only a few weeks. So regular training is absolutely crucial.
If you can’t lunge without warming up, don’t lunge except in carefully controlled drills. Warming up is essential before pushing the boundaries of what your body can do.
If you find this advice sensible and useful, please feel free to share it as widely as you like!
If you would like these guidelines as a handy PDF, then drop your email in the box below and I'll send it to you.
I'm a Luddite, it’s true. I resist the march of technological progress because I think that most new technologies aren't labour saving life enhancing devices at all. I was saying this back in the ‘80s when people were extolling the new ‘desktop publishing' thing. “What used to take two weeks can now be done in a single day!” they cried. “Great” I replied. “Do you get the rest of the fortnight off?”
No. What happens, every time, is that as capacity increases, expectations rise, and so you end up with an increase in productivity and more work being done for the same pay. Not fair, and not helpful, except to those who own the fruits of your labour.
But, and this is a very big BUT (I like big buts), there are areas where all this new-fangled gadgetry does actually help people. HEMA would barely exist without the internet, because it is such a niche interest that finding fellow enthusiasts was very hard before the web came along. And for those of us trying to make a living serving those enthusiasts, I think it would be impossible without things like print-on-demand technology, easy-to-use web building tools, and communications of all sorts. I have students in Chile who can send me videos of themselves doing my Longsword Syllabus Form for me to comment on and help them improve. Fantastic.
This is a screen capture not a video link because the video is set to “Unlisted”. Chaps, if it's ok to share it, let me know…
I've also come round to the idea that while the actual use of force (responding to pressure in the bind, that sort of thing) cannot really be taught over the net, there is a place for online courses to help self-study. Lots of people use my Syllabus Wiki in various ways to help them learn, but I am taking a great big step right now and am plunging into creating online courses. The first one is now live, and you can see it here.
I'm using the Teachable platform, because it seems to be the best in class for what I need it to do; unlike Udemy, for instance, I can directly control things like pricing, and tracking student progress.
Another major benefit of the internet is that I can reach vastly more people virtually than I ever could in person. And some of those people are excited by the work I’m doing and want to help. My School and I have benefitted enormously over the years from people volunteering their skills to help. Ilkka Hartikainen shooting the photos and laying out two of my books, for instance. Jari Juslin shooting the photos for the last three. And when I arrived in Ipswich, Curtis Fee (of The Barebones Company) showing up to help unload the lorry for another instance. And when I mentioned the projects I was working on, well, turns out he has a bunch of useful professional skills, which he has applied to making the online school interface vastly more beautiful than it was.
Isn’t this pretty?
It's an exciting time to be teaching swordsmanship, that's for sure. Right now my head is simply buzzing with ideas for other courses that I can create to teach online. Breathing. Meditation. Mechanics. Dagger. Longsword. Imagine if when students finally find a group they can join, or start one themselves, and they already have decent fundamentals in place. Wow.
I have the enormous privilege of owning an original copy of Salvatore Fabris’s Sienza e Pratica d’Arme, printed in 1606. I bought it from Sr. Roberto Gotti, of Brescia, in 2014. It is in incredibly good condition, and an excellent, clean print. It is still in its original binding. The value of the book comes from two things: the information it contains, and the artefact itself. I own the artefact, it is mine, mine, mine, and woe betide anyone who tries to take it from me. But I believe the information it contains belongs in the public domain. This book is yours. So I asked my friend Petteri Kihlberg to photograph it, and I am releasing those photos (with his permission) free and with no strings attached. If you choose to use them for some commercial purpose (such as printing an edition for sale), then I ask as a matter of courtesy that you give credit where it’s due, but I do not insist on it. I've set it to “pay what you want”, and would be grateful for any donation you choose to give; the more money I have, the more fencing treatises I'll buy, all of which will go online for free.
I own this book, but the information it contains is part of your birthright as a human being. I hope you will enjoy it, share it, and make something beautiful with it.
Please share this post so that everyone who wants a copy of the book can get one.
And don't miss my other free books! Marozzo's 1568, Girard's 1740, Seven Principles of Mastery, and many more.
But it is to the keen swordsman who looks upon foil fencing as the key to all hand to hand fighting, that the historical development of the art offers naturally the greatest interest. It shows him how many generations of practical men were required to elucidate the principles of fencing, and adapt them in the most perfect way to the mechanical resources of the human anatomy, and how utterly unknown many of those principles, which are now looked upon as the A B C of sword-play, were still, in the proudest days of the sword’s reign.
Egerton Castle, Schools and Masters of Fence, p 5.
With this paragraph, Mr Castle unfortunately infuriated an entire generation of historical fencers. His seminal work, which should be read by anyone interested in the art of swordsmanship, is coloured by his belief that swordsmanship evolved from “the rough untutored fighting of the Middle Ages” (Schools and Masters of Fence, p 6) into the perfectly understood ideal form of the foil. I chose Edmund Blair Leighton's famous painting, The Accolade from 1901, for this post because it's a good example of the way the Victorians saw and misunderstood the medieval period.
It is patently absurd to view the foil as the “key to all hand to hand fighting”. No MMA competitor has ever needed it. Neither did the knights of old. But, and this is a big but, we can look back on the entire period of recorded historical swordsmanship. Unlike, for instance, one of Capoferro’s students, we can also see what the rapier developed into, and make some kind of educated guesses as to why that happened. We can also use the tools of analysing fencing that were developed to their peak in the 19th century, to aid us in our studies of earlier systems.
This week in our rapier class, I persuaded the students to do a foil class instead, for the purpose of showing them how useful it can be to be able to analyse fencing actions to the degree that it is expected in foil. Modern (and classical) fencing theory allows us to describe what has occurred in a bout with an astonishing degree of precision. For instance:
I prepare my attack with a beat and a step forwards. As my opponent engages my blade, I do an indirect feint, followed by a disengage and lunge, in progressive time. My attack is parried, the riposte is direct, I parry it and attempt a compound counter-riposte with a remise.
And so on.
This system of analysis is summarised here, in the British Academy of Fencing’s Summary of Fencing Theory and Terminology, from 2002.
This is an incredibly useful structure and toolkit. But it has some major risks when we are studying historical sources. By importing this language, we can unwittingly distort the author’s intentions to a horrible degree.
A good example of this is the term “contratempo”, or, “counter-time”. Capoferro is explicit:
OF STRIKING IN CONTRA TEMPO
In more manners can one strike in contratempo, but I do not approve of other than two, which will be: finding yourself with your sword in quarta, with its point facing toward your right side, and your adversary coming to gain it, in the same tempo in which he moves his right foot in order to lay his sword upon yours, you will push a thrust from the said quarta, passing forward with your left foot, or with your right instead; alternately, finding yourself in terza, and he coming to gain it from the outside, you will thrust him in seconda while passing as above.
(Gran Simulacro, 1610, trans William Wilson and Jherek Swanger.)
As we can see, as the enemy approaches, we use the tempo of his gaining the sword to strike him.
But in modern fencing theory, countertime describes the timing that I would have to use if, as I attacked, you counterattacked, and I took advantage of your counterattack (or at least parried it). In Italian classical fencing, the term is “contratempo”, used in the same way.
So, when studying Capoferro, it is extremely useful to be able to describe the timing of your defence against the opponent’s counterattack; but if you use the term “contratempo” you’ll have to use the same term for two completely different things.
Leaving aside the appalling Victorian arrogance that assumes that the “principles of fencing” were somehow less understood than the people who depended on them for their lives, we have to ask the question of why the theory of fencing was less explicit, analysed to a lesser degree, than it became in the 19th century. I have two answers:
1) it wasn’t. Read Thibault if you don’t believe me.
2) in sources that are less pernickety, it is probable that a simpler set of theory was more useful in the context of duelling, than in the post-duelling-era fencing salle.
It might be helpful at this stage to consider language itself. Different languages are structured differently, which affects what concepts can be expressed. For instance, in English, we can say “the car”; “a car”; “from the car”, “from a car”, and so on. In Finnish, “the car” would be “auto”. “A car” would be “autoa”. “From a or the car” would be “autosta”. Finnish cannot easily make the distinction between “from a car” and “from the car” that we English speakers do so naturally. But Finns seem to have no difficulty in making themselves understood to their fellow Finnish speakers. And only a fool would suggest that English is somehow superior because of it. We don’t even have a proper word for the steam that comes off a sauna stove when we’ve thrown water on it!
One of the ways in which we can identify the origins of non-native speakers a language is the way that they import words and grammar into their new language. Or use words that sound similar but mean something completely different, with occasionally hilarious results. Most English speakers who learn Spanish make the “embarrassed” mistake at some point. “Embarazada” means “pregnant”. I vividly recall a group of Peruvian friends falling about laughing when I tripped over that one.
Having the language of foil in our heads can be very useful in analysing what may be going on in a historical source; but it can also introduce all sorts of baggage, and lead you to try to force a different language into the grammatical structures of the one you already know.
So what brought all this on? This email, from my friend M. Harold Page.
Dear Guy
Where do you see “attacking an inviting opening line in tempo” fitting in Medieval Longsword? Is it a technique, or the underlying principle of fighting?
(In lay terms I mean, e.g., “You drop into a low guard as a deliberate invitation to me to attack high. I try and hit you as you change guard. You try to respond to my attack which hopefully you predicted.”)
This seems a common concept in approaches inspired by classical fencing.
However, in the earlier German texts — e.g. Goliath, Danzig, Ringeck, — in tempo attacks to opening lines are called “travelling after” (Nachreisen) and relegated to a later section. Most of the text talks in terms of “if he stands in this or that guard”. Also, the Dobringer text has passages like “If you only strike after, you will have little joy of the art”, “do not strike to the sword” and “a good fencer will always win the first strike”. In a similar vein, doesn't Fiore identify some guards as good to wait in?
So, what do you think is going on?
Let’s deal with the easy question first: yes, Fiore does identify some guards as good to wait in; specifically tutta porta di ferro and coda longa.
“Attacking the opening line” is a fundamental principle of all fencing, as I see it; it’s just common sense. If the line is closing, don’t attack it. If the line is closed, the attack will fail. If the line is open, you might attack it. If the line is opening, you have the best chance of making the strike. But if it is an invitation, be wary of accepting it, there will be a prepared response waiting for you.
Making an invitation to attack is a tactic, that we can see in play all the time, but is rarely addressed in medieval sources. The only one I can think of off-hand is in Vadi’s De Arte Gladiatoria Dimicandi, folio 28R, where he wrote:
But this example is of an open line, not an “opening line”. The tempo is different.
We do see the deliberate creation of opening lines in the use of the concept of breaking the guards, and in the use of feints, both of which are common in medieval sources. I can dig up references from Fiore and Vadi if needed. Liechtenauer too. But this is explicitly not the deliberate invitation of an opening line. The agent is forcing the patient to create the opening.
The invitation with an opening line is clearly described in at least some of the Bolognese sources I have read. Ilkka Hartikainen summarises it well here.
So, I would describe it as a tactic, not a technique, and I’d say it is probably but not certainly part of medieval swordplay, and certainly part of renaissance swordplay. But it is also a good example of a classical or sport fencing background interfering with a clear reading of the sources. Using this terminology to describe medieval fencing actions is fraught with opportunities for misunderstanding.