Search
Close this search box.

Guy's Blog

Guy frequently keeps this blog updated with thoughts, challenges, interviews and more!

Tag: capo ferro rapier

Creating a working syllabus is hard. Where do you start? What comes next? How do you know when you’re ready to move on to the next thing? I find it helps to remember that there is no one correct answer, because the optimum structure for the syllabus depends on its goals, and the specific aptitudes and experience of the student. 

The latest instalment of my Rapier workbook series (Rapier Part Two: Completing the Basics) contains the following technical content:

  • Plate 8: voiding the front leg
  • Plate 9: passing to attack (off-hand forwards)
  • Plate 10: dealing with cuts to the head
  • Plate 11: voiding low, and acting in contratempo
  • Plate 17: voiding with the front foot
  • Plate 18: passing to attack (off-hand back)
  • Plate 19: voiding with the waist
  • Capoferro’s three tempi (half, full, and one-and-a-half)
  • Changing direction

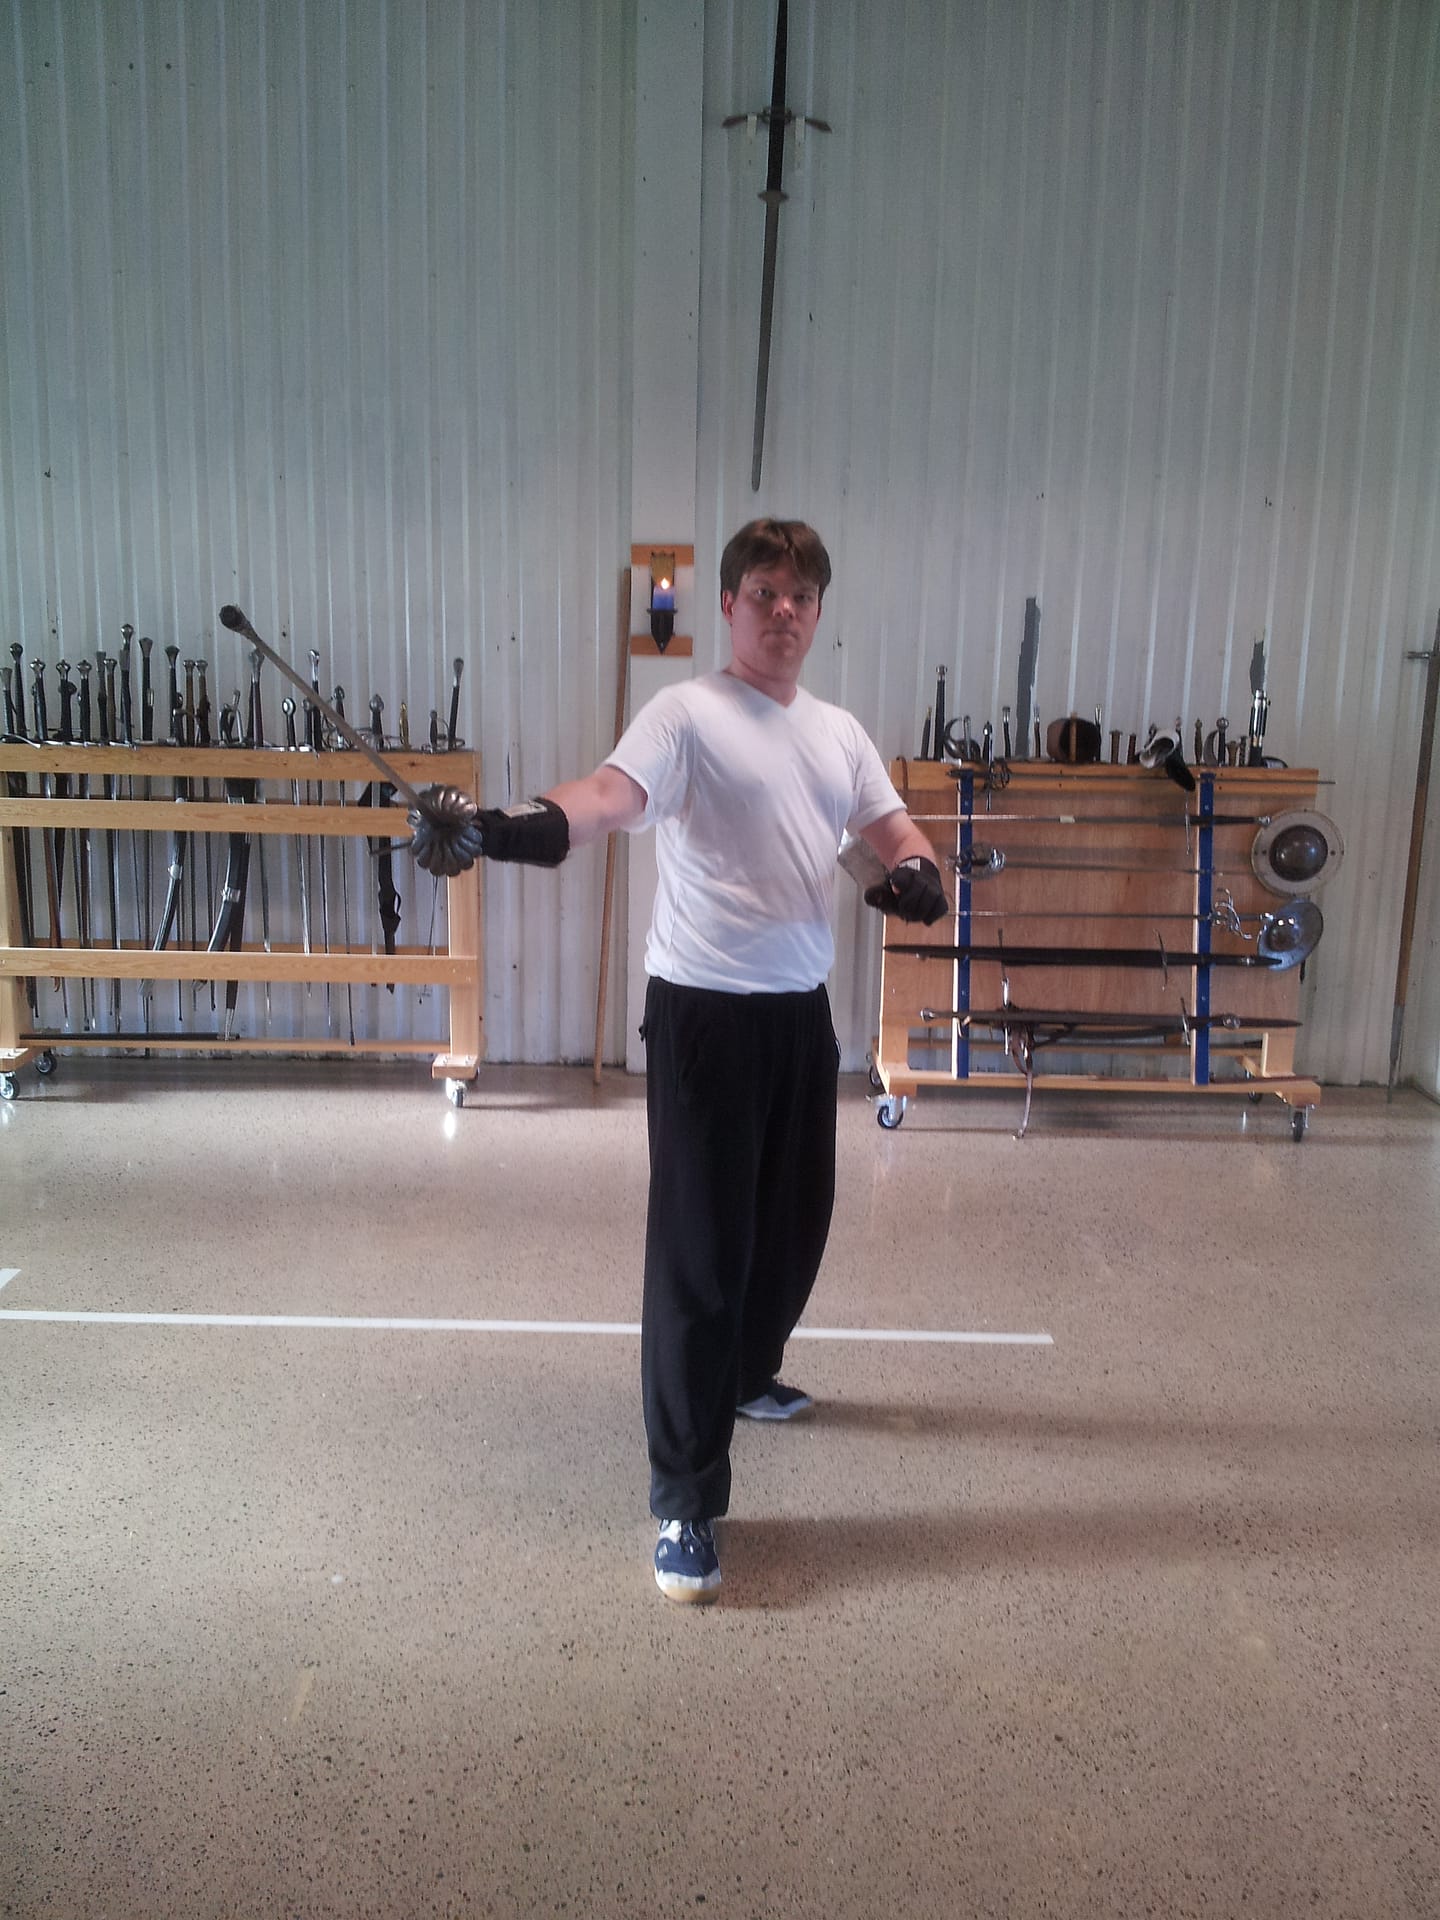
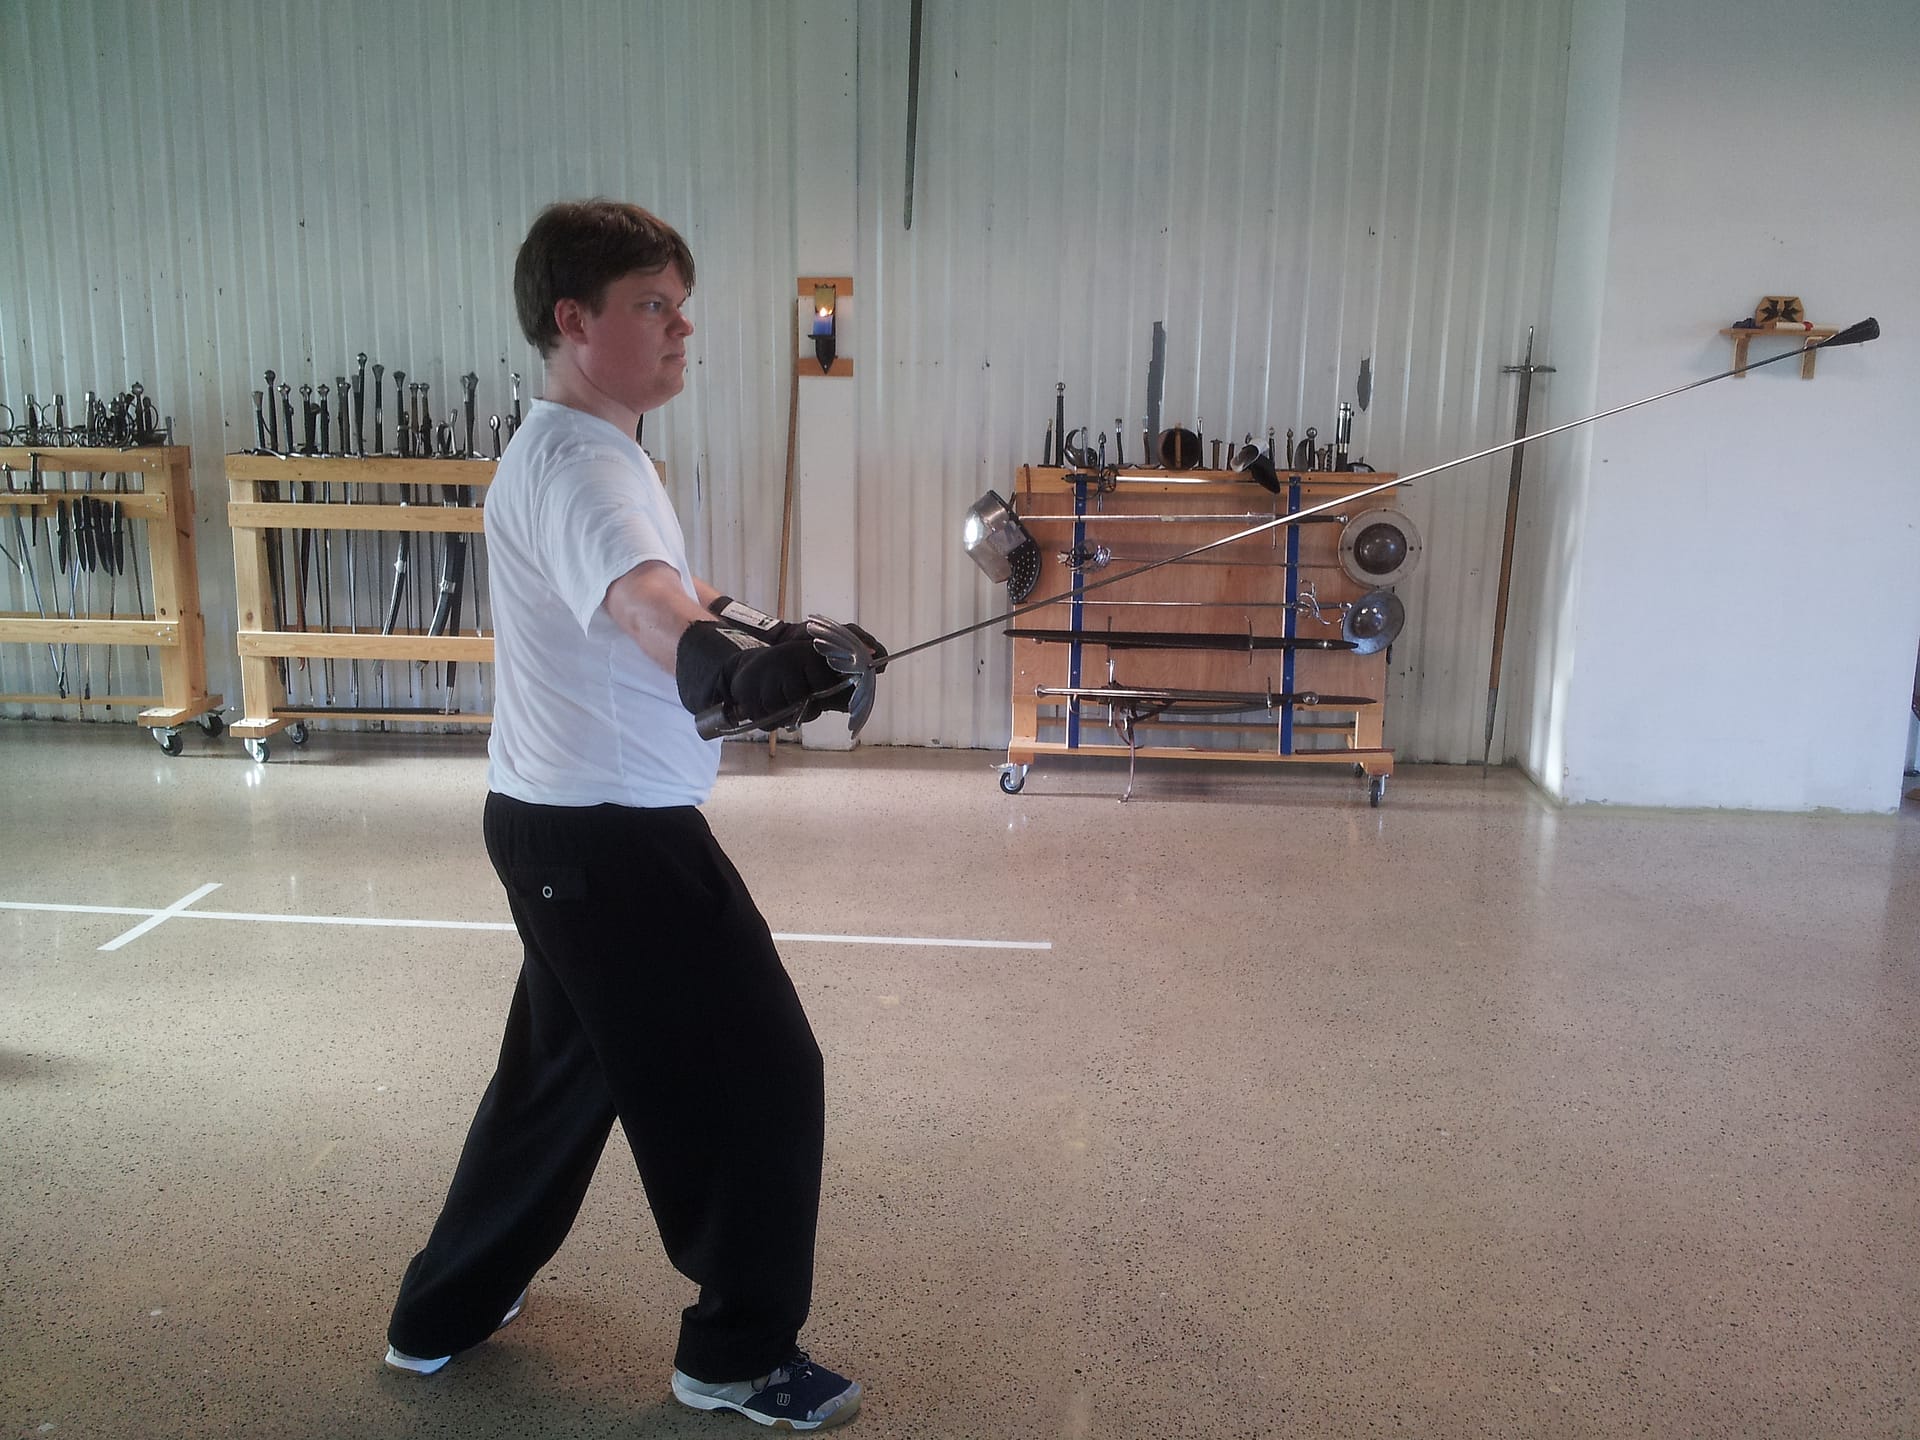
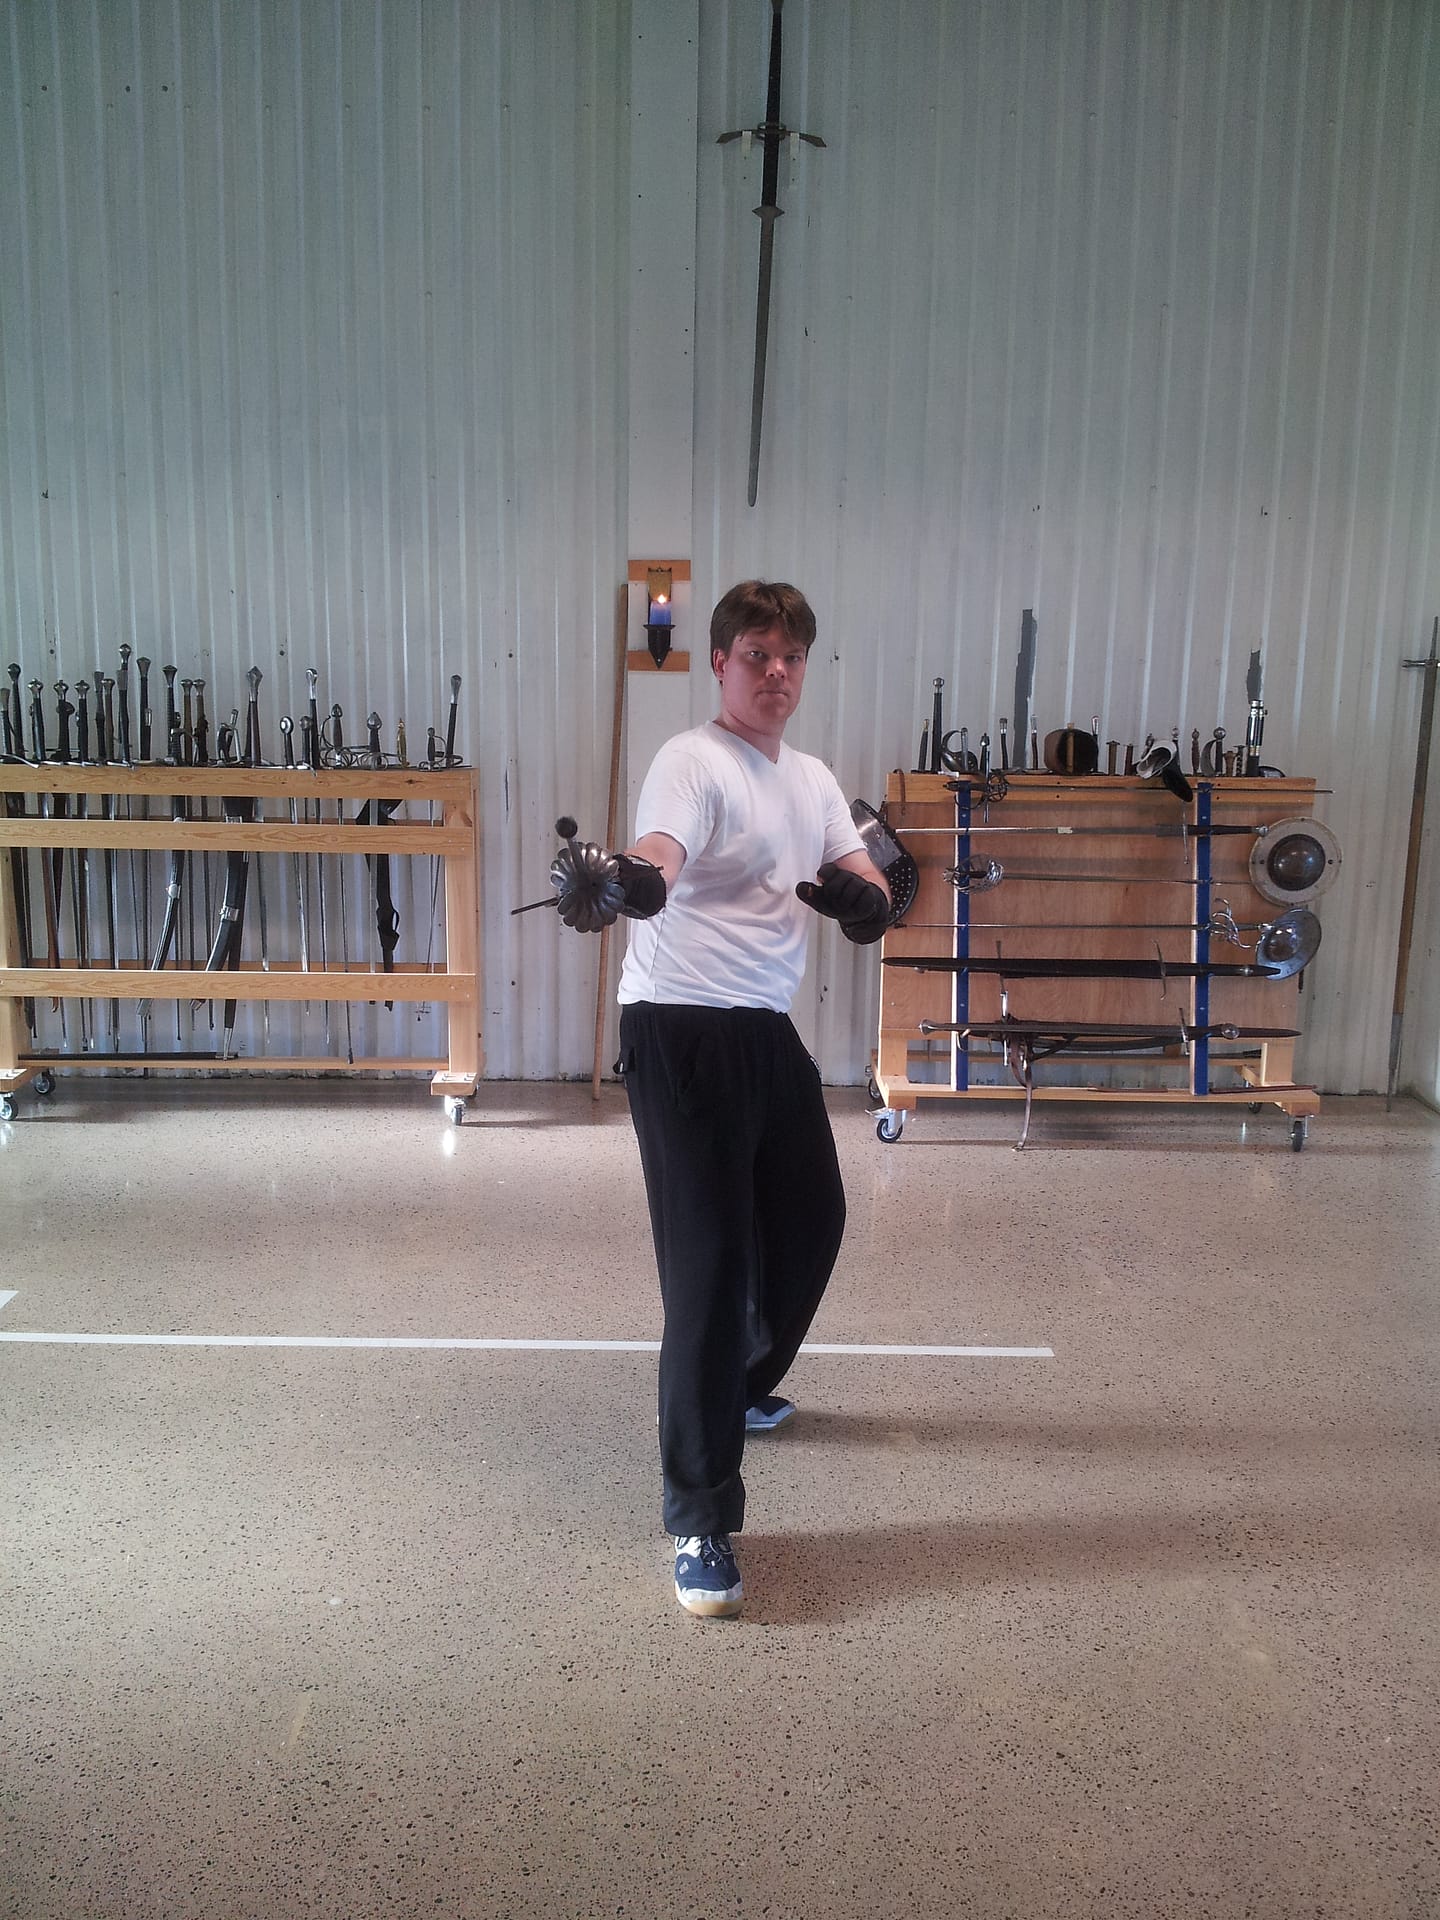
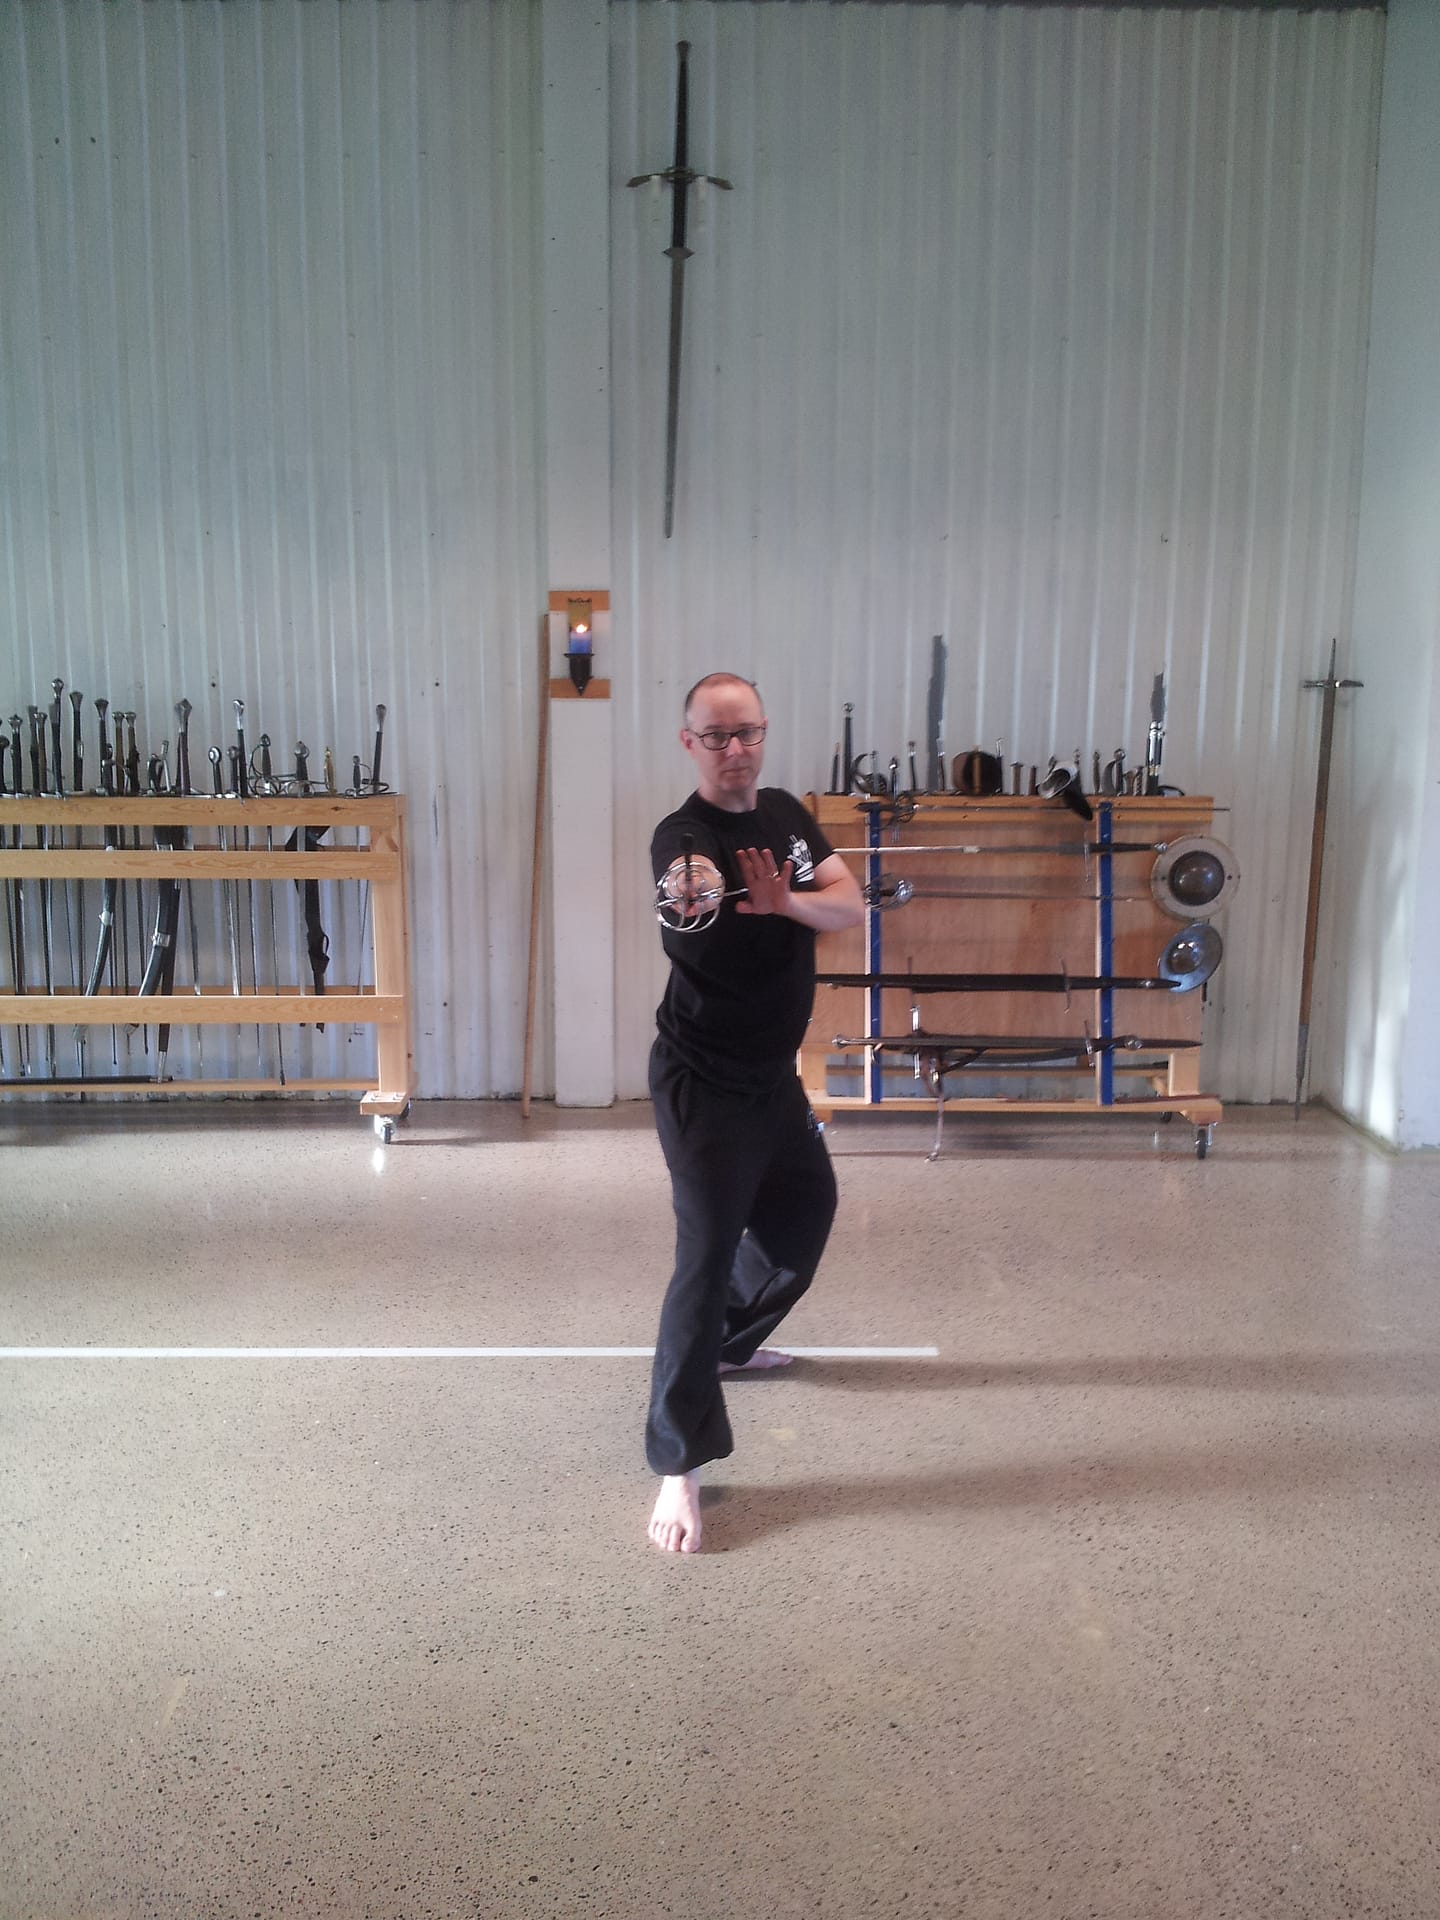
That is a lot of material, and hard to remember, so I used the structure of the Rapier Footwork Form to organise it. This way, by the end of this book, you will have a series of actions clearly stuck in your head, which will act as an aide-memoire for all the plates that you know (including everything in the previous book: plates 7, 13 and 16). By running through the Form at the beginning of every training session, you will cover every major action in the system, and be reminded of the areas where you are strongest, and those that need most work.

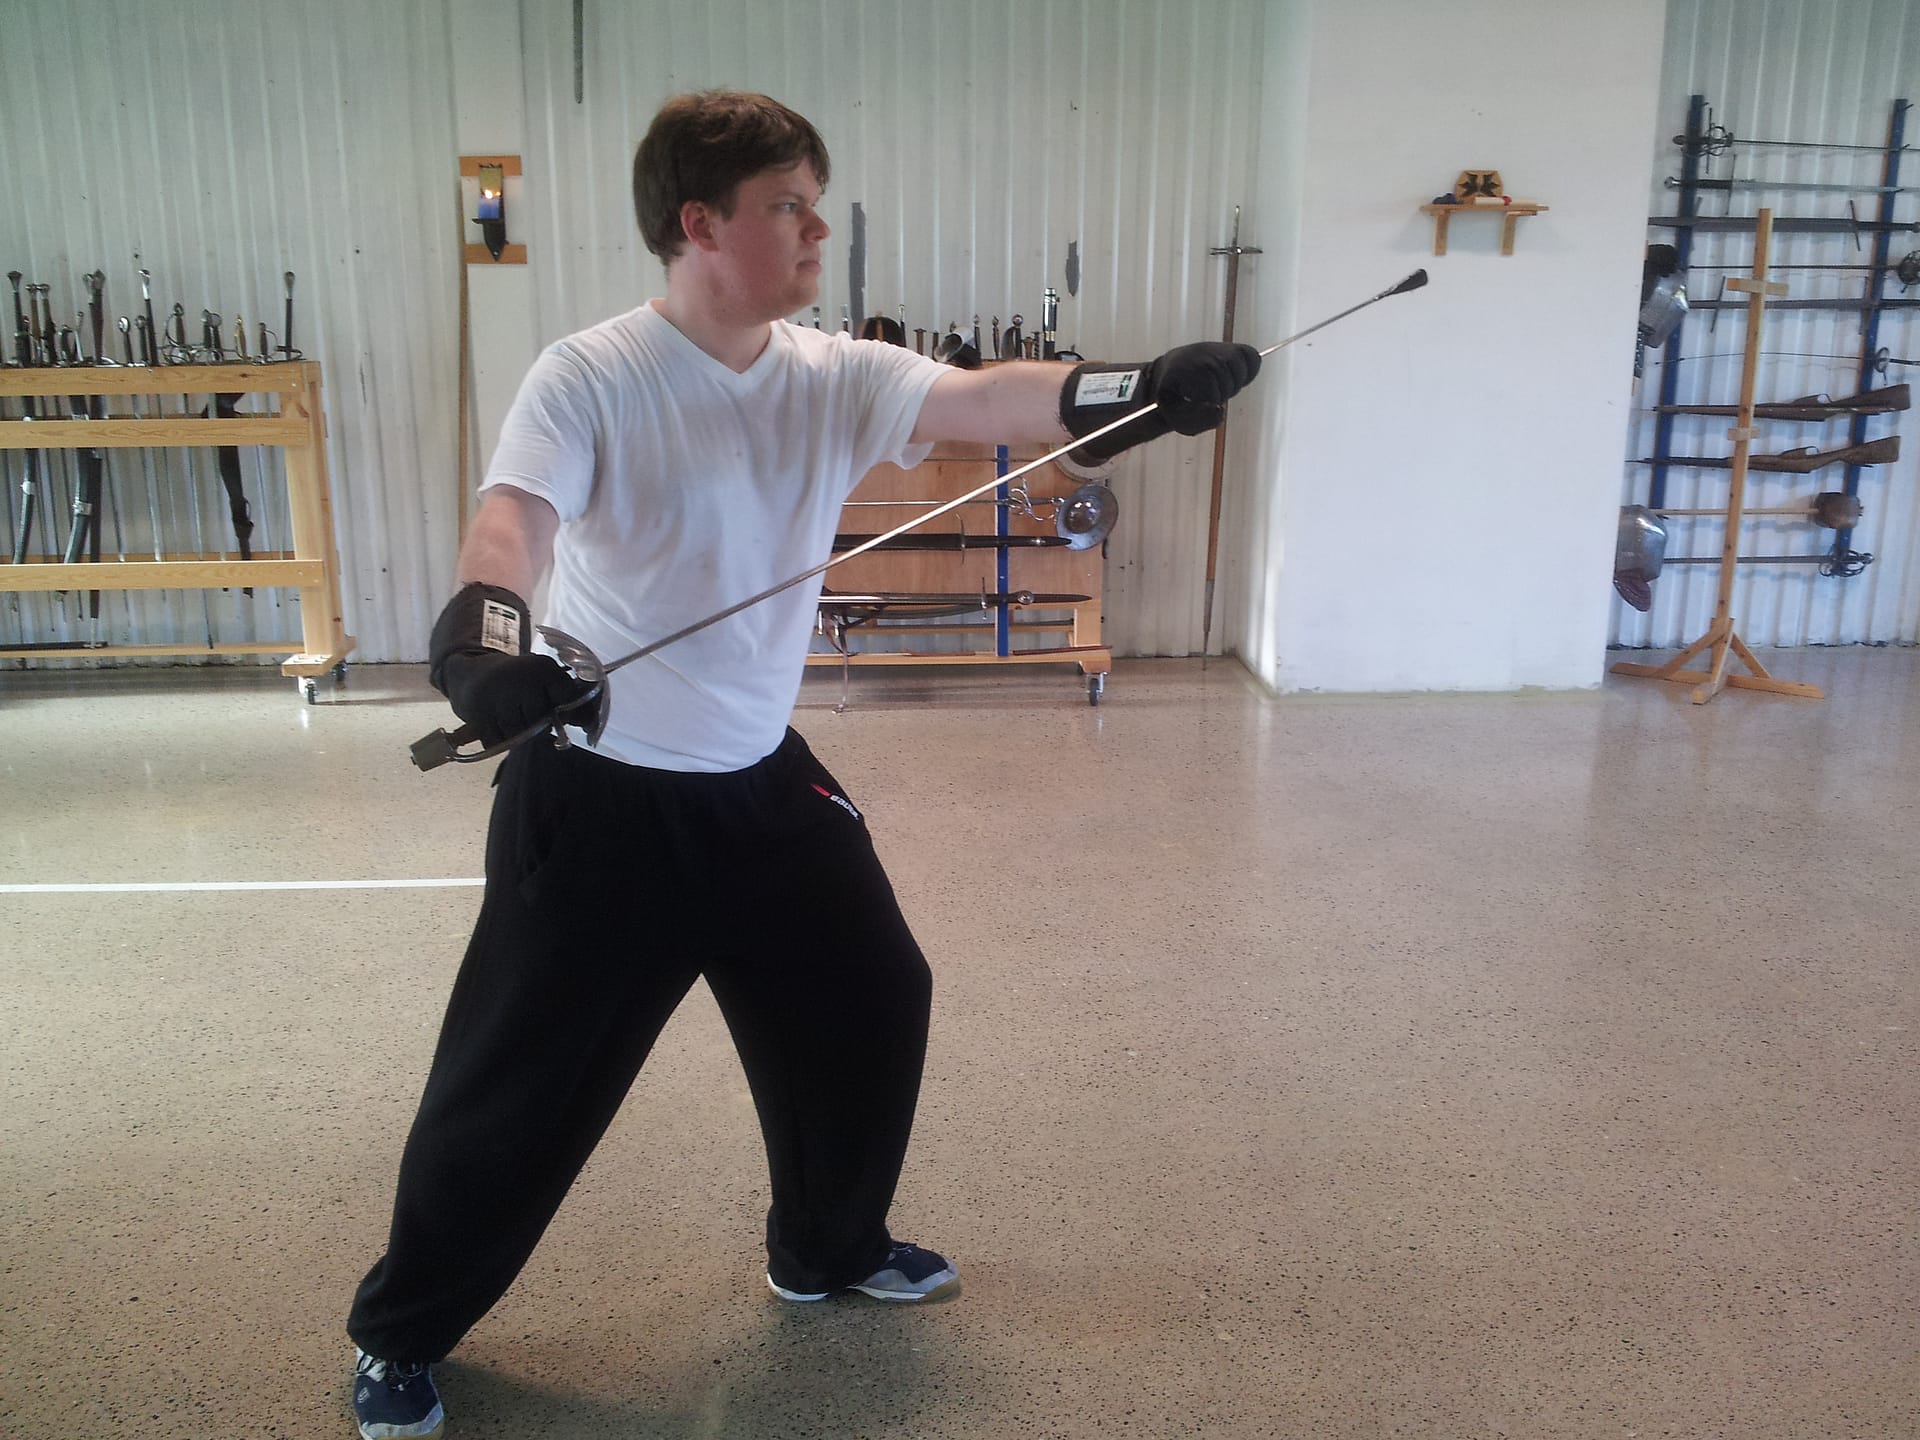
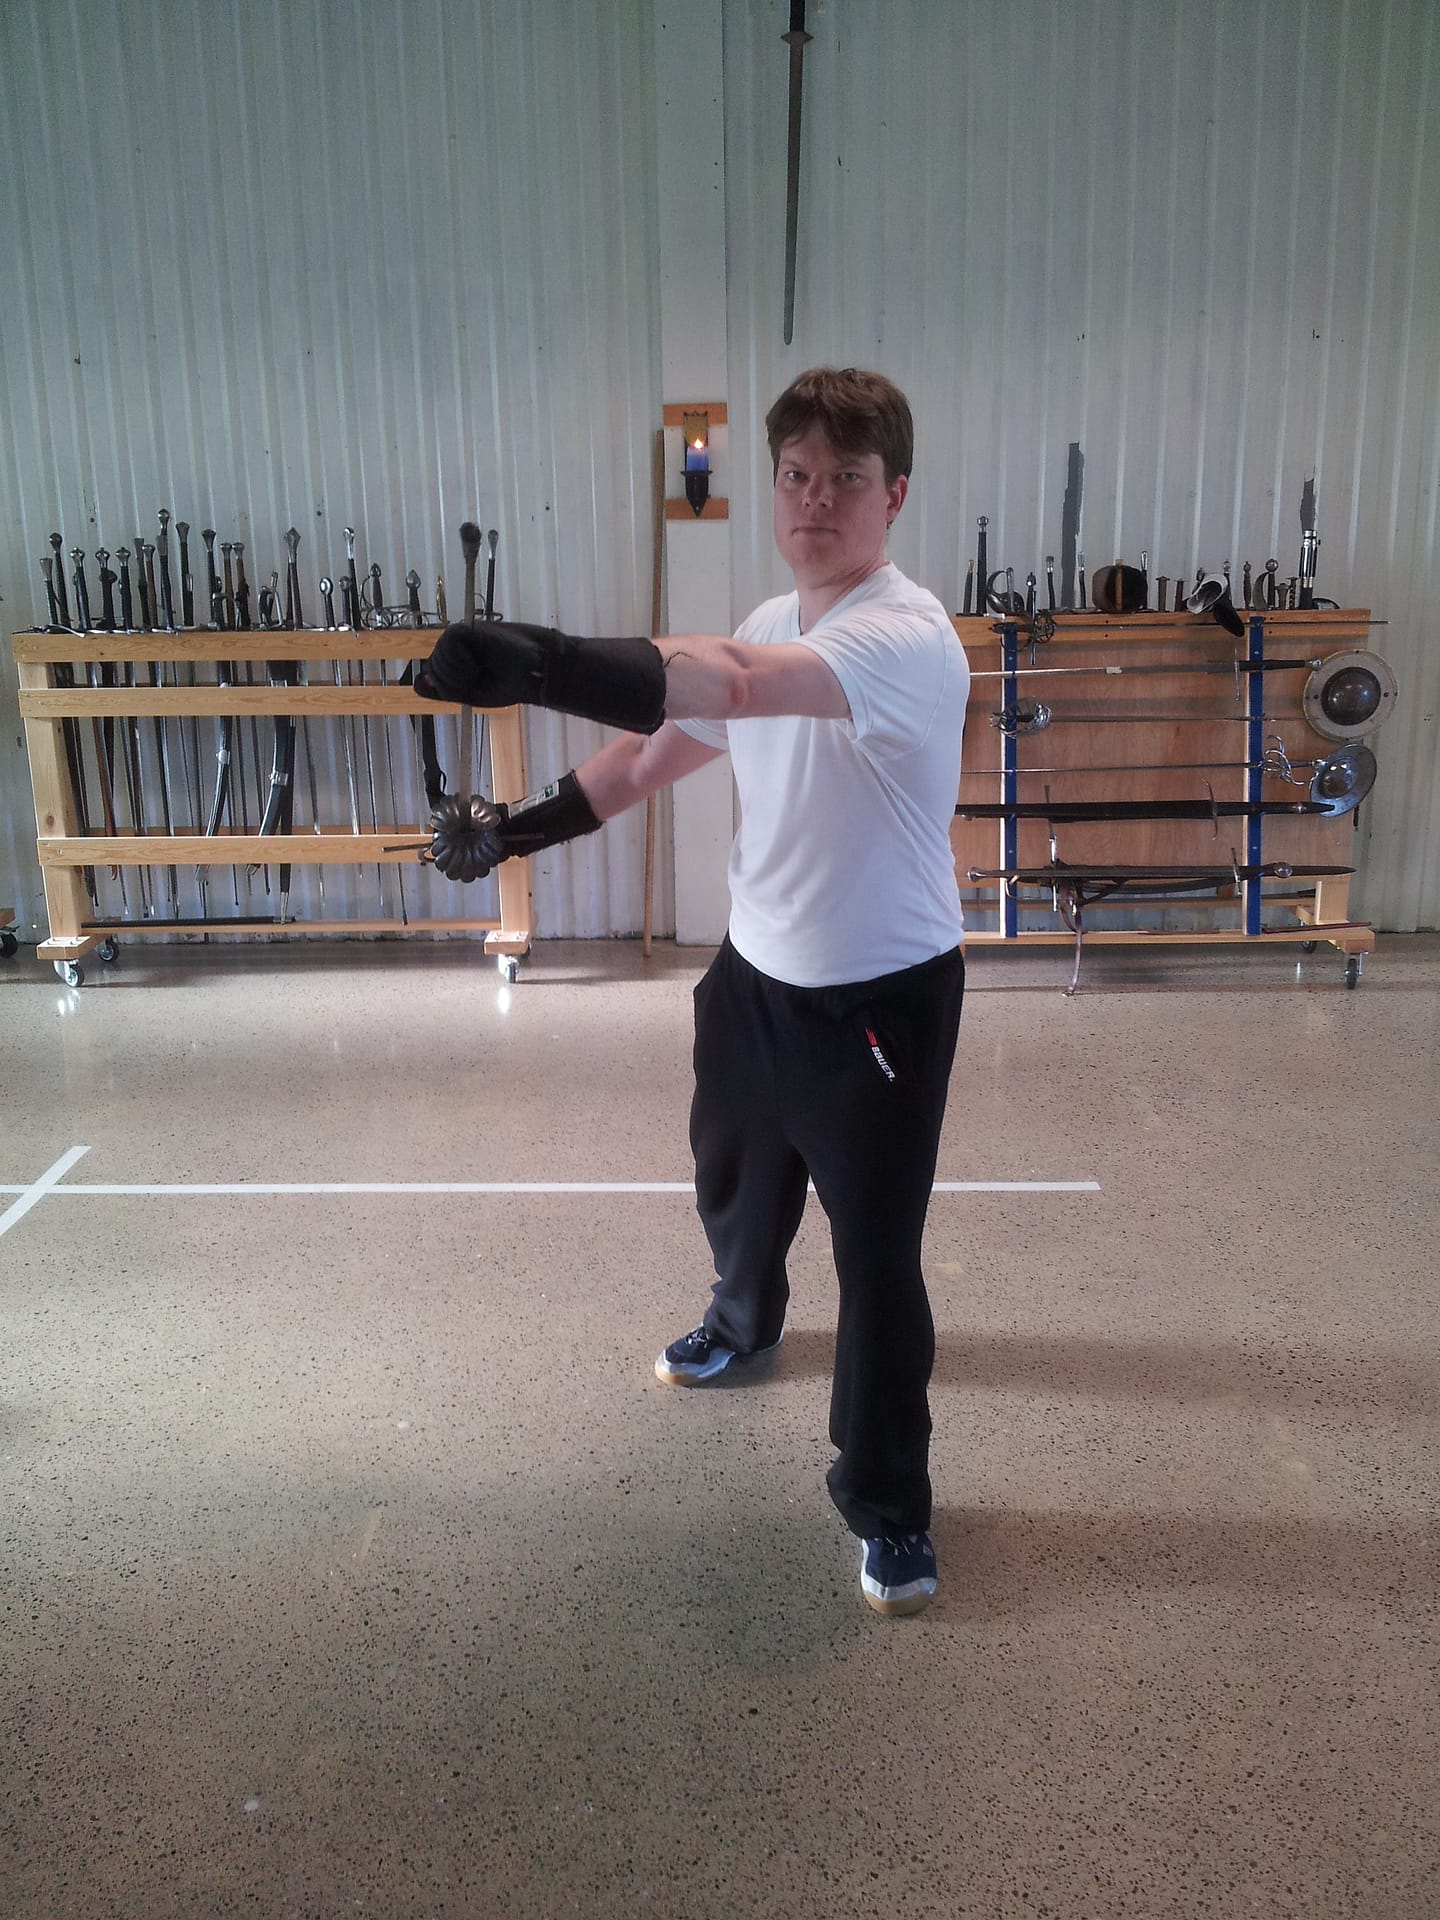
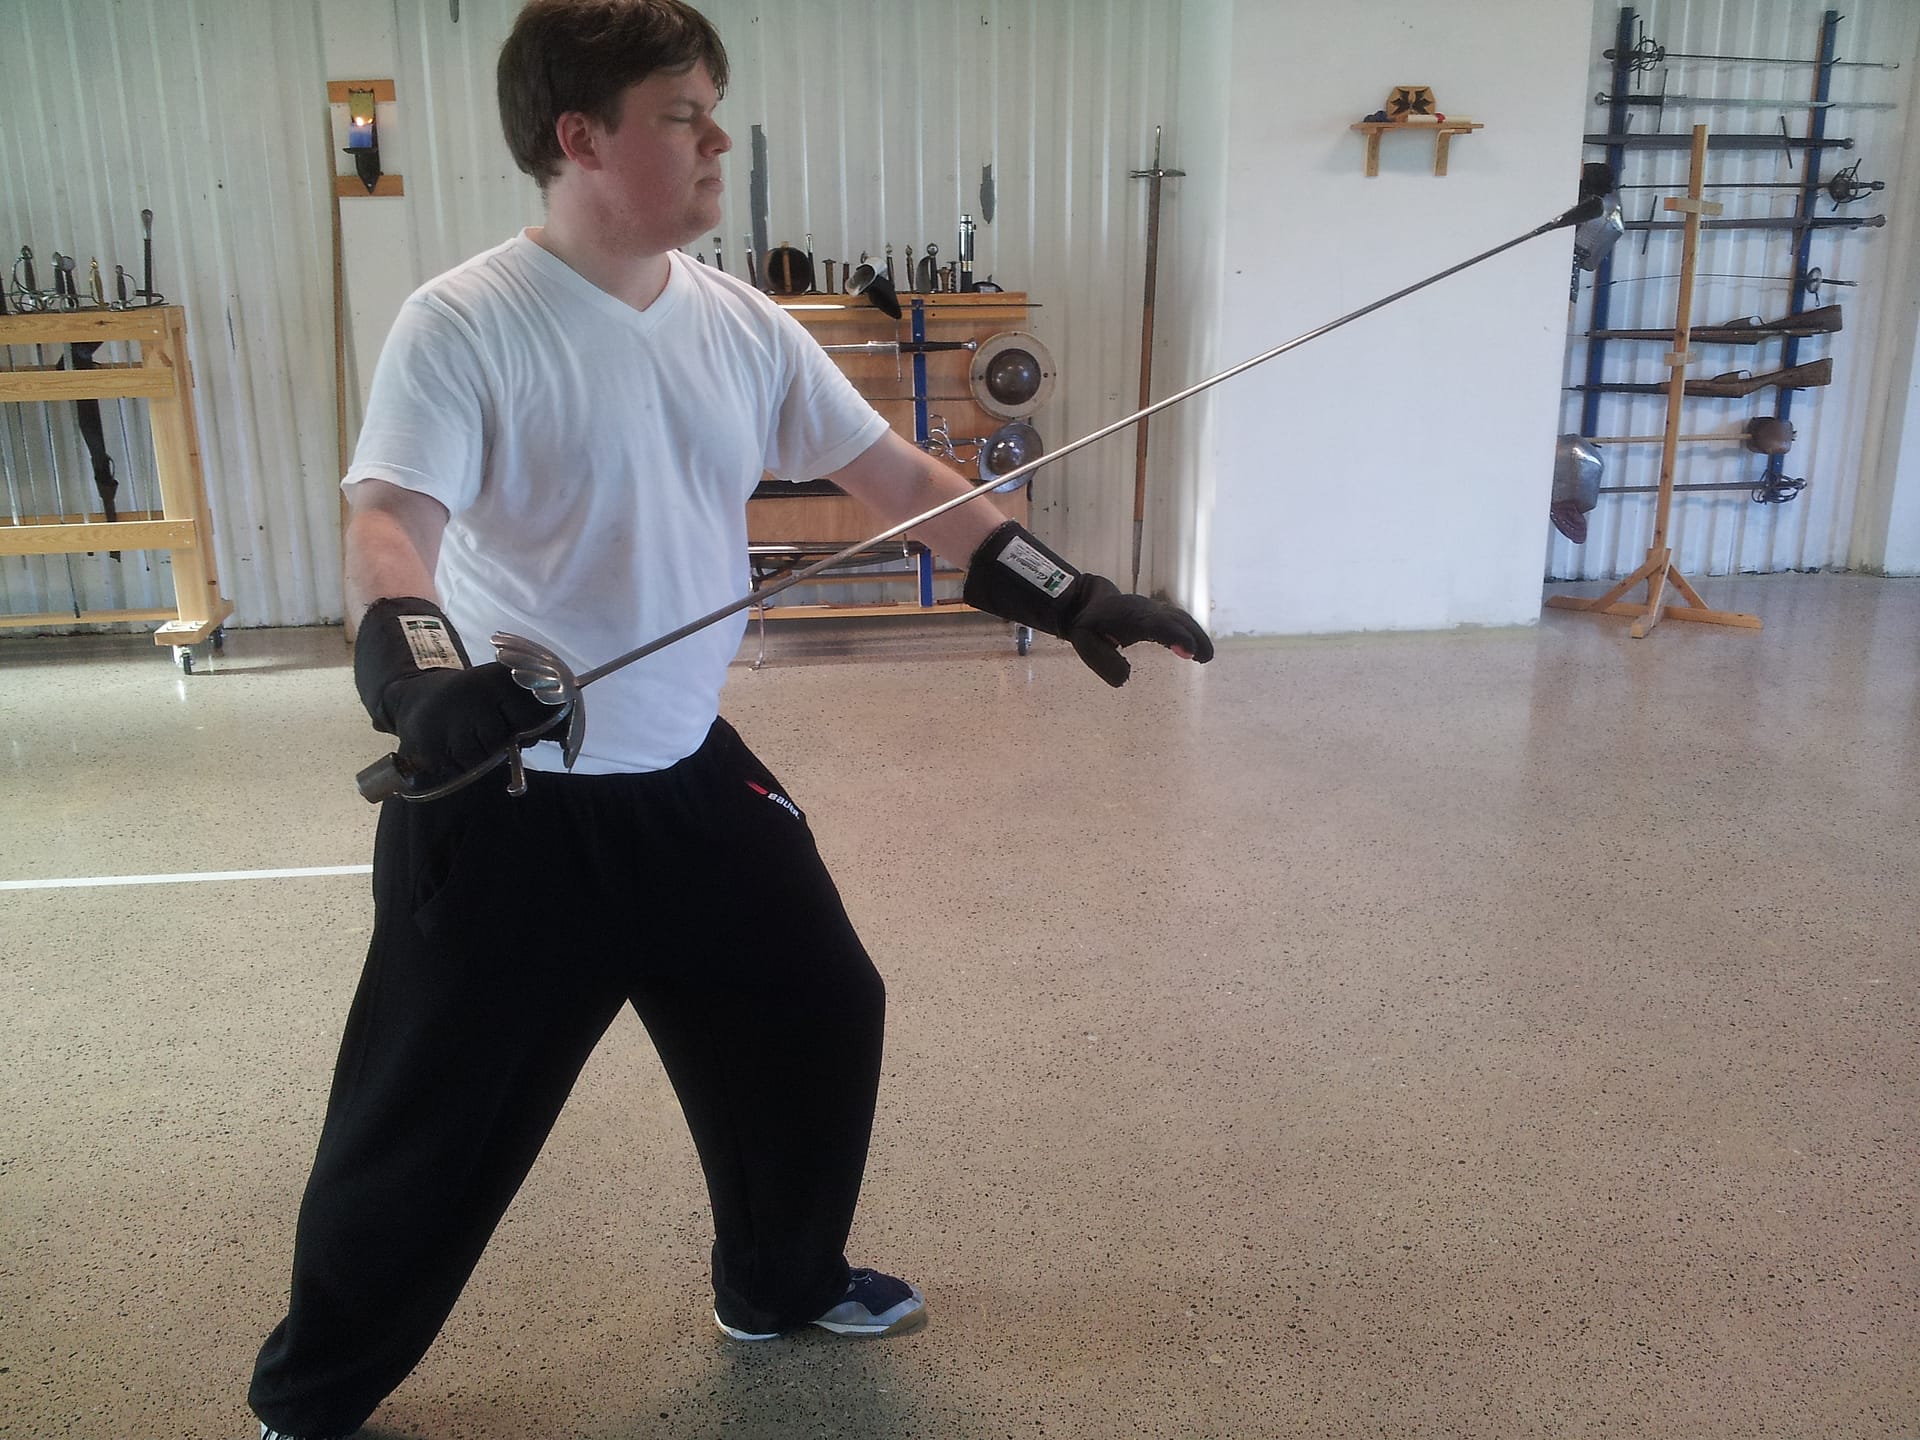
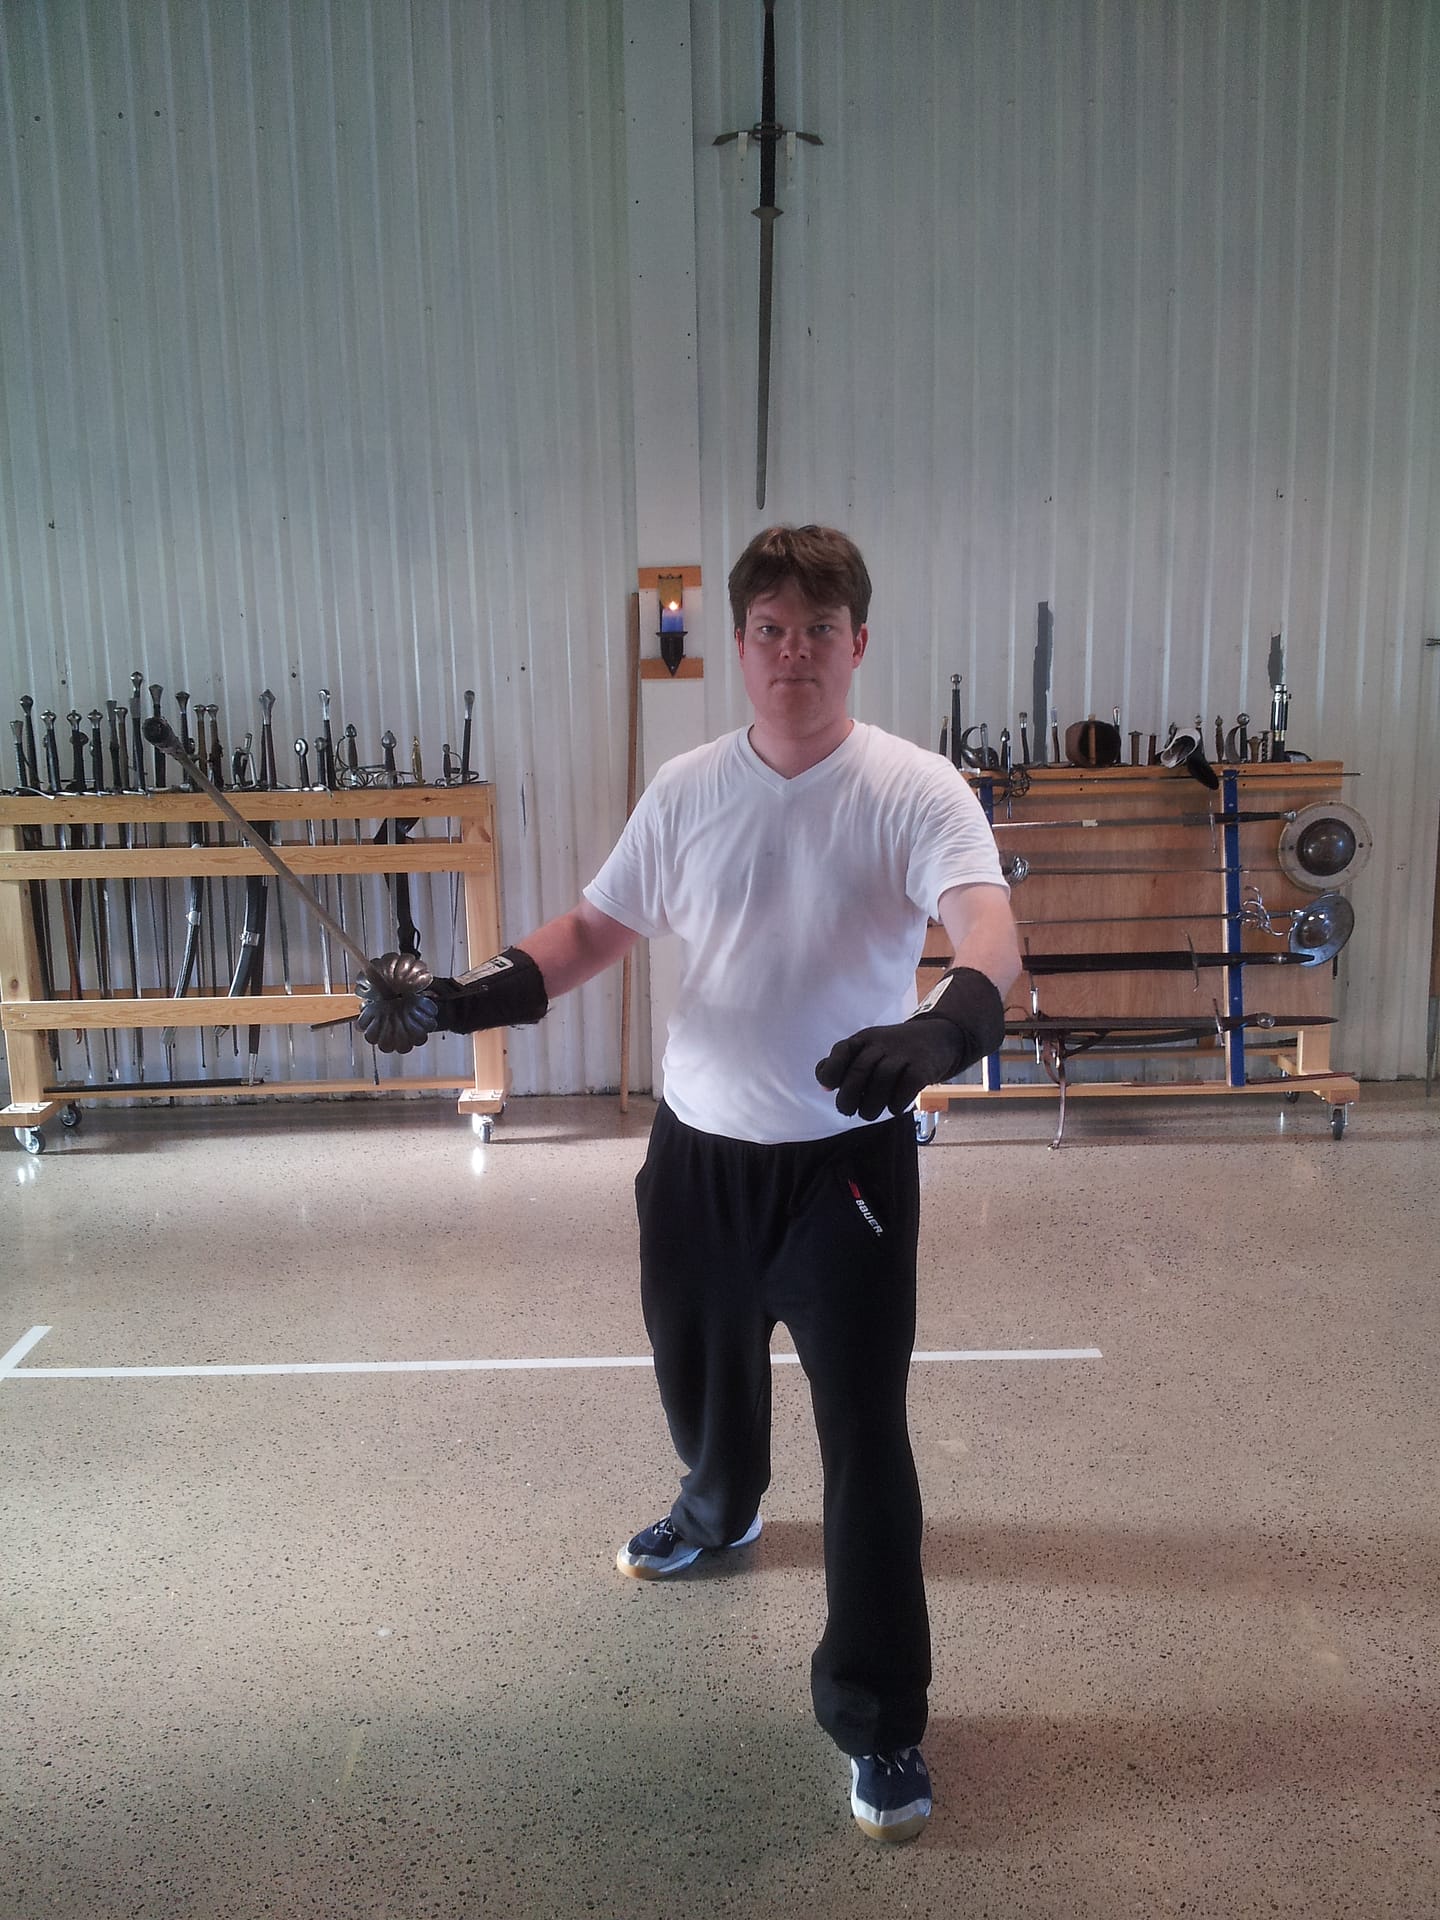
You can see the form here:

I have also included some essential repetition from the previous book, notably the discussion on safety, and advice on how to use the book, because I know from experience that some readers will ignore “you need to read part one first”, and those things must be read before training. 

Some people just want to learn how to sword fight. Others want to learn how to do the academic research side of historical swordsmanship. And some want to do both. These workbooks are obviously directed towards the “just teach me to sword fight” crowd, but I encourage all my students (and that includes you!) to at least be familiar with the primary source for your art, in this case, Gran Simulacro. 

So what is form? and what it is for? Fundamentally, form is the mechanism we use for creating a narrative of the system within the students’ brains. You can think of a form as a string of pearls. In the beginning, each pearl is just one technique or action. It’s a tiny little seed pearl. But with practise, and a broadening understanding of the Art, each pearl becomes the locus for other concepts and actions to be stored. A single action acts as a trigger for a cascade of related actions. Form is therefore a set of chapter headings, under which you can store everything you ever learn about swordsmanship with the rapier; and once you have filled out each chapter, you have an index to your entire knowledge base.

I cannot state this too strongly: the Form is just the beginning. It is not the be-all and end-all. When you write your own chapters, it becomes The Book of your rapier knowledge and skill. Once that is established you can simply run through the Form at any time and identify the weakest link. Start working on that link, using the “attached” training material, then re-run the Form to see whether what you have been working on is still the weakest link. The Form is therefore a diagnostic tool, an aide-memoire, a mechanics exercise or a guide to the system; in fact, it is the core of your practice. This workbook is about writing those chapter headings, and then filling in those chapters.

The major pitfall of this approach is that the organisation of the material in the Form has more to do with training space constraints and what felt good when designing it (“where do I want to go from here?”) than it does with any overtly logical structure. It does not, for example, follow the order of the plates in Gran Simulacro. Nor is it arranged according to difficulty. You may find yourself wanting to re-arrange things. That’s fine: the structure is (as with all forms) at least partly arbitrary. You only need to have this canonically correct if you are following my school’s syllabus and intending to grade within it. Otherwise, take this and make it your own! 

When I was a kid, I spent some time casting little lead soldiers. It was magic: you heat up the lead in a pan until it melts, pour it into the mould and wait for it to cool down, and out comes a cavalry officer, rifleman or whatever. We then had to trim off the inevitable little leaks and the rather large riser (the extra bit where you pour the metal in, called a “sprue” in the US). Then the figures were ready for painting. You can think of the Form in a similar way. The actions of the person doing the Form are moulded by the actions of the (imaginary or real) opponents, as well as by the overall training goals. As with the casting process, there are artefacts to be taken into account: little bits of metal that don’t really belong, or some turns or steps that you wouldn’t normally use but are necessary to keep the Form in the right shape. So long as you know what the Art should look like and what the applications are, or what a Royal Horse Guards trooper from 1815 is supposed to look like, the Form is useful. As soon as the mould (your understanding of which actions do what) gets sloppy, the Form becomes a shapeless, pointless mess. 

So here is a rule to be followed whenever you think about any kind of Form: 

Application first, Form second. 

We do this in class. When teaching the Form to students, we absolutely always do pair-drill (or handling drill) first, then the same actions solo, and then we add it to the Form. We never, ever, have students practising actions that they don’t know at least one application for, and we distinguish very clearly between a play or technique and a handling drill or skill-development exercise.

This post is an adapted extract from the new workbook. You can find the whole book here.

Or if you prefer learning from video classes, you should try my free Rapier Beginner's Class mini-course.

If you find the ideas here interesting, you may also like this post:

The Dragon: how to write forms or kata for martial arts training

Volume 2 of the new Rapier Workbook series is back from layout, and looking pretty spiffy. It will be going to the printers next week. Huzzah!

Volume 2 won't be so useful if you don't already have volume 1. You can get beautifully printed copies from the distributor here, or buy the print files to have printed locally or print them at home. I've set the pricing for the print files to “Pay what you want“. You can have them for free, or you can pay a million dollars for them (go on, I dare you), or anything in between. Just put the number in the price box, and that's what you pay.

You might think I'm mad for doing that, but here's my reasoning:

1) My readers are honest. If they say they can't afford the book, then they can't. But it costs me nothing to allow them to download it anyway, and that way they will get better at swordsmanship, which is the point of writing this book in the first place. Win-win.

2) My readers are generous when they can be. Some people will pay *more* than the suggested price, because they want to support my work.

3) Printing books at home is ok, but professional printing is usually much better. So some people will download the files for free, and then decide they can't live another day without the printed version.

4) This is the first book in a series. If you like the workbook format, and like my writing and teaching style, you're likely to go buy volume 2 when it comes out. Then volume 3, and 4.

So, not mad at all, I think!

Without doubt the best rapier duel in cinematic history is the one between Inigo Montoya and the Man in Black at the top of the Cliffs of Insanity, in The Princess Bride (1987). To celebrate breaking 10,000€ on my recent crowdfunding campaign, I told my backers I would put up a video of how the duel might have gone if the fight directors, cinema legends Peter Diamond and Bob Anderson, had actually followed the dialogue, and been versed in historical swordsmanship. (Please note, this is a thank-you, not a stretch goal. An important distinction in crowd-funding matters.)

The dialogue is, I think, the earliest reference to historical fencing masters in film. Here it is:

Inigo: “you are using Bonetti's defence against me, huh?”

MIB: “I thought it fitting considering the rocky terrain.”

Inigo: “Naturally, you must expect me to attack with Capoferro!”

MIB: “Naturally. But I find that Thibault cancels out Capoferro.”

Inigo: “Unless your enemy has studied his Agrippa!” [does great big somersault] “Which I have!”

Thus inspiring a legion of potential historical fencers to look up Bonetti, Capoferro, Thibault and Agrippa. Huzzah!

However, the actual choreography turns out on further study to bear no resemblance whatsoever to the fencing methods of the historical masters in question. This should come as no surprise, given that the goals of stage and screen combat are that no-one should die, and everyone should see what is happening: and the goals of real combat are to kill the enemy, which is best accomplished if no-one can see what’s going on. There are skills common to both, of course, such as control of measure and weapons handling, but the core intent could not be more different.

This begs the question: how does Thibault cancel out Capoferro?

As students of The Book (whichever source we are trying to recreate), it might be a good idea to also check the original source. The Princess Bride, first published in 1973, was a book for 14 years before it was a film.

Written by William Goldman, it is, as one might expect, even better than the movie. 

So, from the 1998 edition (pp 130-135) here are the actual references:

“They touched swords, and the man in black immediately began the Agrippa defence, which Inigo felt was sound, considering the rocky terrain, for the Agrippa kept the feet stationary at first, and made the chances of slipping minimal. Naturally, he countered with Capo Ferro, which surprised the man in black, but he defended well, quickly shifting out of Agrippa and taking the attack himself, using the principles of Thibault.

Inigo had to smile. No one had taken the attack against him in so long, and it was thrilling! He let the man in black advance, let him build up courage, retreating gracefully between some trees, letting his Bonetti defence keep him safe from harm.”

Quite different, I’m sure you’ll agree. But this was 40 years ago, long before the resurgence of historical swordsmanship in the 90s: where was Goldman getting his information? The next reference is also interesting:

“Inigo … was not entirely familiar with the style of the attack; it was mostly McBone, but there were snatches of Capo Ferro thrown in…”

I assume McBone is McBane (though why the change when the other masters are spelled normally: a little joke, perhaps?); has Goldman read Aylward’s The English Master of Arms? I would love to buy him a drink and ask him.

But anyhoo, and without further ado, here is the video:

And for those of you interested in how rapier fencing was really done: you might enjoy my book, The Duellist's Companion.

And if you're interested in recreating historical swordsmanship from historical sources, you might find my course useful. See you there!

Feel free to share this with your swashbuckling friends!


The core idea behind this post is this: in most cases, it is better to have something that doesn't look right, but does its job, than something that might look better, but fails. (The function of the object or system may be decoration, in which case there is no distinction to be made.)

Swordsmanship offers many concrete examples of this general idea.

For many rapier students, the hand position for the guard seconda is difficult.

oksecondaand it tends to end up looking a bit like this:
badseconda

So the first question to ask is, what is seconda for?

At this level, it has only one function. To close the outside line. So let's get that line as closed as possible, with a super-stable support system for the sword.

2013-06-19 19.52.432013-06-19 19.54.54

Nothing is getting through Janne's guard now! But it is not really seconda, is it? It is way too wide, and uses both hands. So we take the thing that works, and adapt it bit by bit to its proper form. First, only one hand.

2013-06-19 19.55.16Then bring back the left foot:

2013-06-19 19.55.302013-06-19 19.53.08

Then the hard bit: gradually develop the flexibility of elbow and wrist until the sword comes towards its proper place, without the sword slipping around in your grip:

2013-06-19 19.55.40

They key is to keep checking that the position is still firmly closing the line; all too often beginners will sacrifice its function for the sake of getting the hand in closer to the centre line. If the guard is supposed to be held like so, according to the instructions in the manual (eg Capoferro's Gran Simulacro), then one should work towards that position, once its function is understood.

As in swordsmanship, so in life. Function first, then form: form follows function. Which is why, when teaching form, I always start with applications, then string them together into the form. Form is by definition correct only when it fulfils its function.

If it looks good, that's a bonus.

You can read more about rapier forms here.

(with thanks to Janne Högdahl, whose seconda is pretty good these days.)

Search

Recent Posts

Ready to Wrestle?

I’m delighted to let you know that From Medieval Manuscript to Modern Practice: the Wrestling

¡Viva la Panóplia!

I’m just back from the Panóplia Iberica, held in Alconchel, a village in Spain near

Categories

Categories

Tags