
About a year ago, my colleague and fellow Fiorista Bob Charrette kindly agreed to let me use some tracings he had made from Il Fior di Battaglia, originally for his book Armizare, in my own little book of mnemonic verses, the Armizare Vade Mecum. As a token royalty payment I offered to make him four wooden rondel daggers, to his specifications. Those specs were a 12 1/2″ blade and 5″ between rondels. So, quite a bit bigger than my usual design.
I began by cutting out the blanks, hacking off as much extra material as possible on the bandsaw to save time and dust.

I began by cutting out the blanks, hacking off as much extra material as possible on the bandsaw to save time and dust.
I used white oak, quercus robur, not least as it is a likely candidate for the wood that such daggers may have been made of in the 14th century (though they would probably have been turned green, not dry).
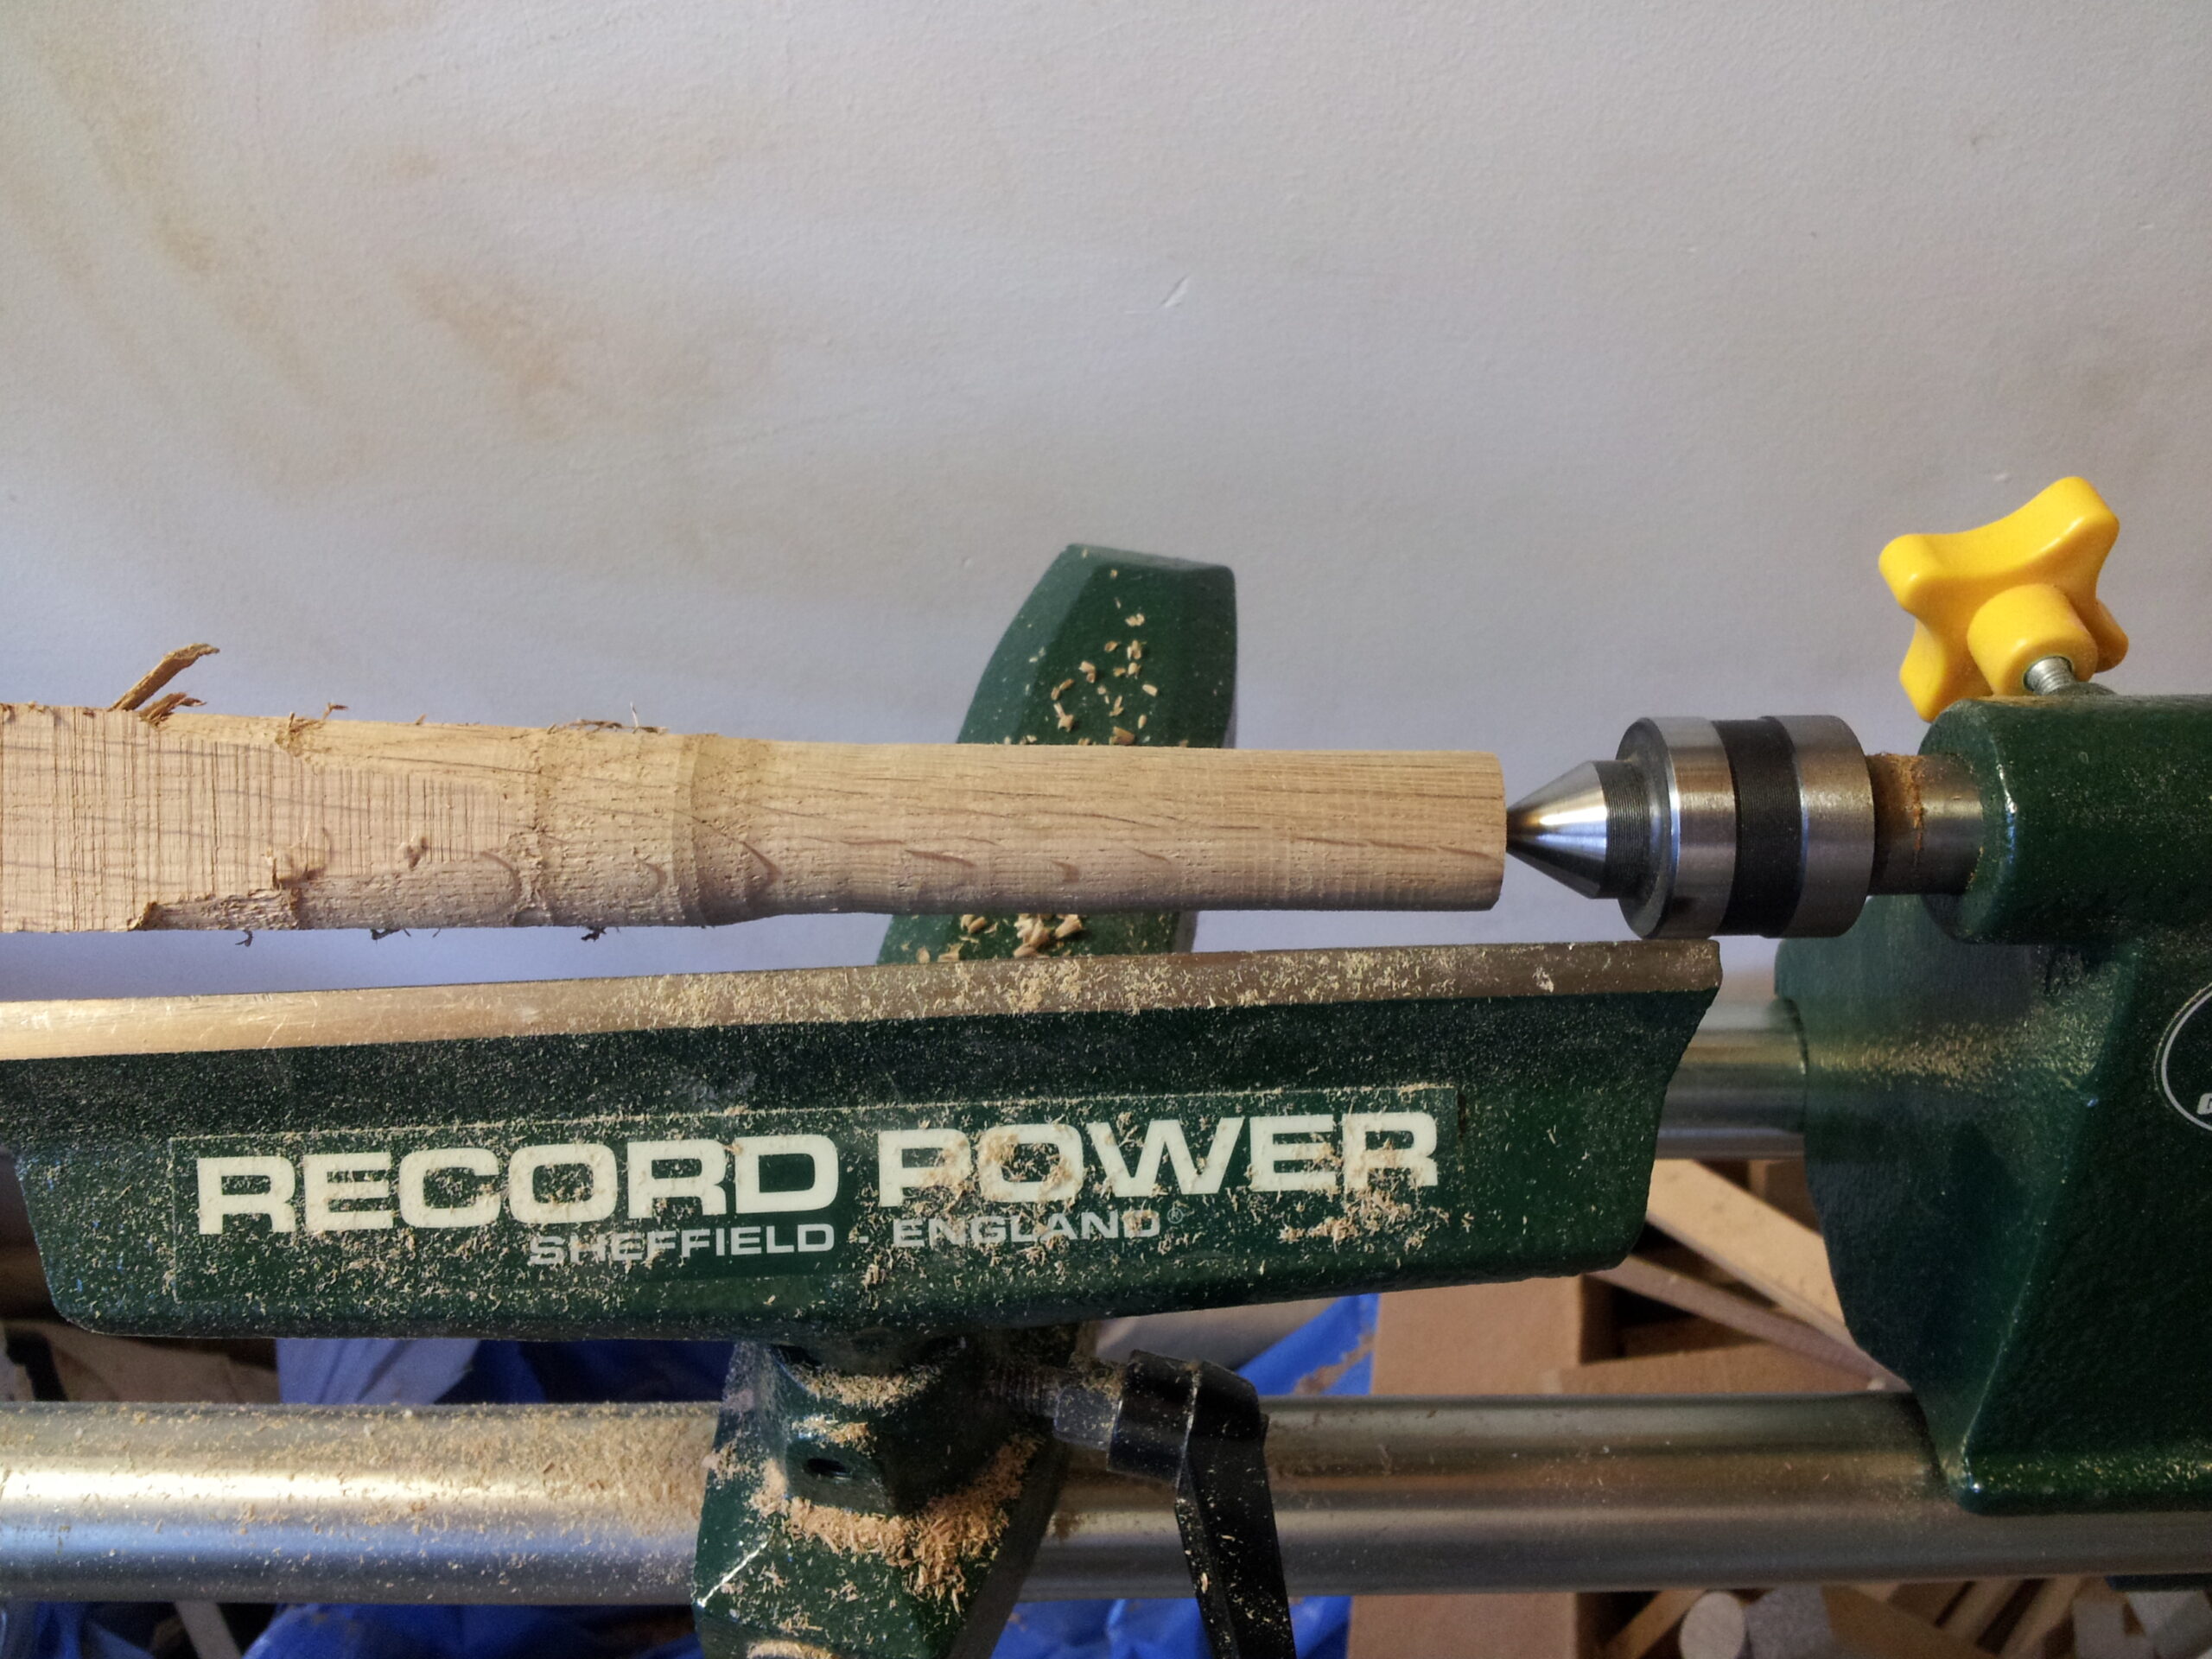
I usually work from left to right, and would get the handle section done first, then blade, then finish at the point, but for some reason today I decided to get the point done first. I turned a cylinder first with a roughing gouge:
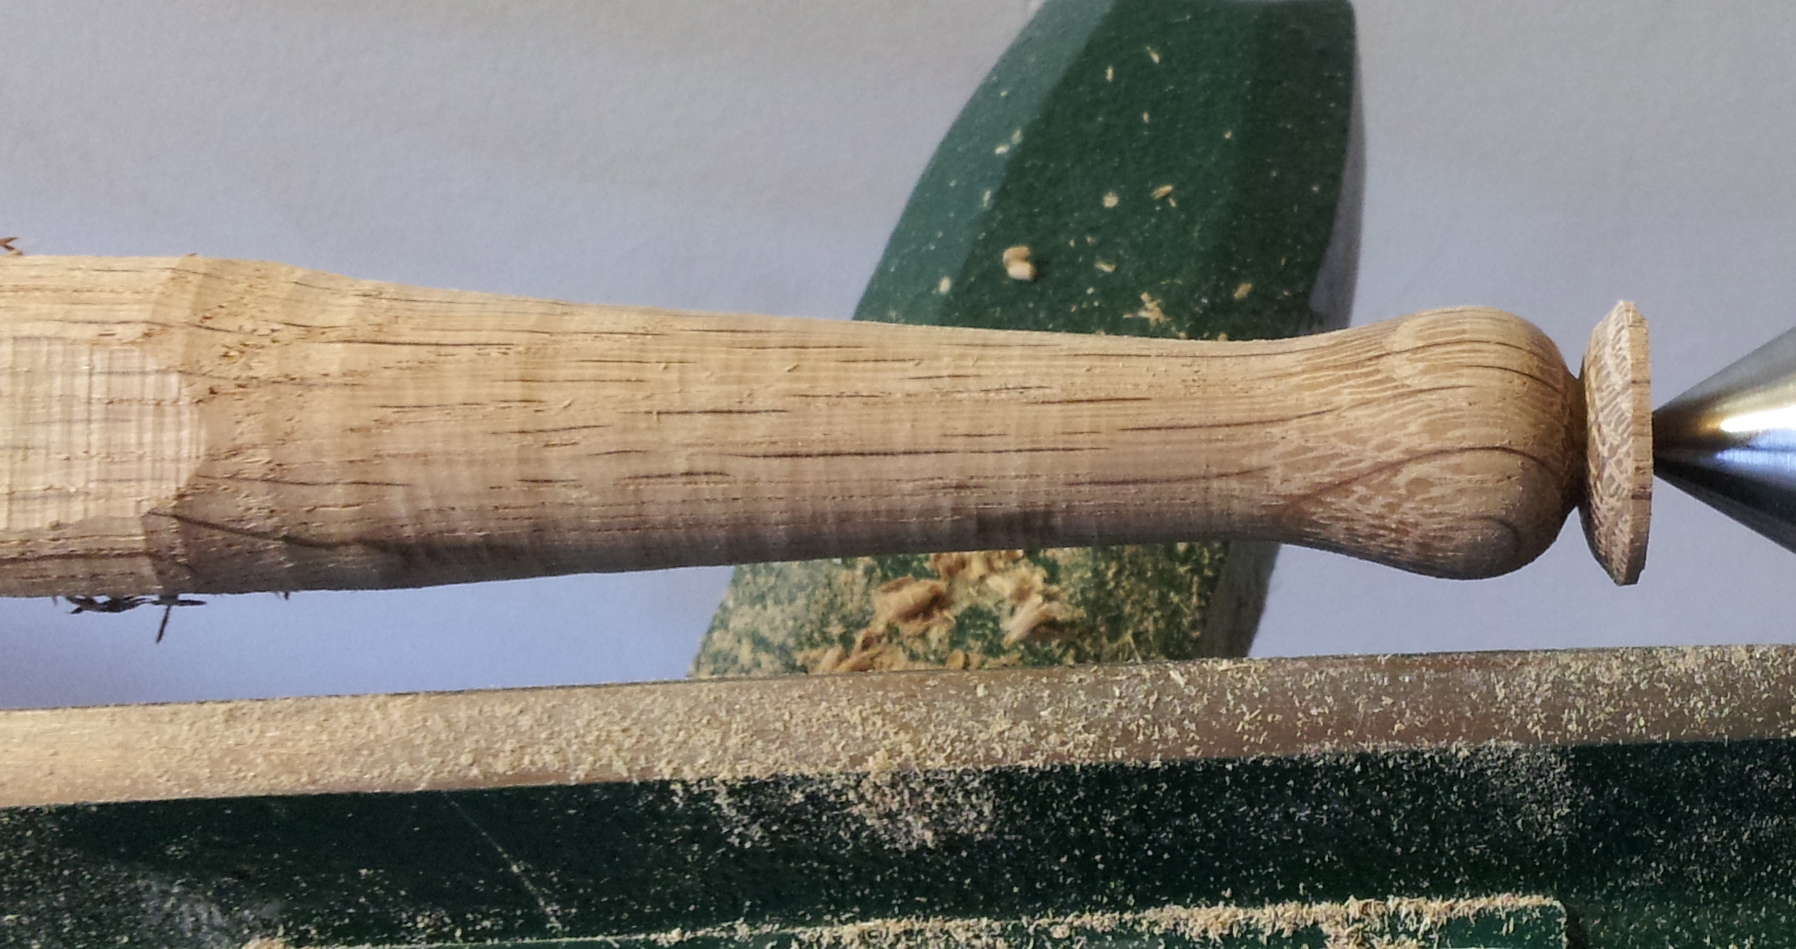
And then got in some oval skew practice doing the point. The finish was pretty good, I think.
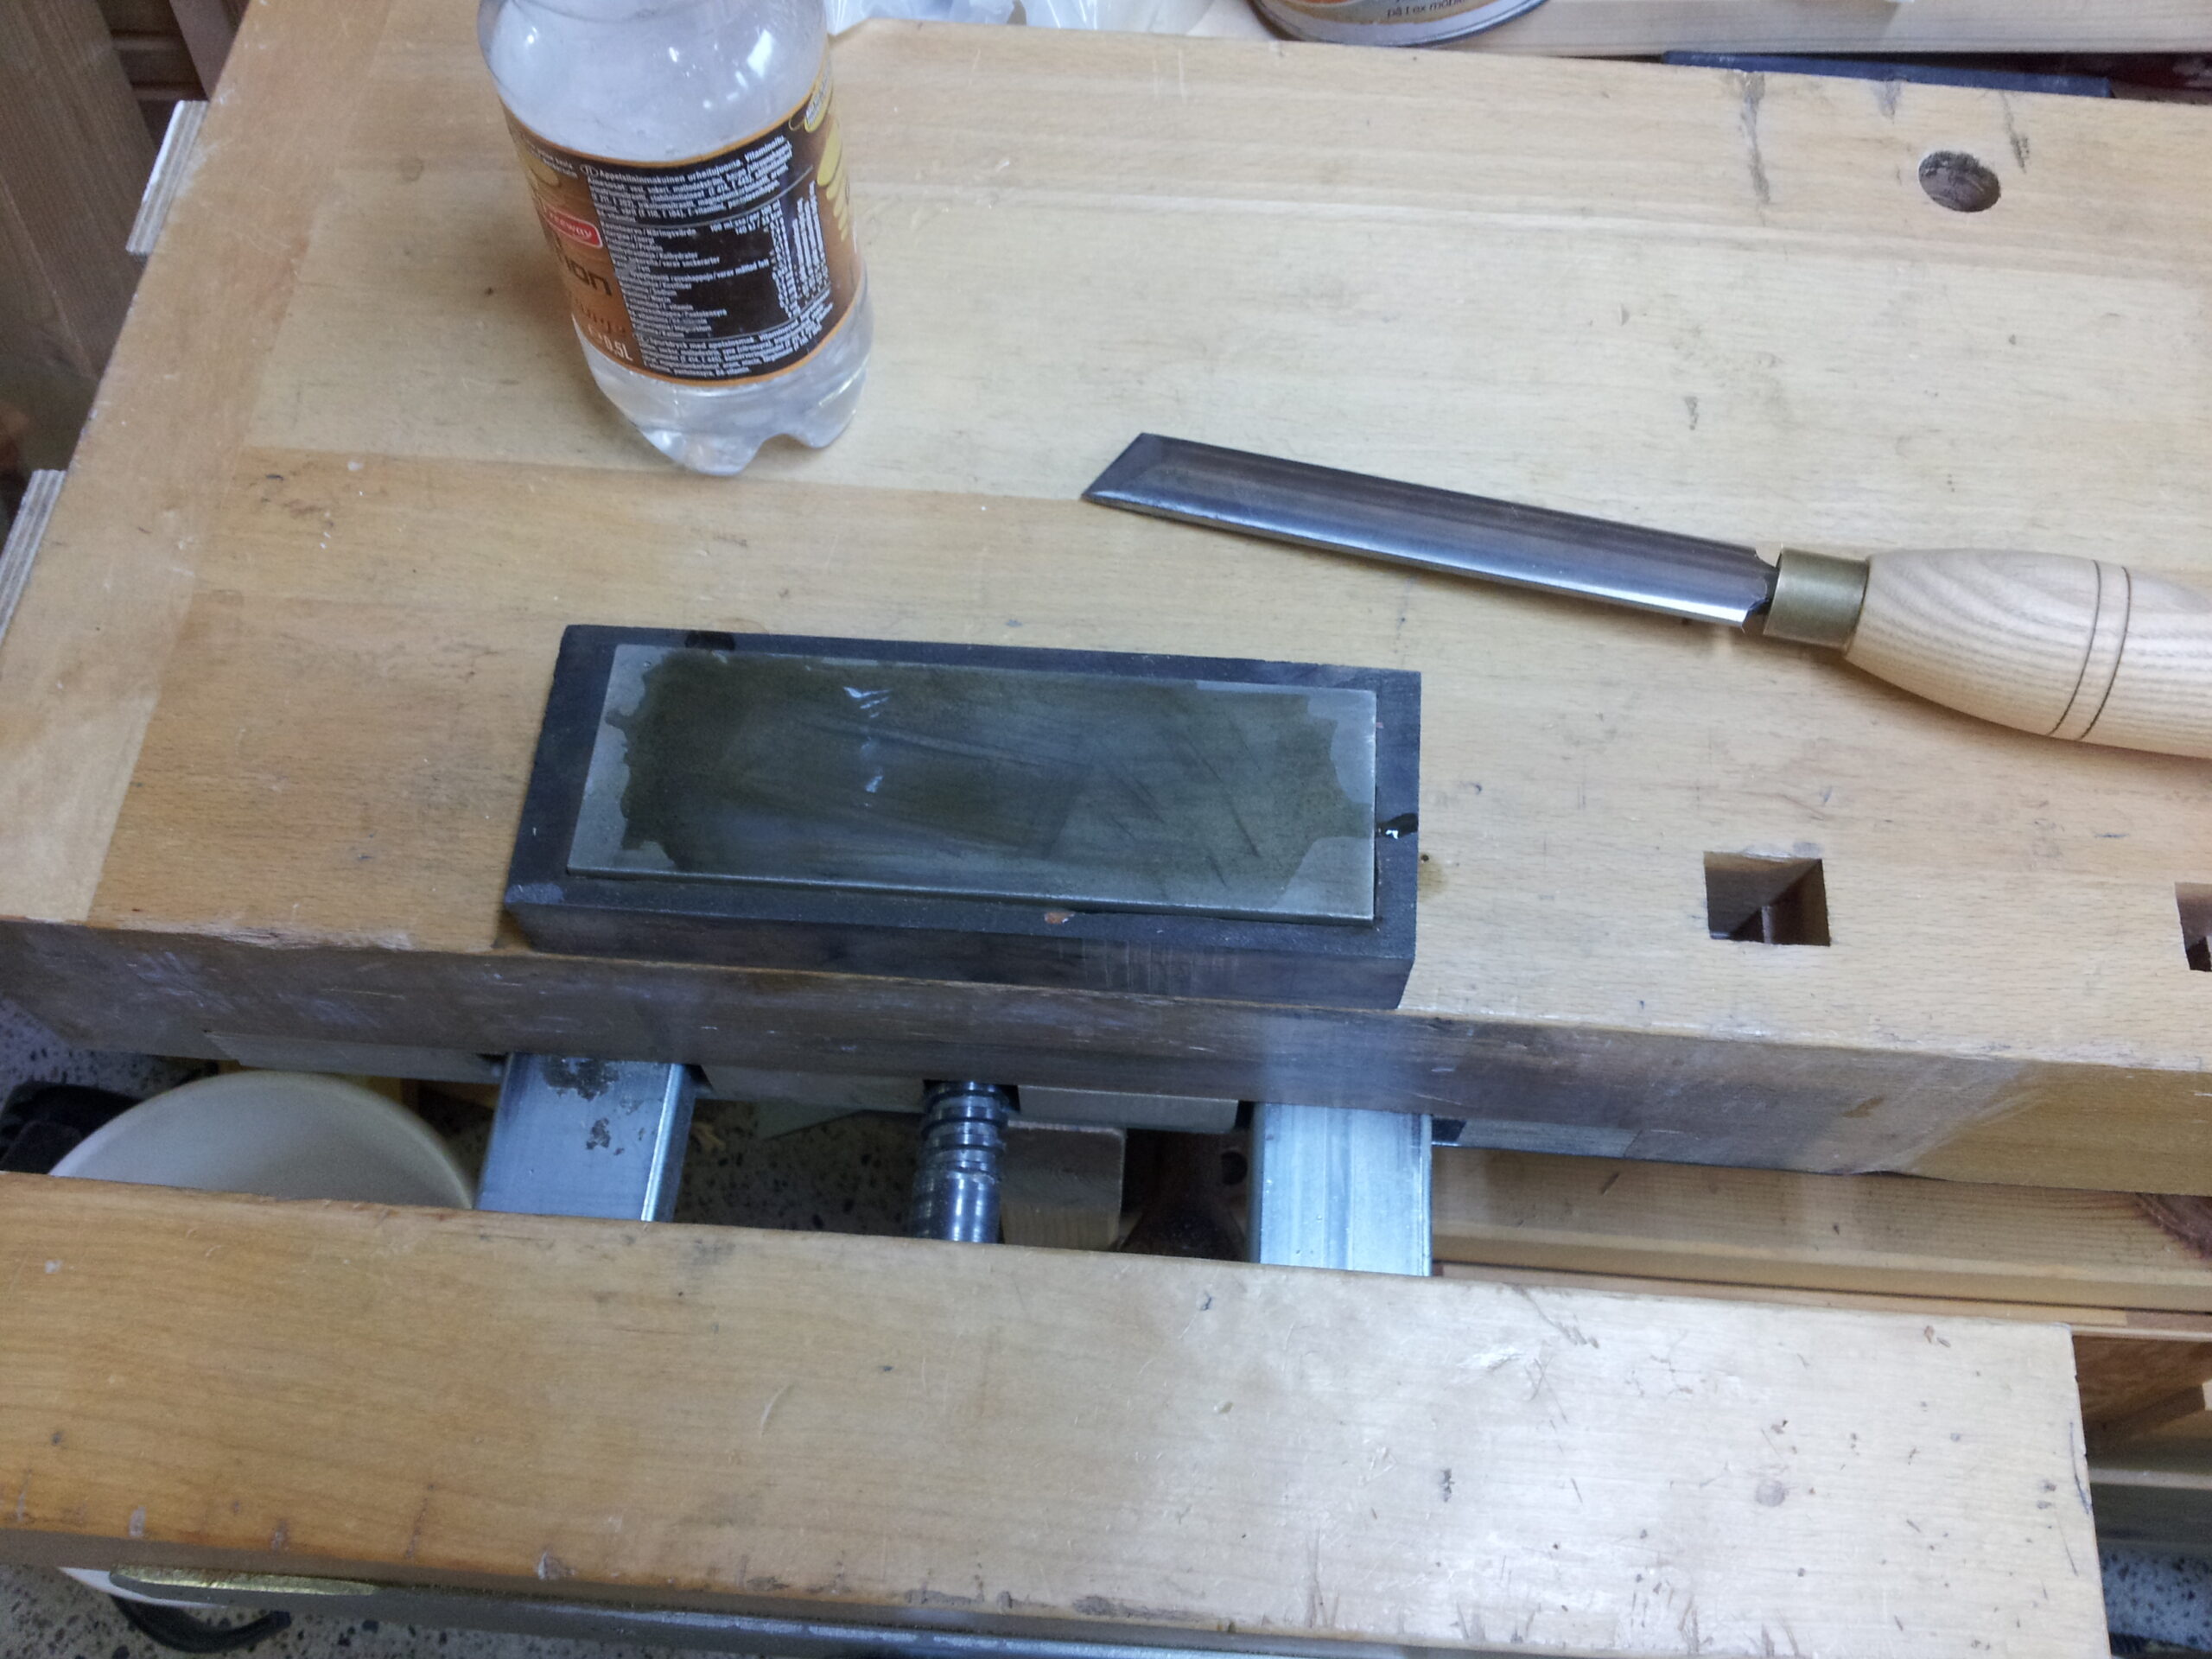
It helps to keep the tool sharp. I have a 2000 grit (or so) diamond lap mounted on a wooden block that fits into two dog holes on my bench. Handy for quick touch-ups. I almost never go to the grinder for sharpening when turning. I don't even usually bother to turn off the lathe.
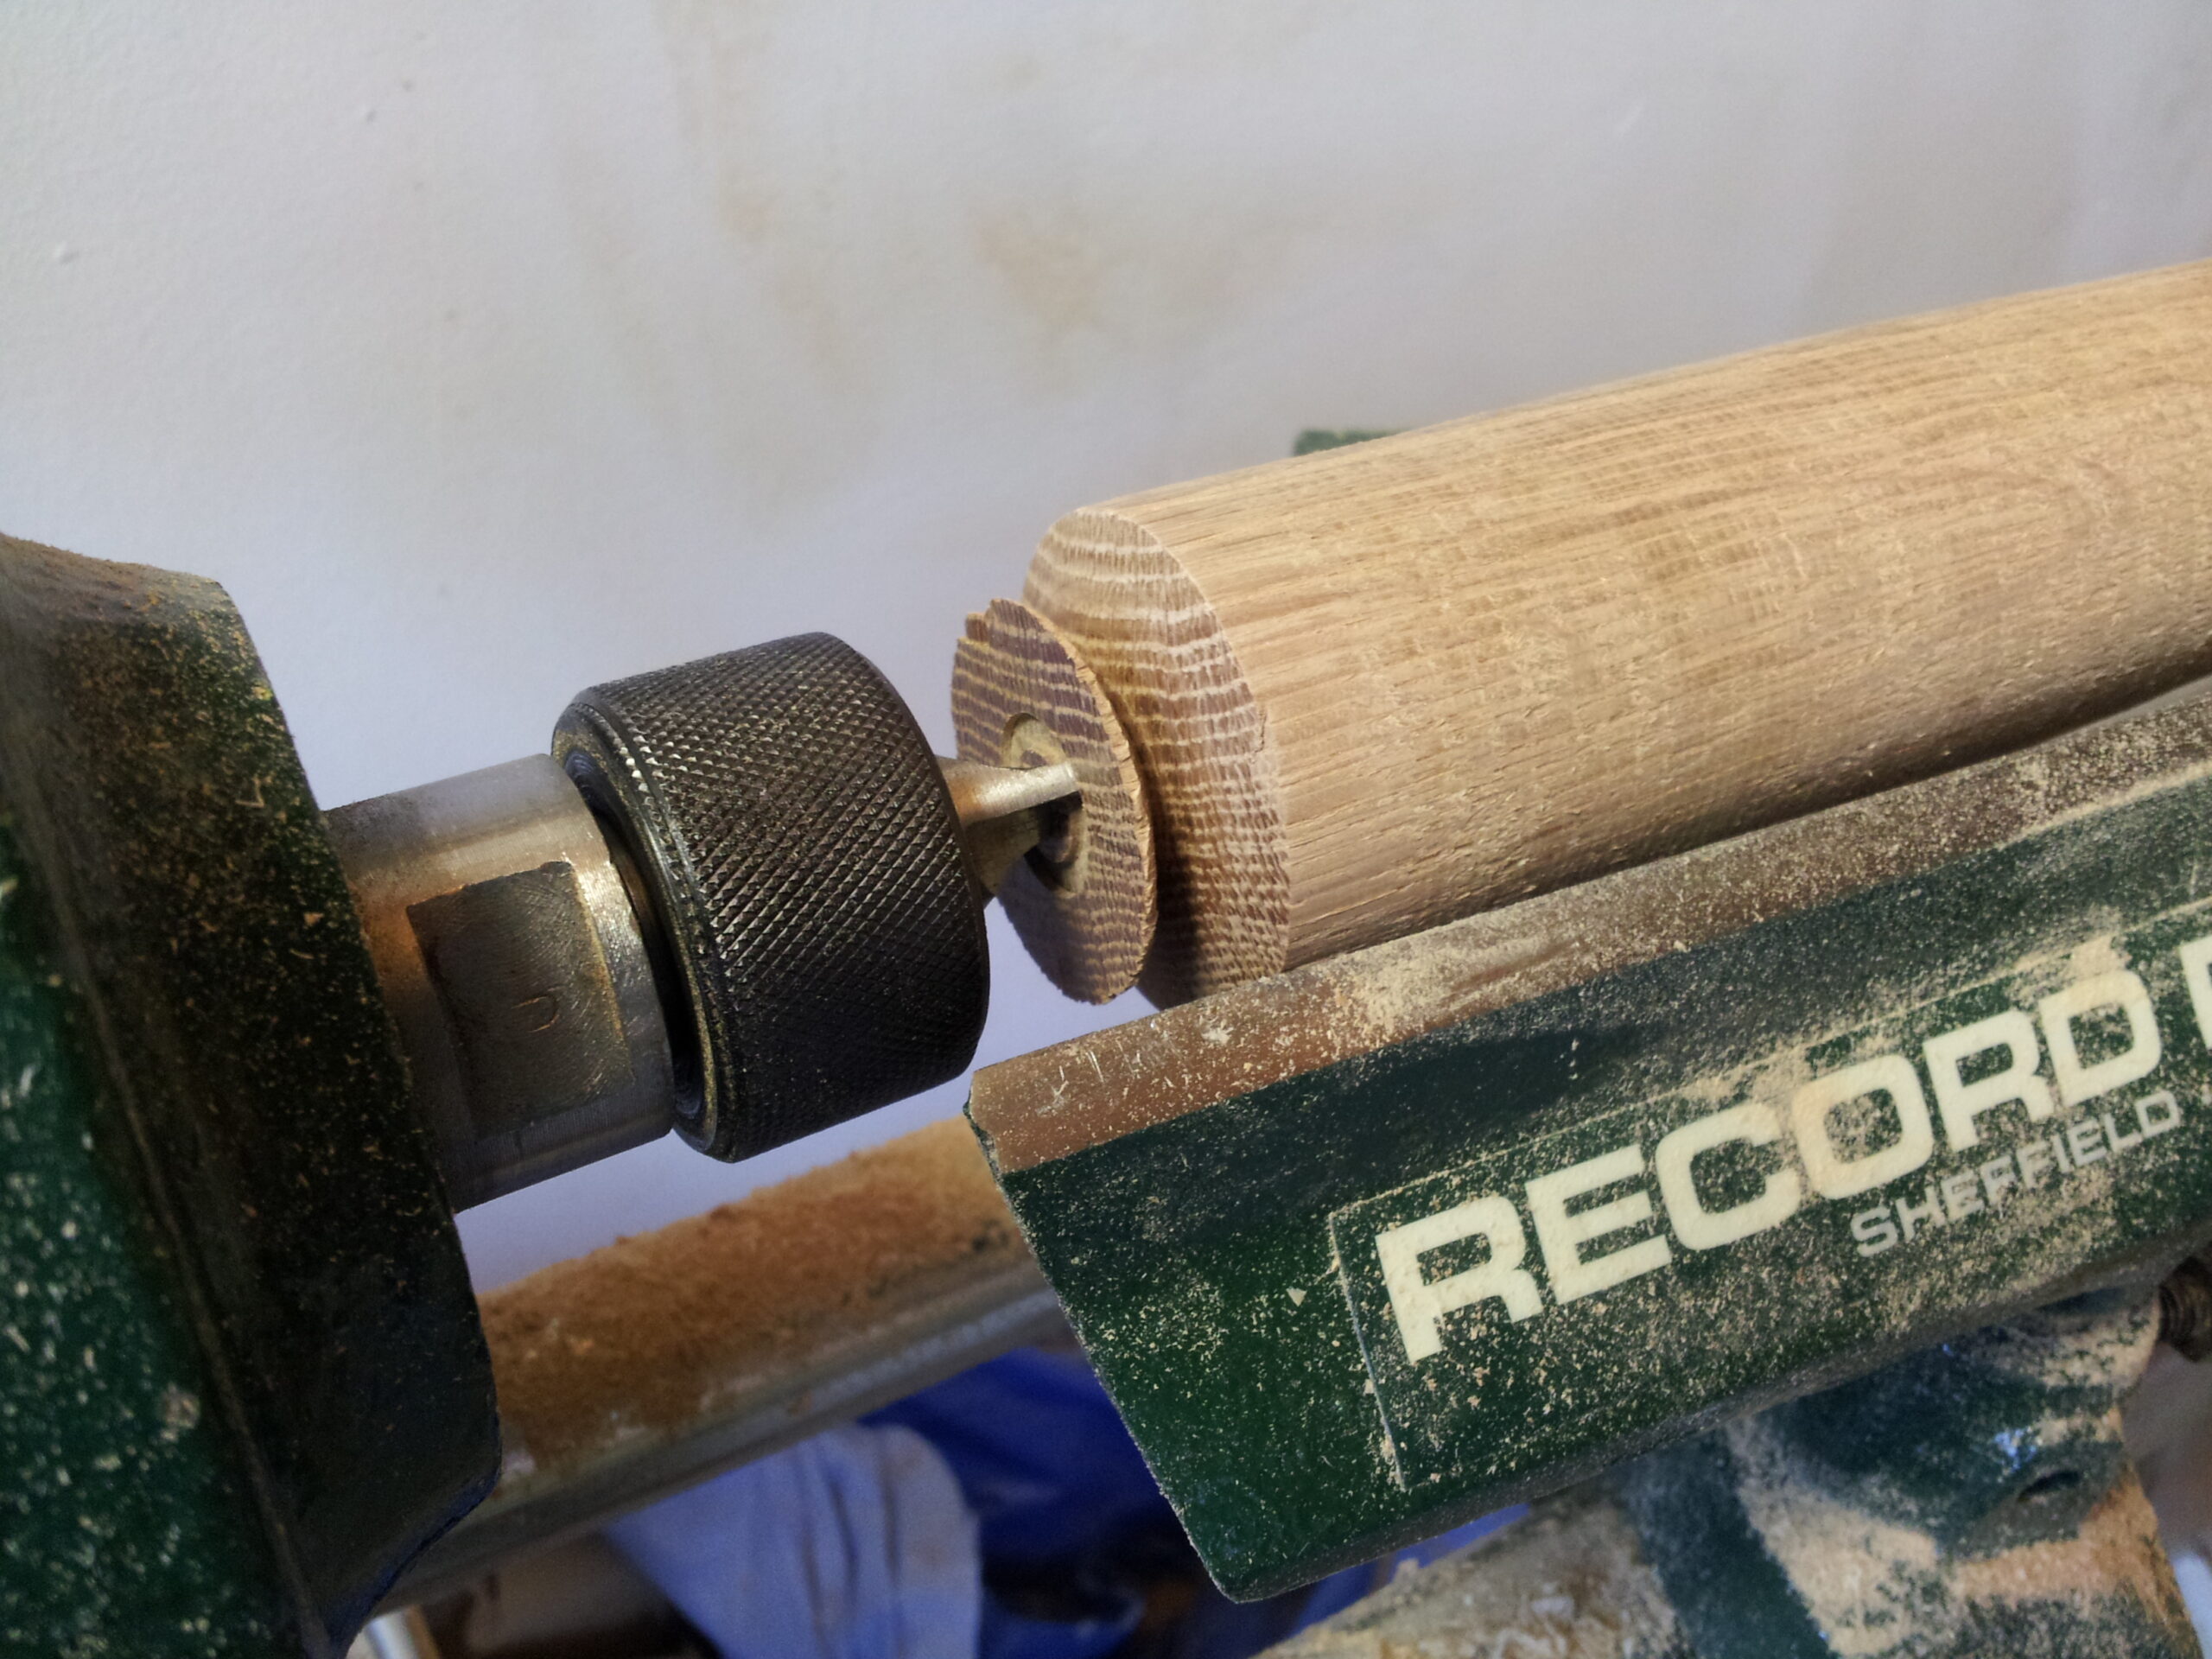
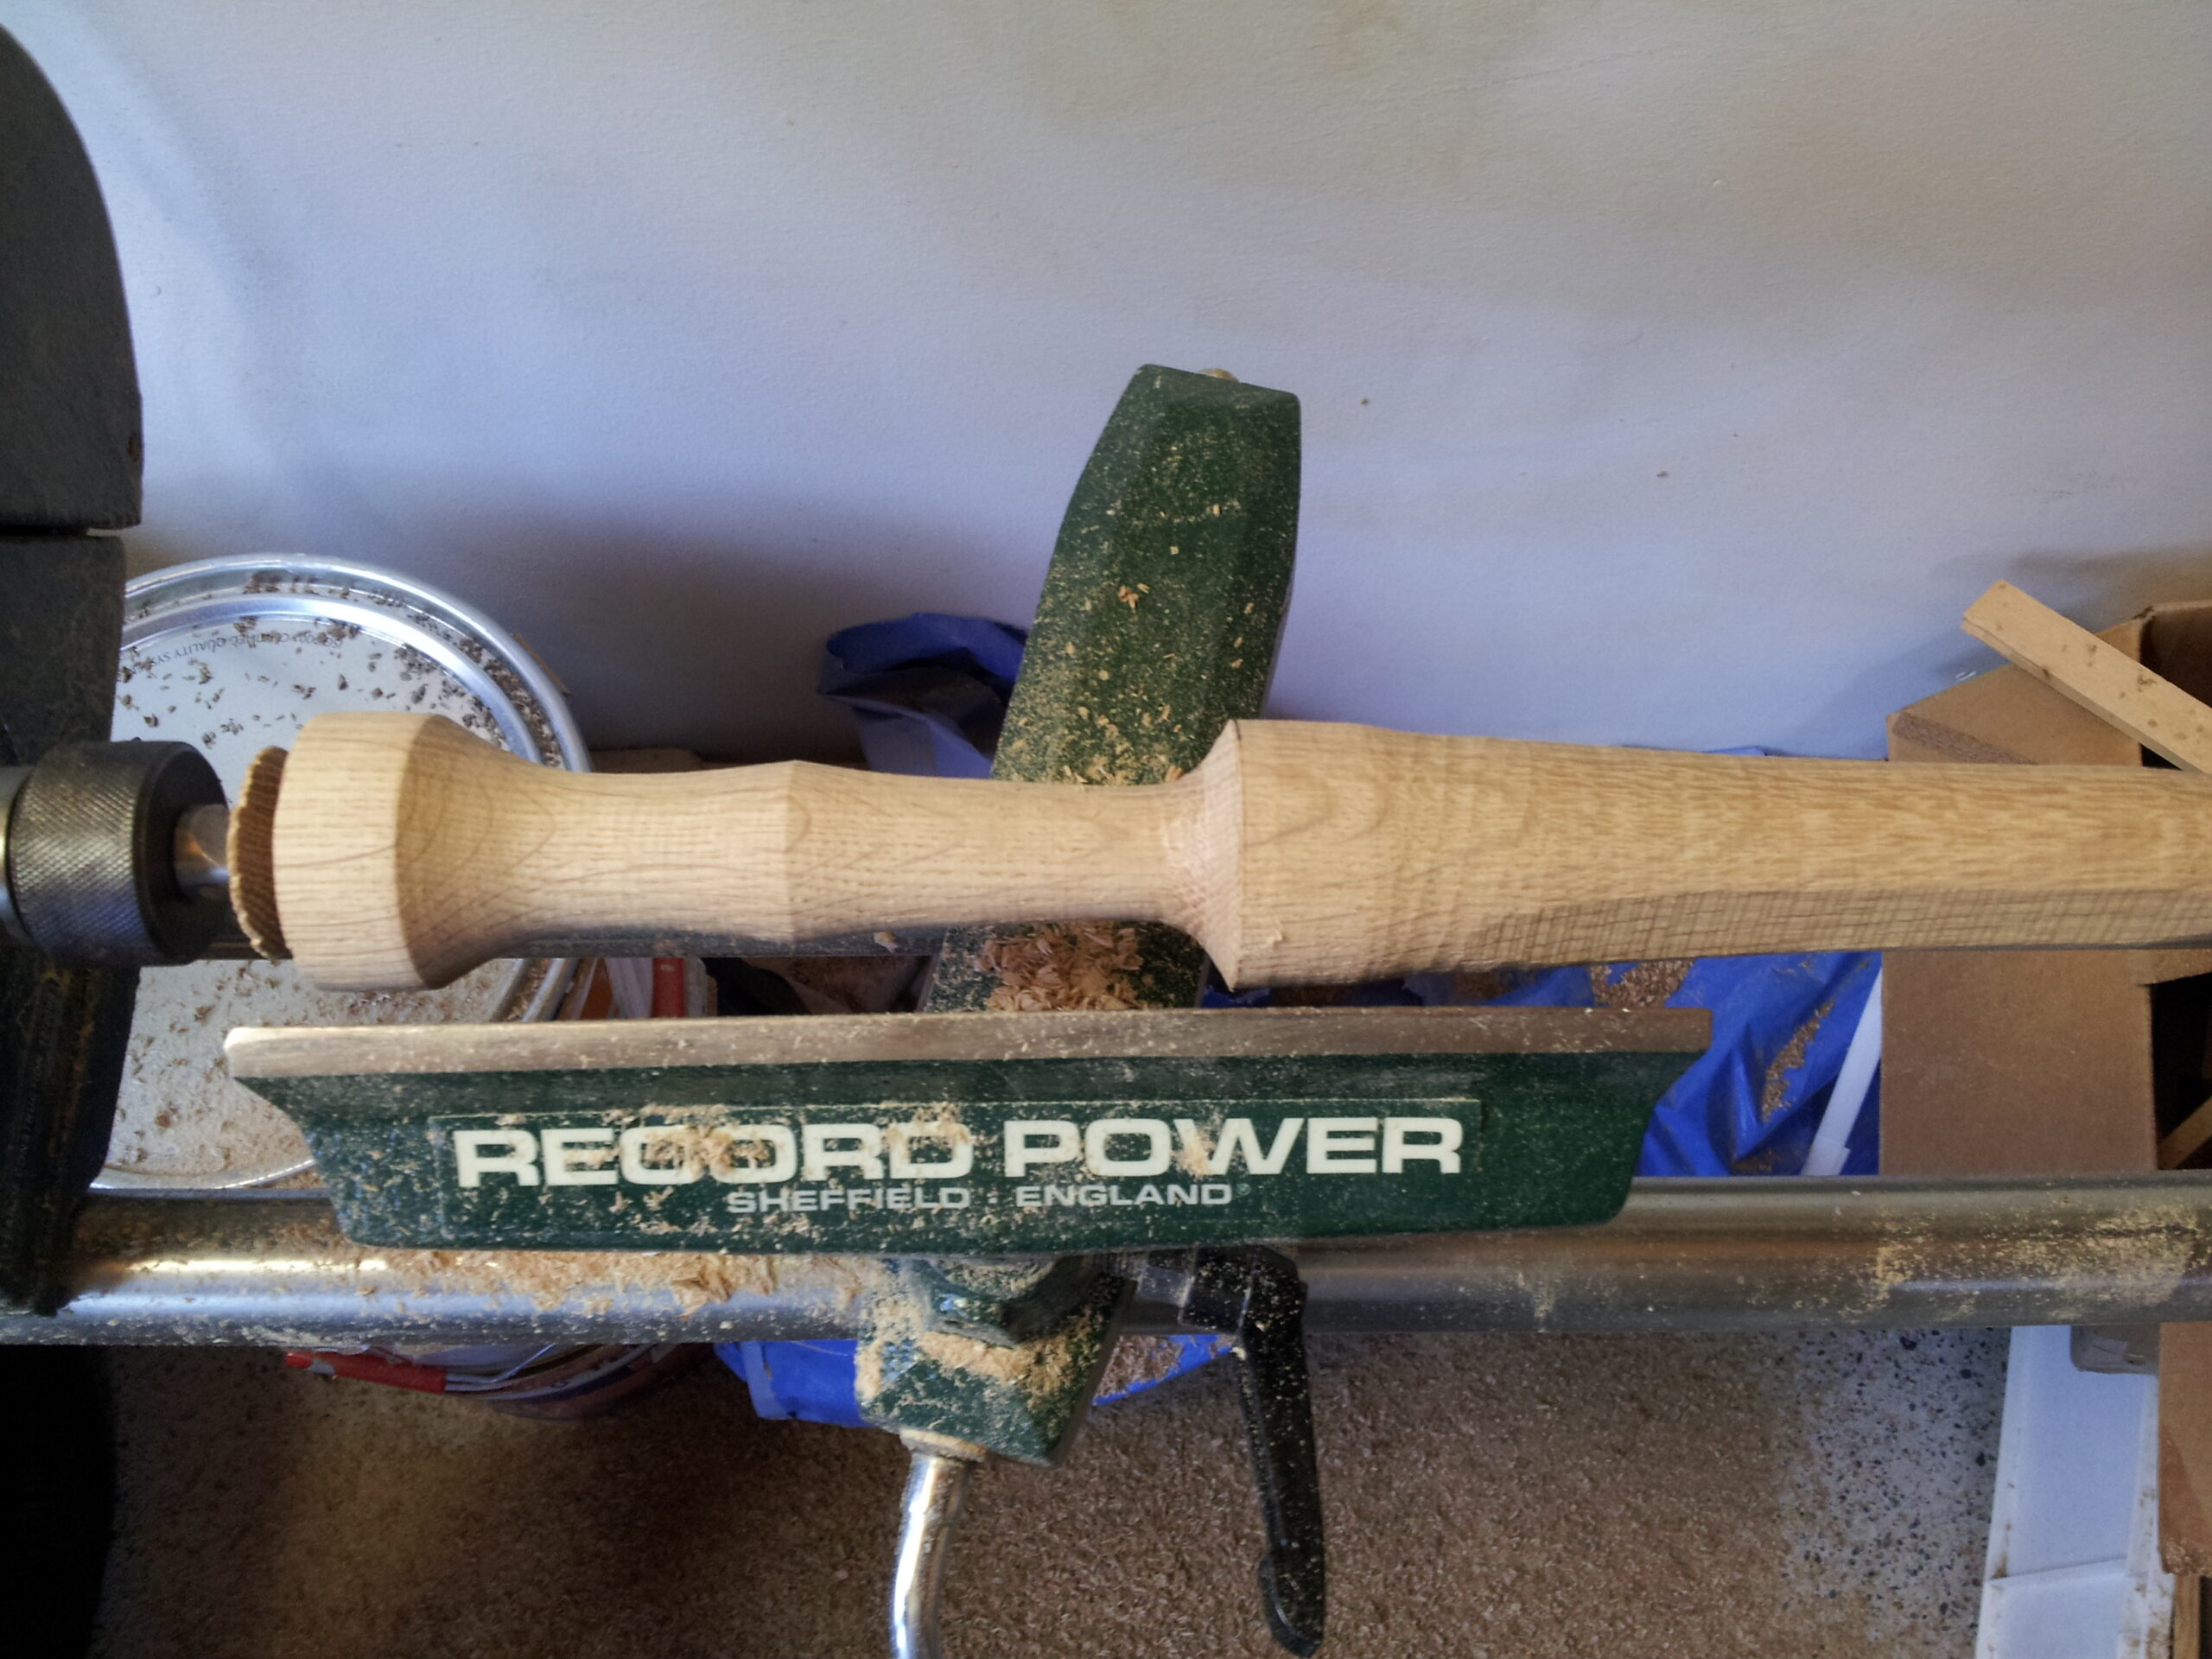
Then came the handle end: first another cylinder. Note that I've left a nice big plate at the chuck, you'll see why at the end…
Then measure out the specified 5″ between rondels, and turn the handle:
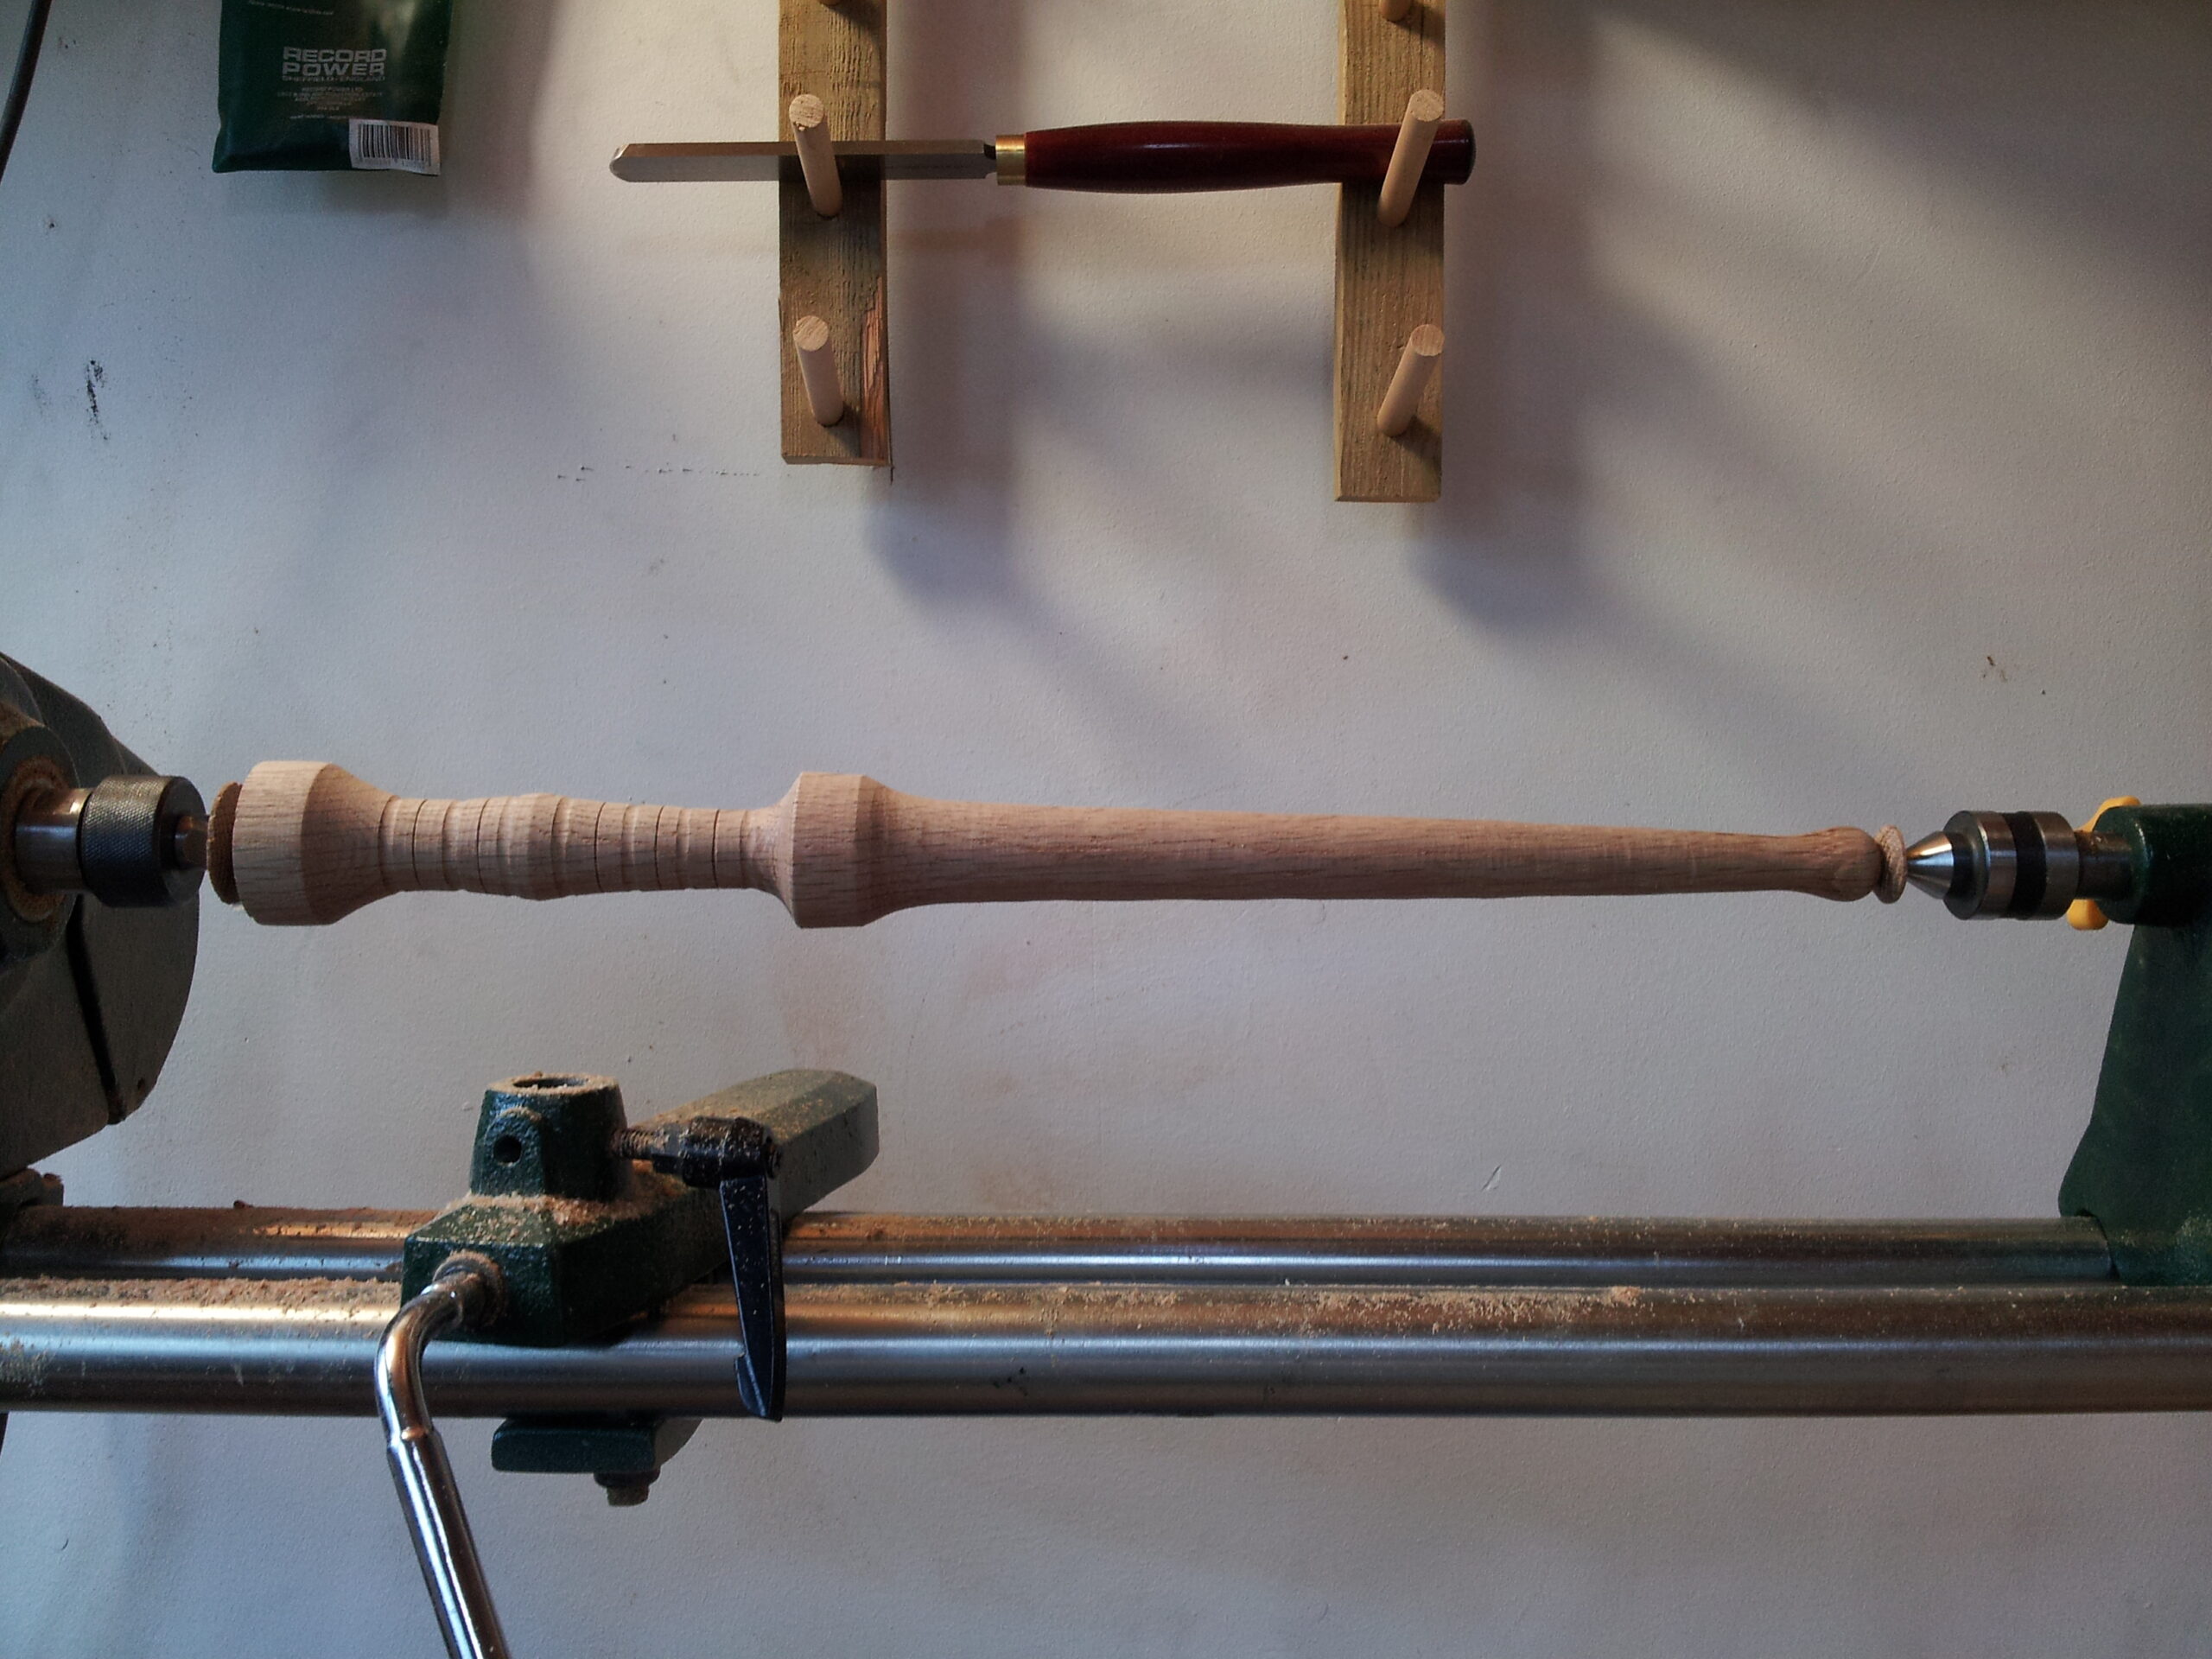
Then I finished shaping the blade; it gets pretty unstable when turning in the middle of such a long stick, so I usually put the four fingers of my left hand on the far side of the work, to counteract the pressure from the chisel, which is held on the rest by my right hand and the thumb off my left. you may imagine that this left me with no spare fingers for using the camera! This left me with the following finished shape. I tarted up the handle with some extra grooves and such, just because.
Then sanding: first 120 grit with the absolutely fabulous (Finnish made!) abranet sandpaper: the sandpaper that NEVER CLOGS! I get it on a roll and cut bits off as necessary. This is the best woodworking invention of the last 50 years, I think.
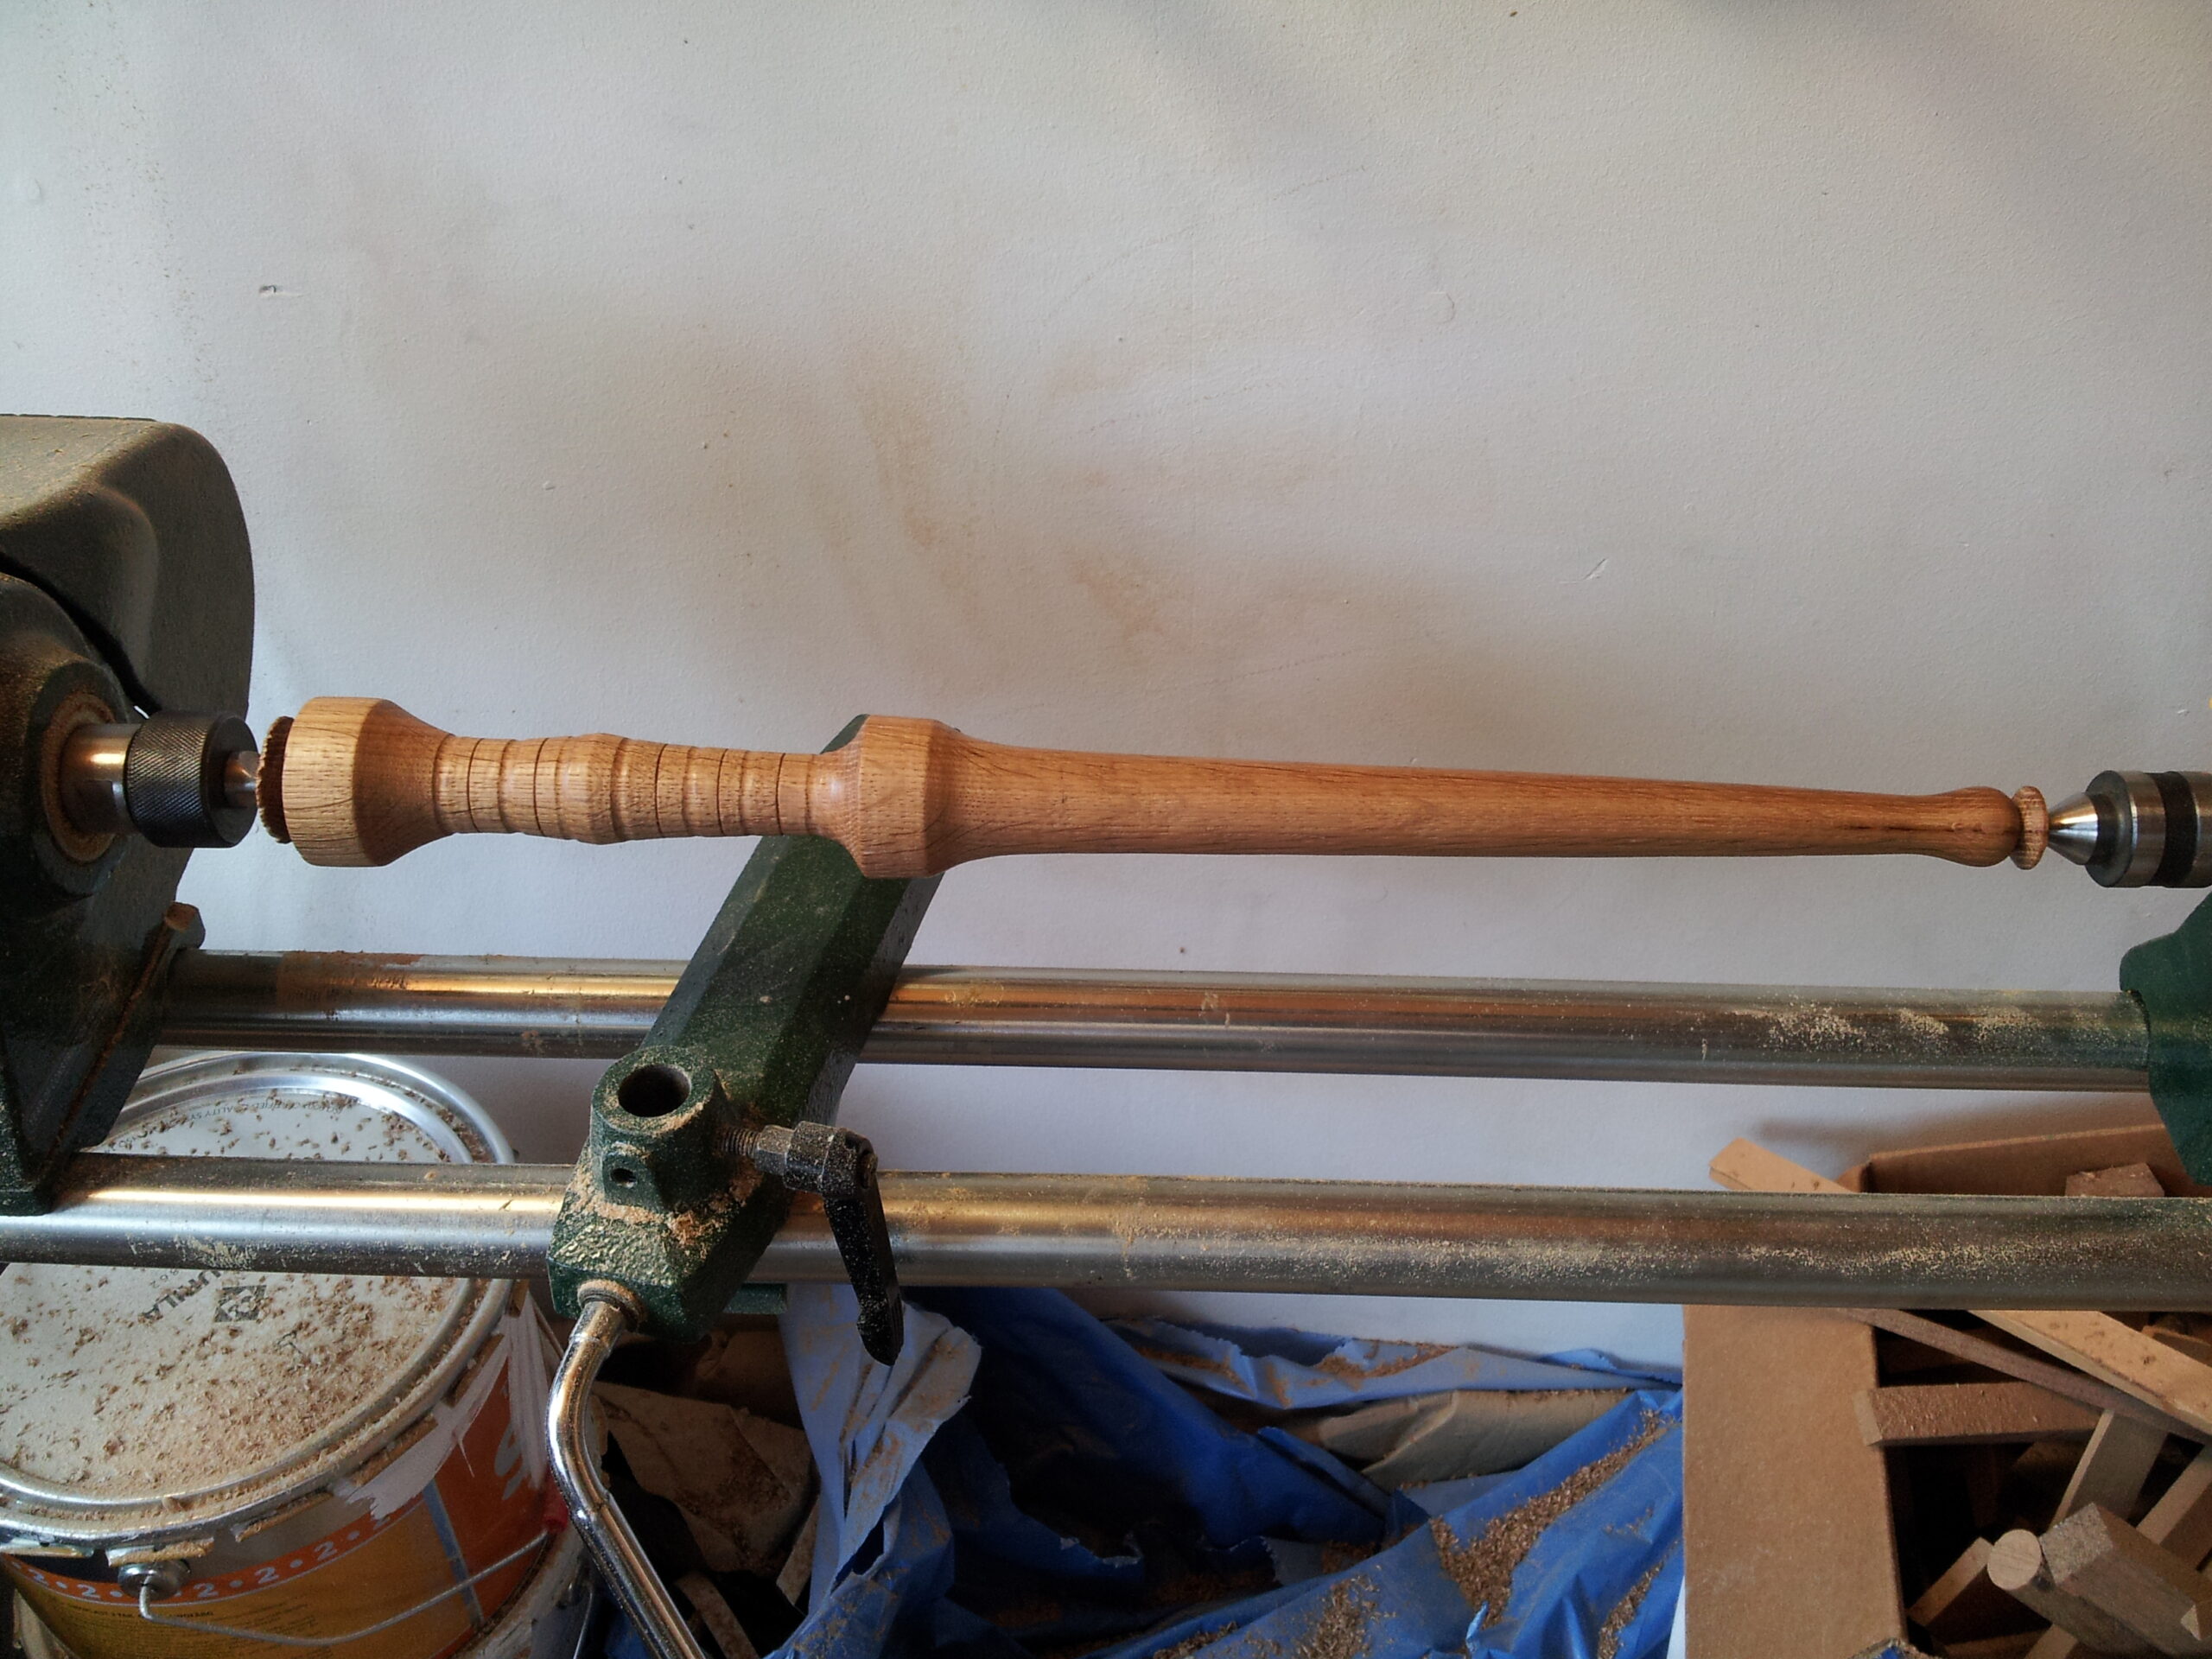
Then I raised the grain (of course. Yes this is a training tool and will be severely battered over the course of its life, but it will leave my shop SHINY!) dried off with the hot air gun (which saves about 20 minutes of hanging about per application), and went straight up to 240, raised the grain again, and finished off with 320. Nice and smooth, but not ridiculously so (I've been known to keep going to 800, which is way smoother than the wood itself. Silly really). Then a coat of boiled linseed oil, the first of perhaps 4, each of which will be rubbed down and buffed on the lathe. I usually french polish my daggers, because I like it, but these are going to the author of The Peel Affinity, and hence I wanted to avoid any possible anachronisms. Shellac (from which I make the polish) was not used much in Europe as a wood finish before the nineteenth century (though it's been around a lot longer. See here if interested.) But linseed oil presents no opportunity for some smart-arse at a living history event to say “did they really lacquer their daggers back then?” It is also very easy to spruce up if the dagger starts to show some wear.
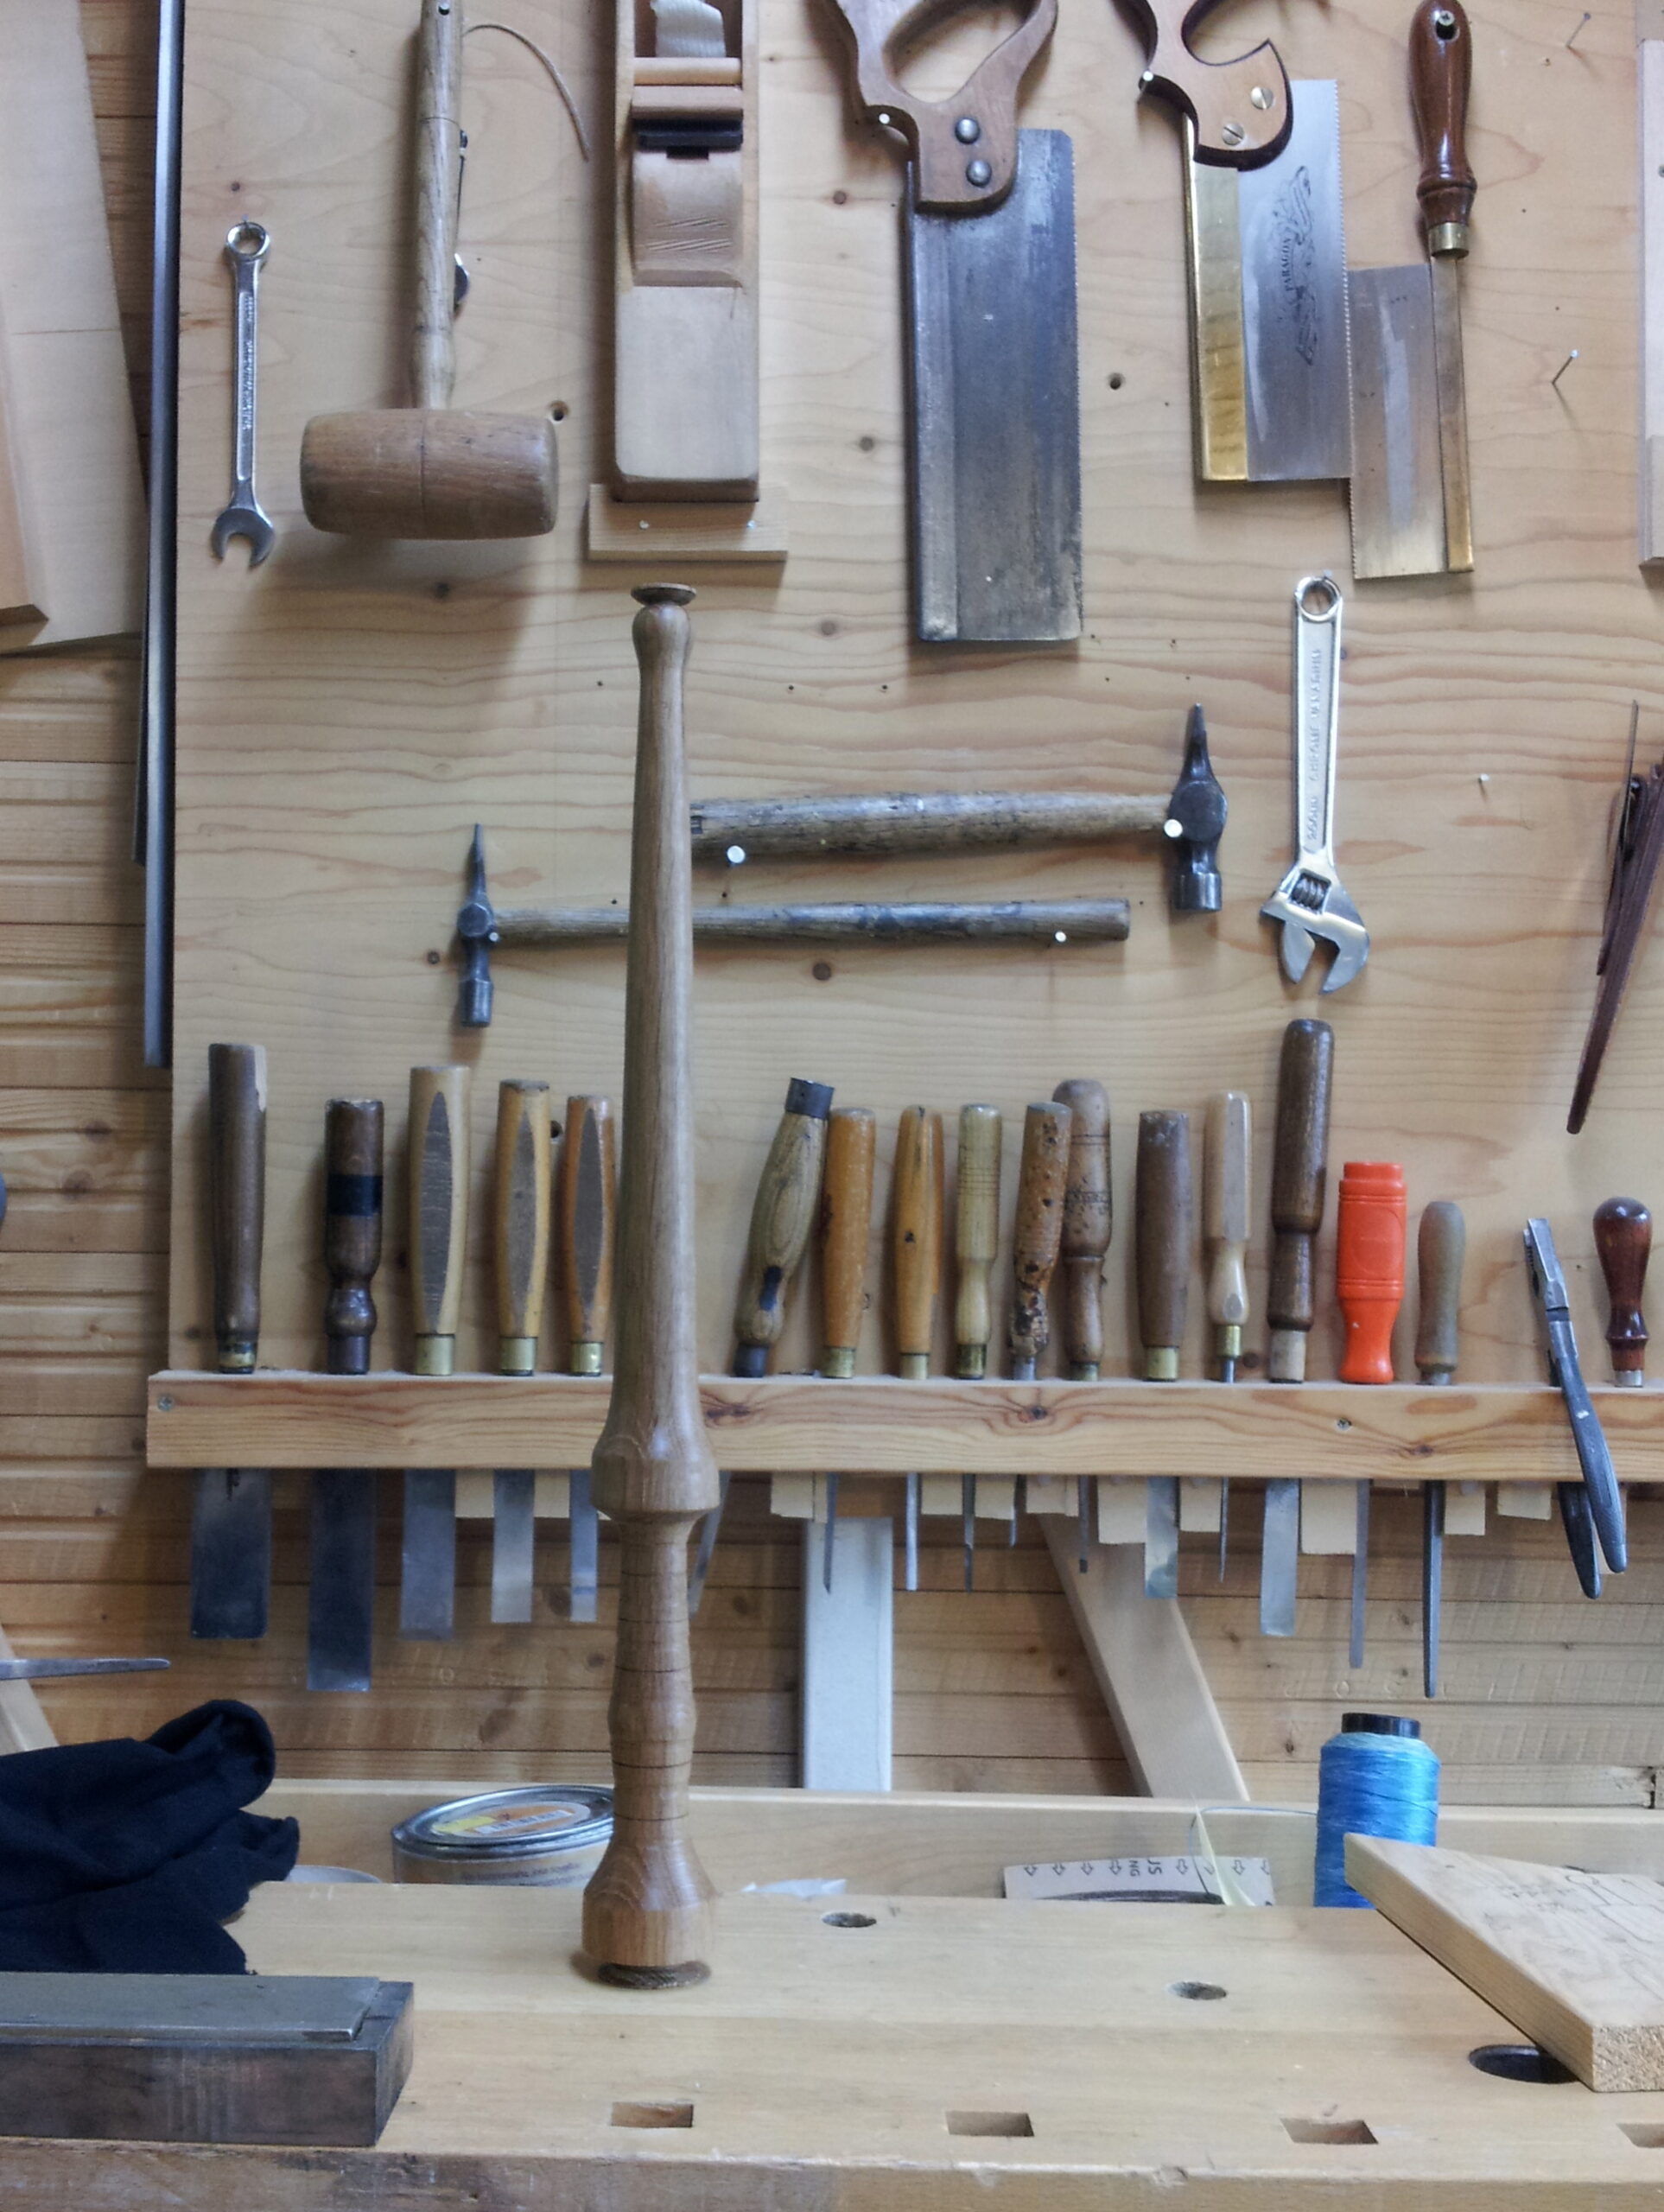
There is no sense in keeping the lathe tied up as a dying rack, so the flat end I mentioned earlier becomes a stand, keeping the oiled surfaces out of contact with anything else, and making remounting the dagger on the lathe easy:
And when the oiling and rubbing down is complete, I'll saw the ends off, sand and oil them, and it's done.
I've filmed most of the steps and uploaded an edited version here: