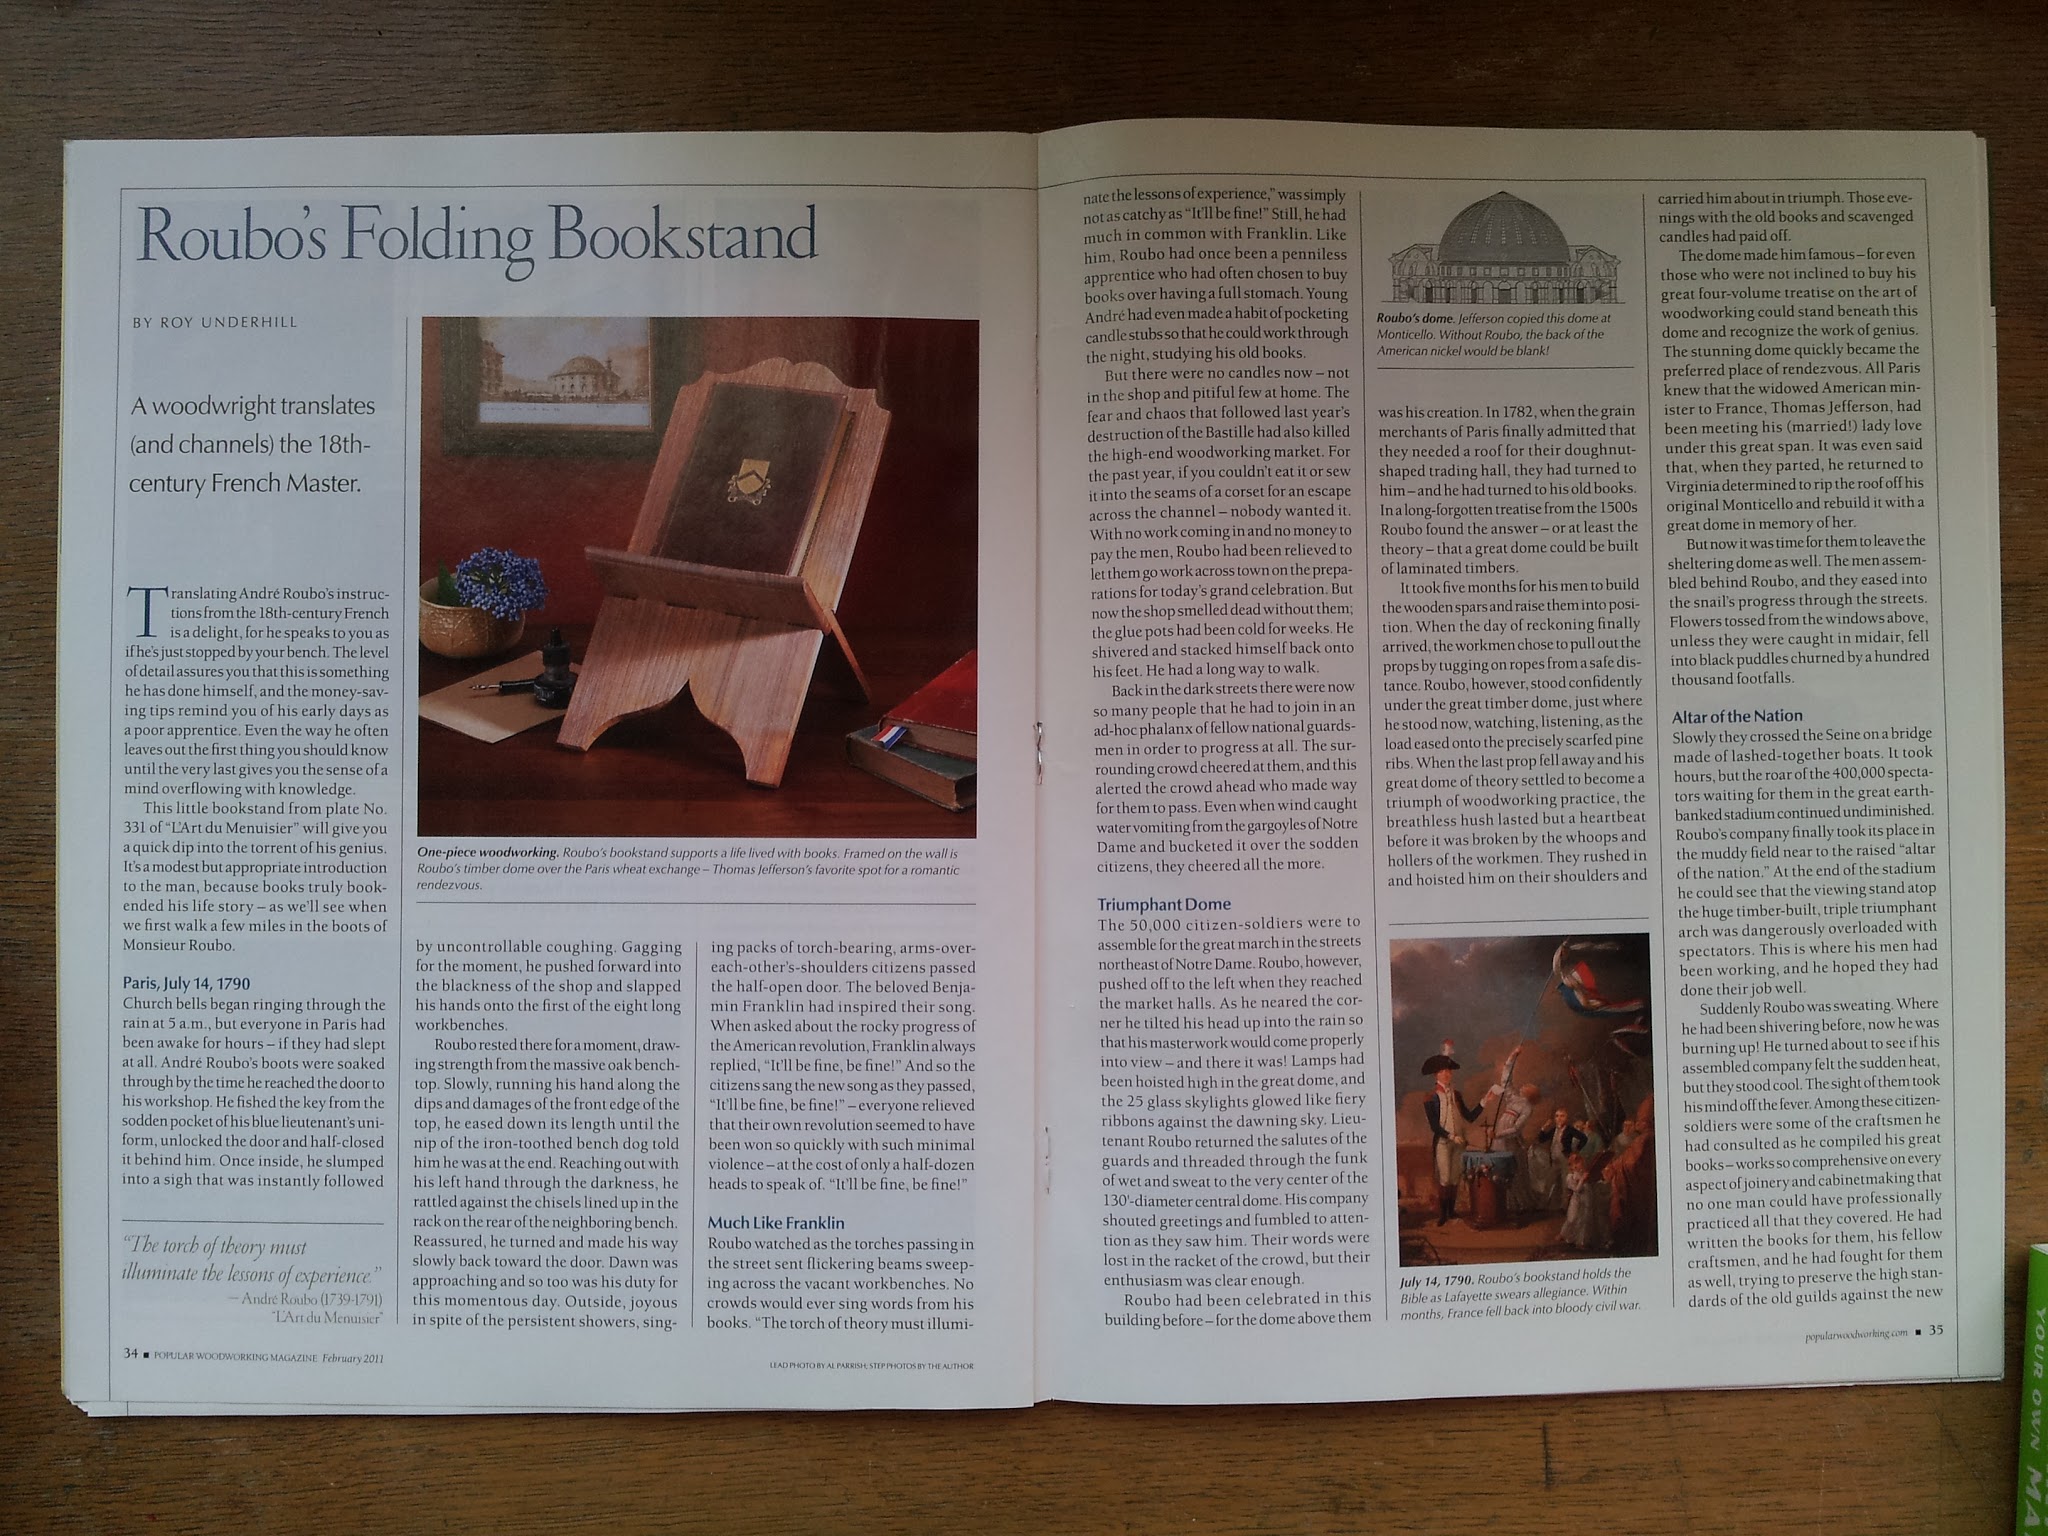
My sister, a writer, is marrying David, a historian and writer who has a special interest in 18th century France. So what could be more fitting than a Roubo bookstand?
I came across it in an article in Popular Woodworking Magazine (Feb 2011), picked up on a trip to the States. In the article, Roy Underhill not only shows something of how to make it (though it's not a how-to article), but also provides a translation of the original section from Roubo.

Further help came from watching the episode of his show that deals with it. Roy has an engaging enthusiasm for his topic, and as a professional recreator of one lost art, I am a fan of his desire to revive another.
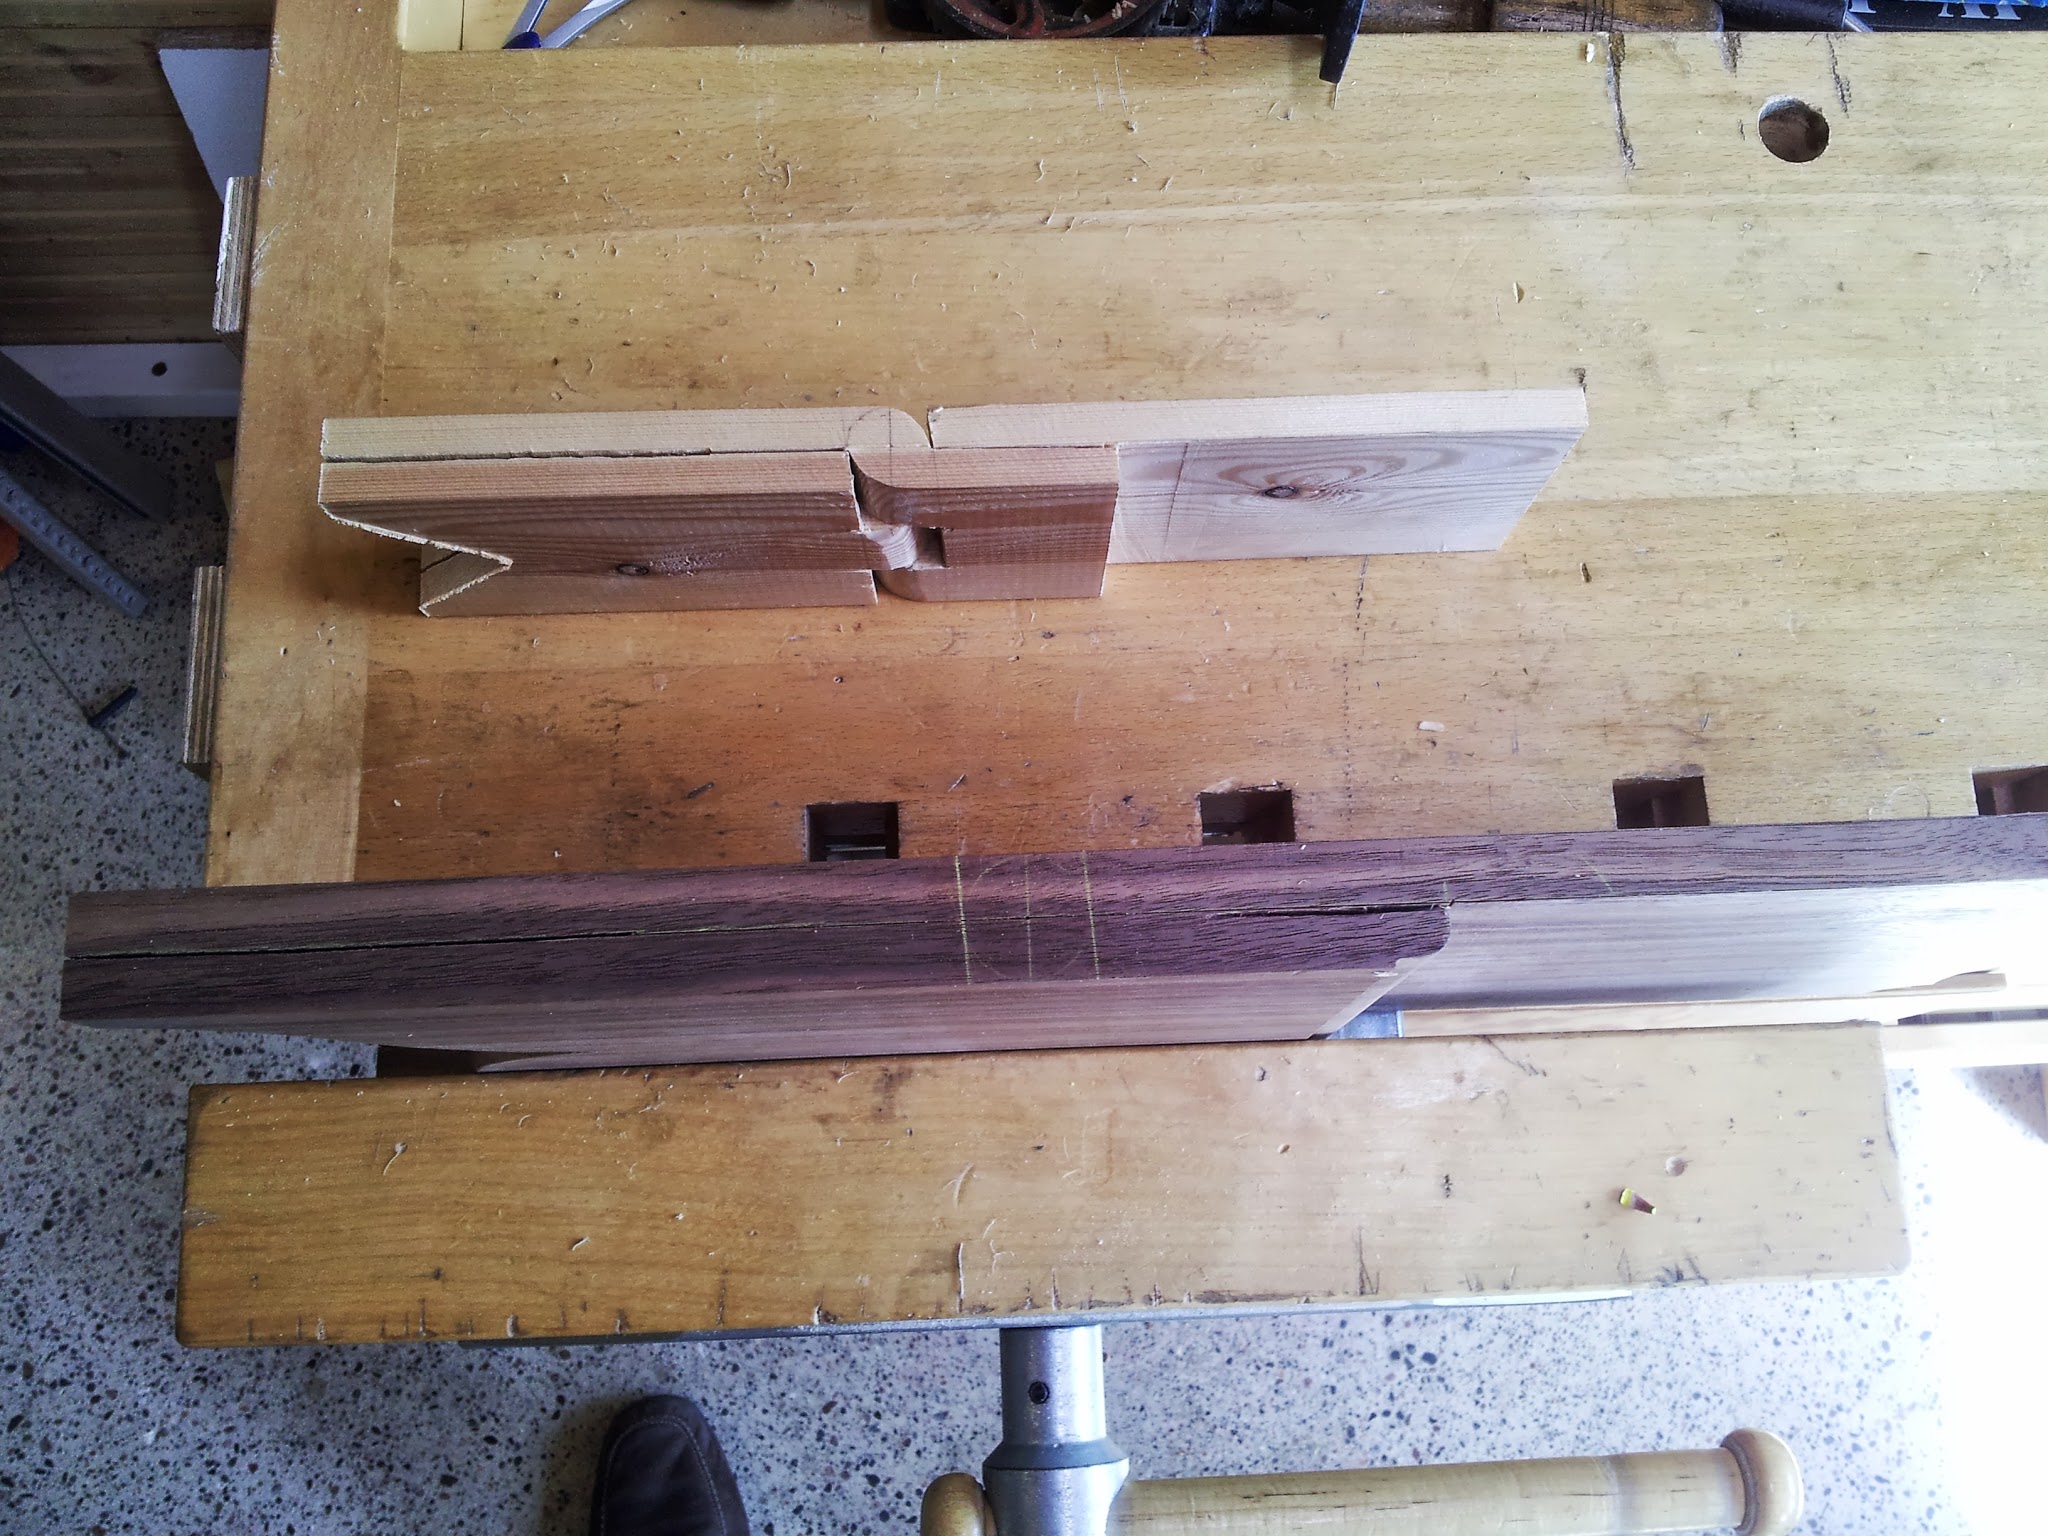
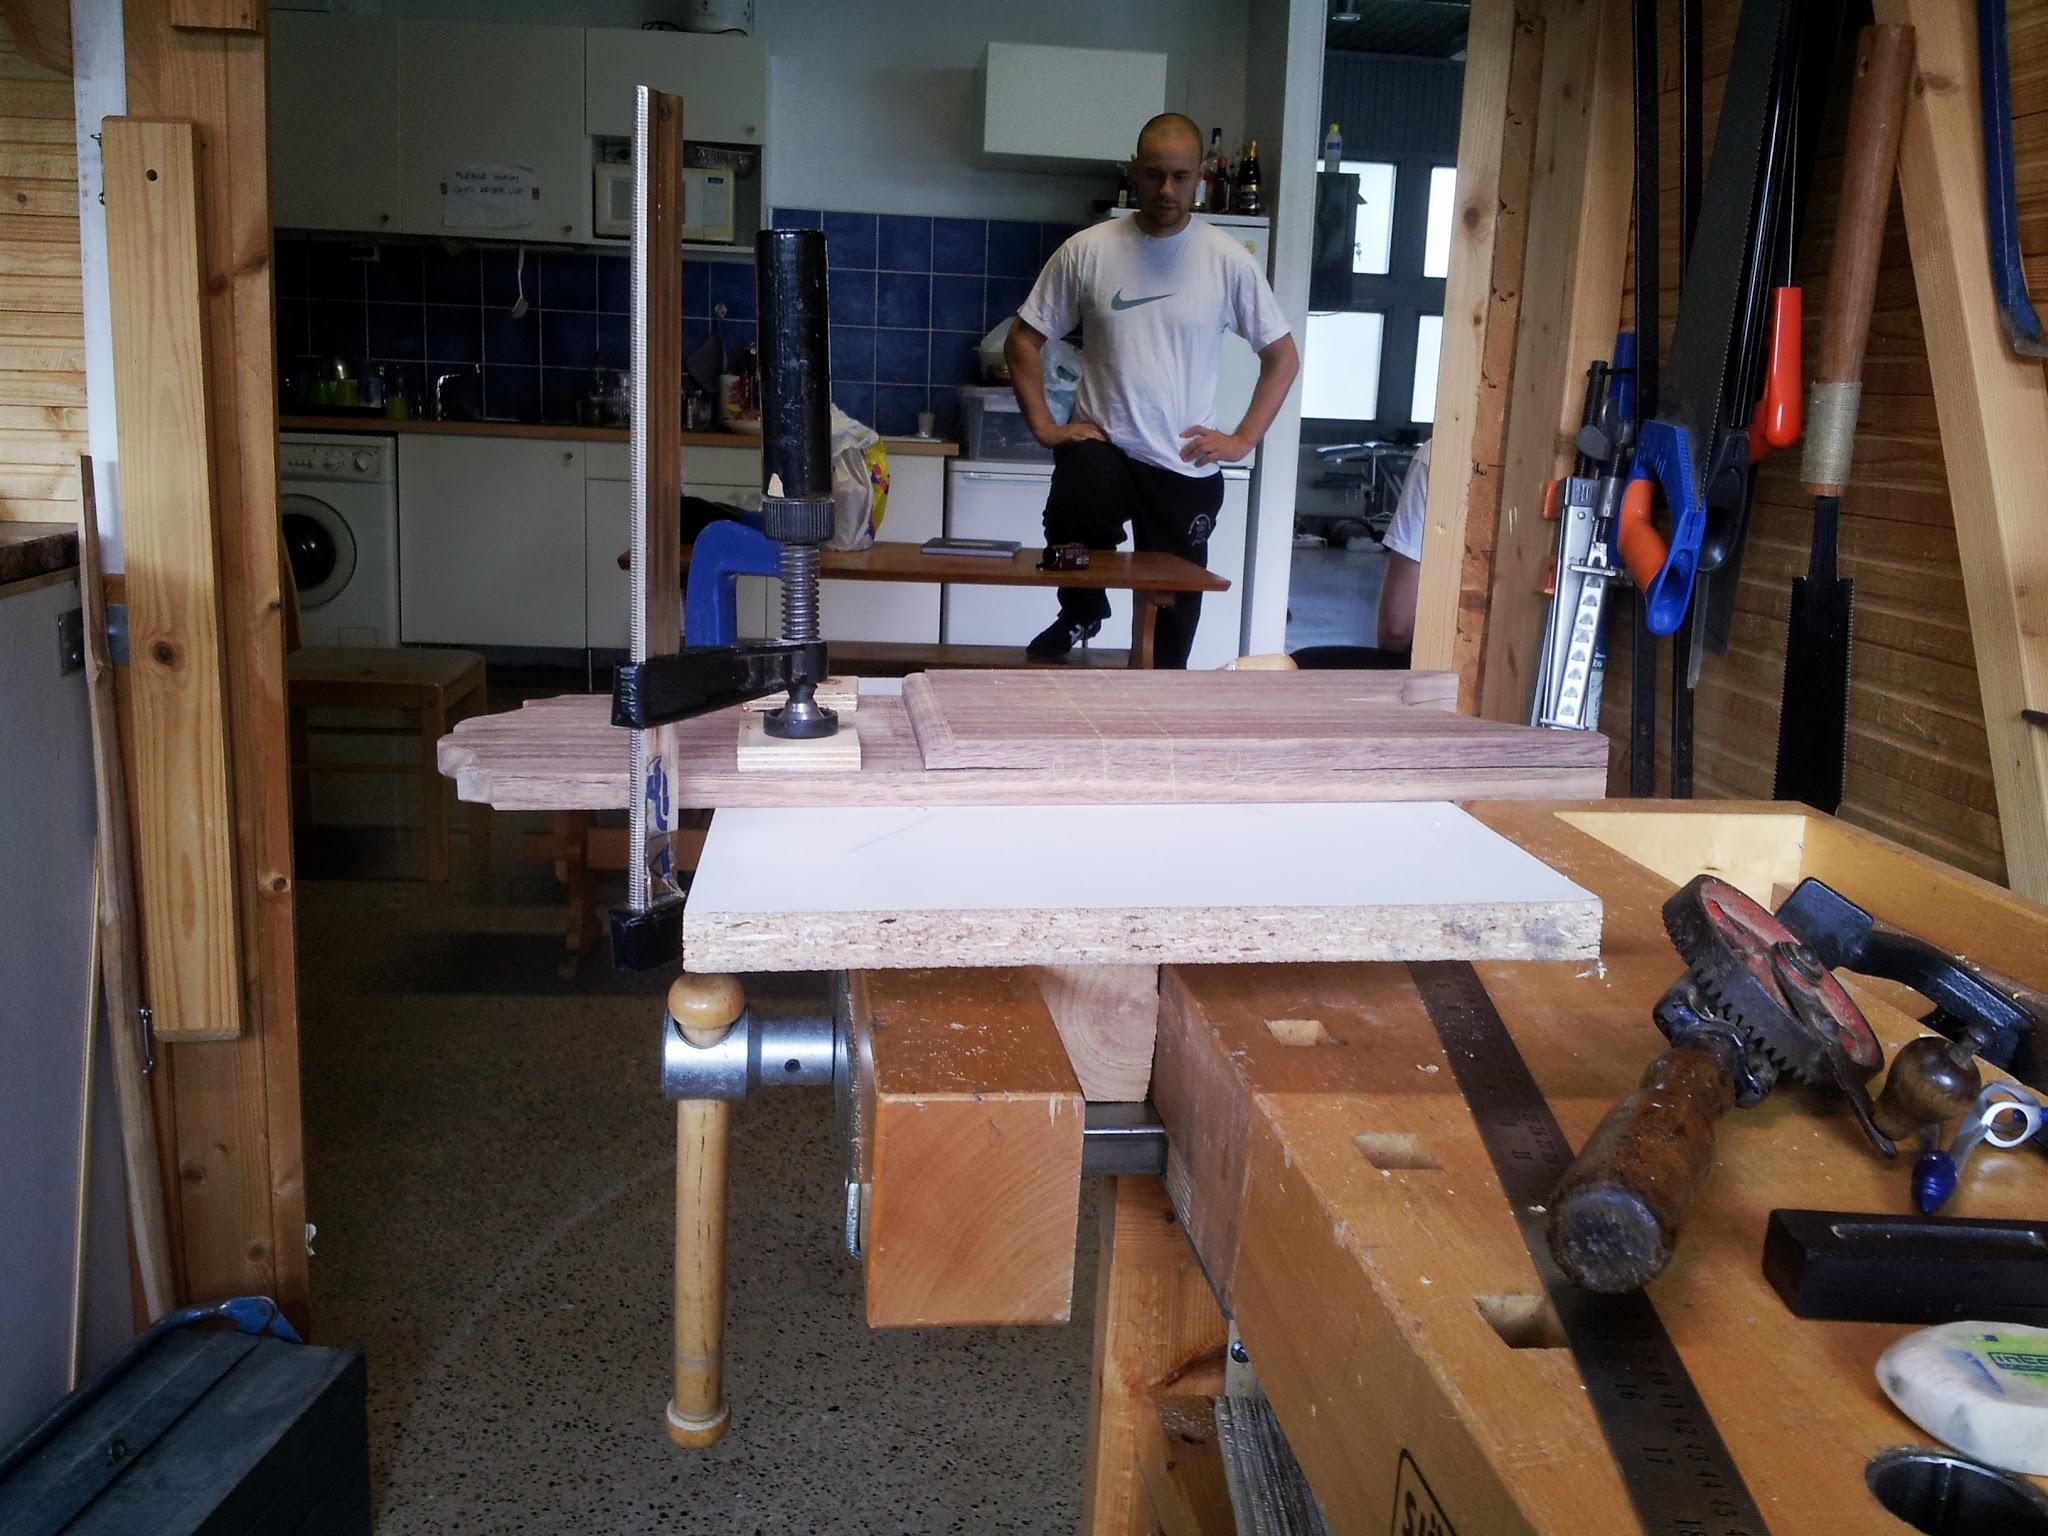
One thing conspicuously lacking from either of these sources is actual dimensions for anything. So I bashed out and nailed up a maquette, here:


I had already sourced a lovely bit of walnut (as specified by Roubo) so out with the saw to hack off the piece.

And then planed carefully flat and square all round:


and coming carefully to the crosscut, out came the waste piece. Please note that Roubo expressly states that these stands should be made in pairs to avoid this waste, but this piece is too wide to rip on the bandsaw, and I don't have a bowsaw, so I had no way to easily start the cut in the middle of the board. So sorry, Mro Roubo. I'll find some nice use for the offcut.

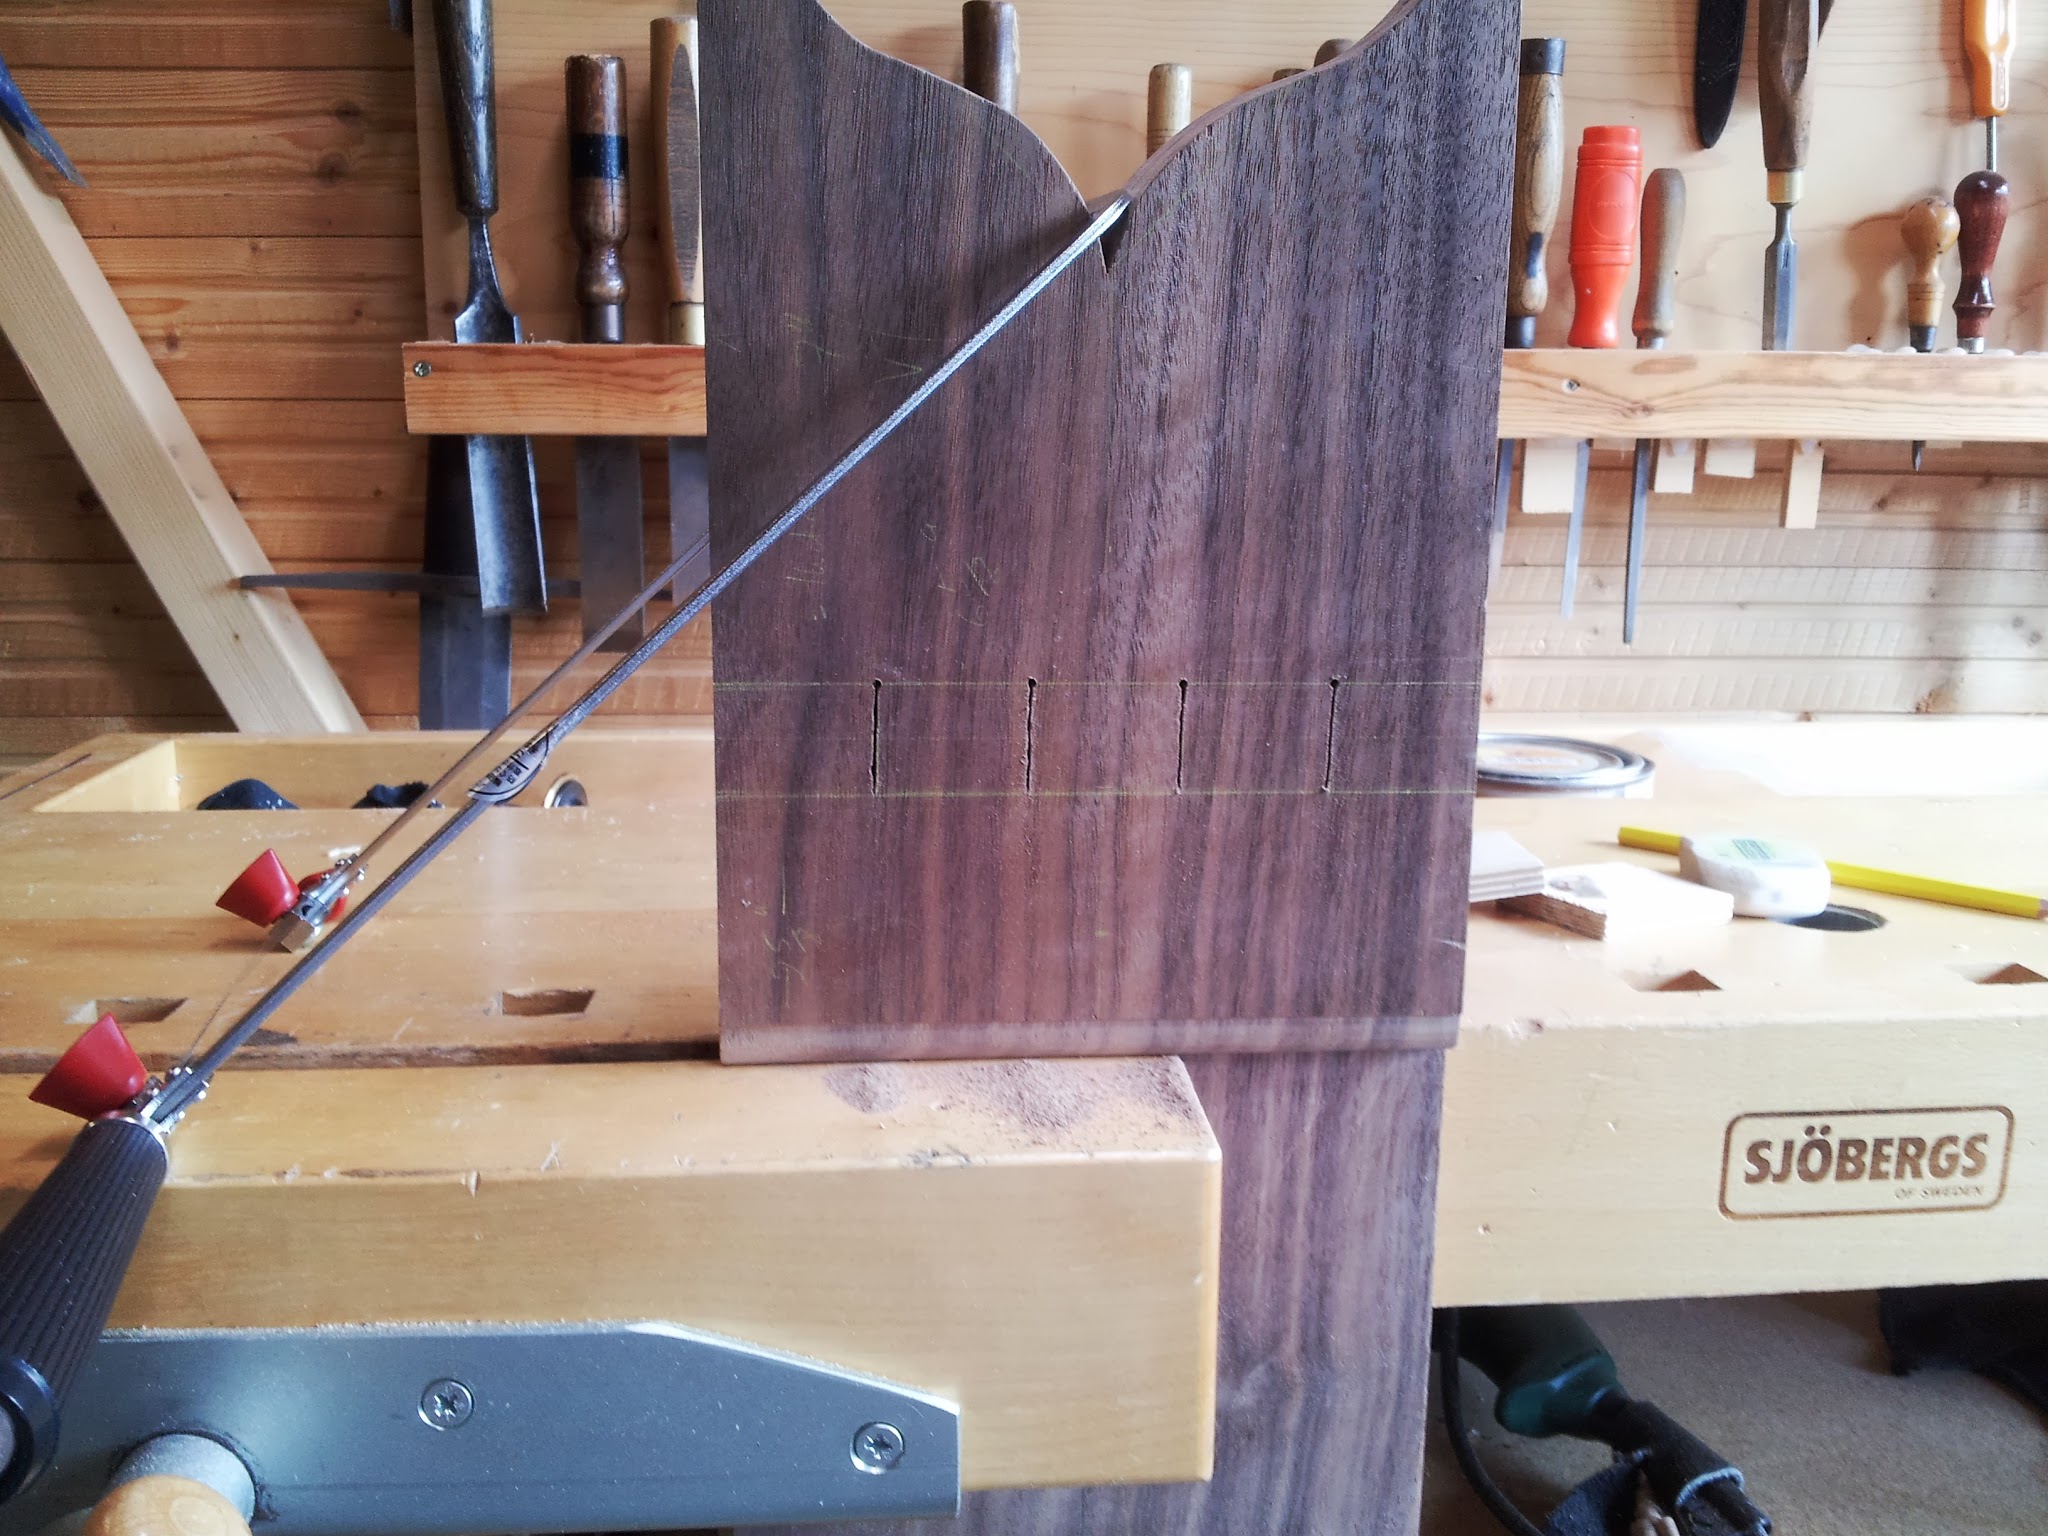
Then the feet: the first thing was to lay out the ogee, using Mr Underhill's instructions (from the video, not the article:

And then use a coping saw to cut it out. I started the rip cut first, to make sure its plane was well established, as it's easier to do that on a nice flat end, then got to work with the coping saw.


After which, I continued the rip (though that could have waited until much later on).

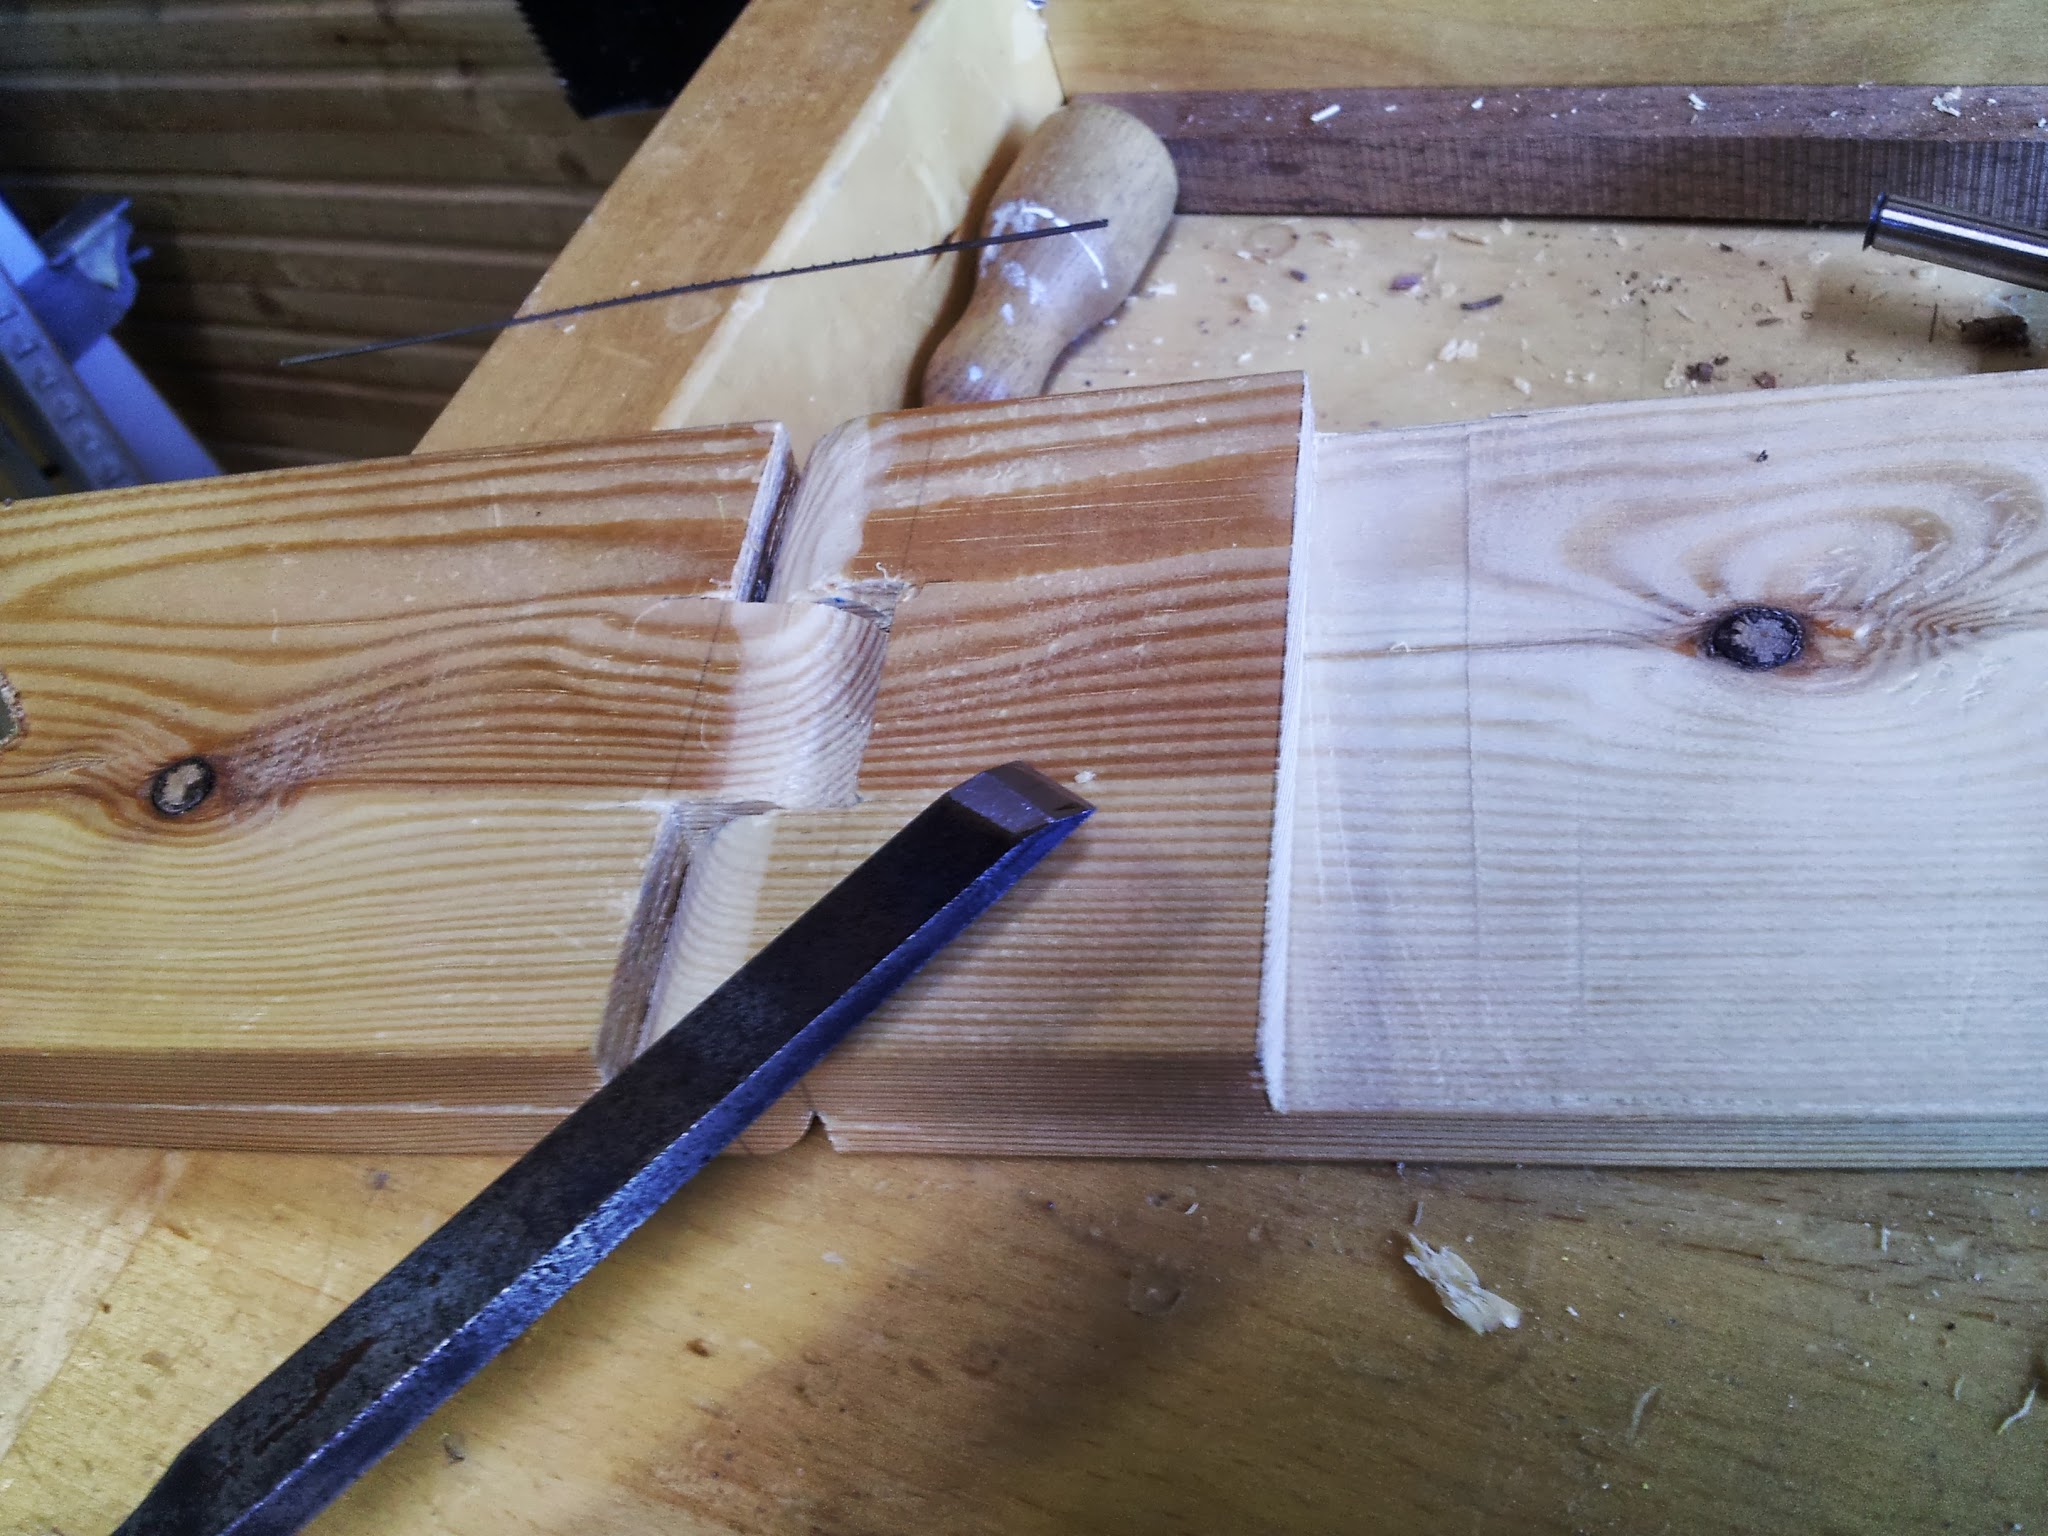
Then the edge of the bit the book will sit on: I found to my relief that I had no router bit that would do the job, so I had to use a knife, chisel and shoulderplane to do it. Damn that hand work, give me the roar and the dust… or not.


Then the ogees for the top edge. I wanted this to be much like the one in Roubo, so worked it out geometrically on paper first:

And then recreated the geometry on the wood.


And note, Roubo does not tell you how far off square to be, so this was a bit extreme.

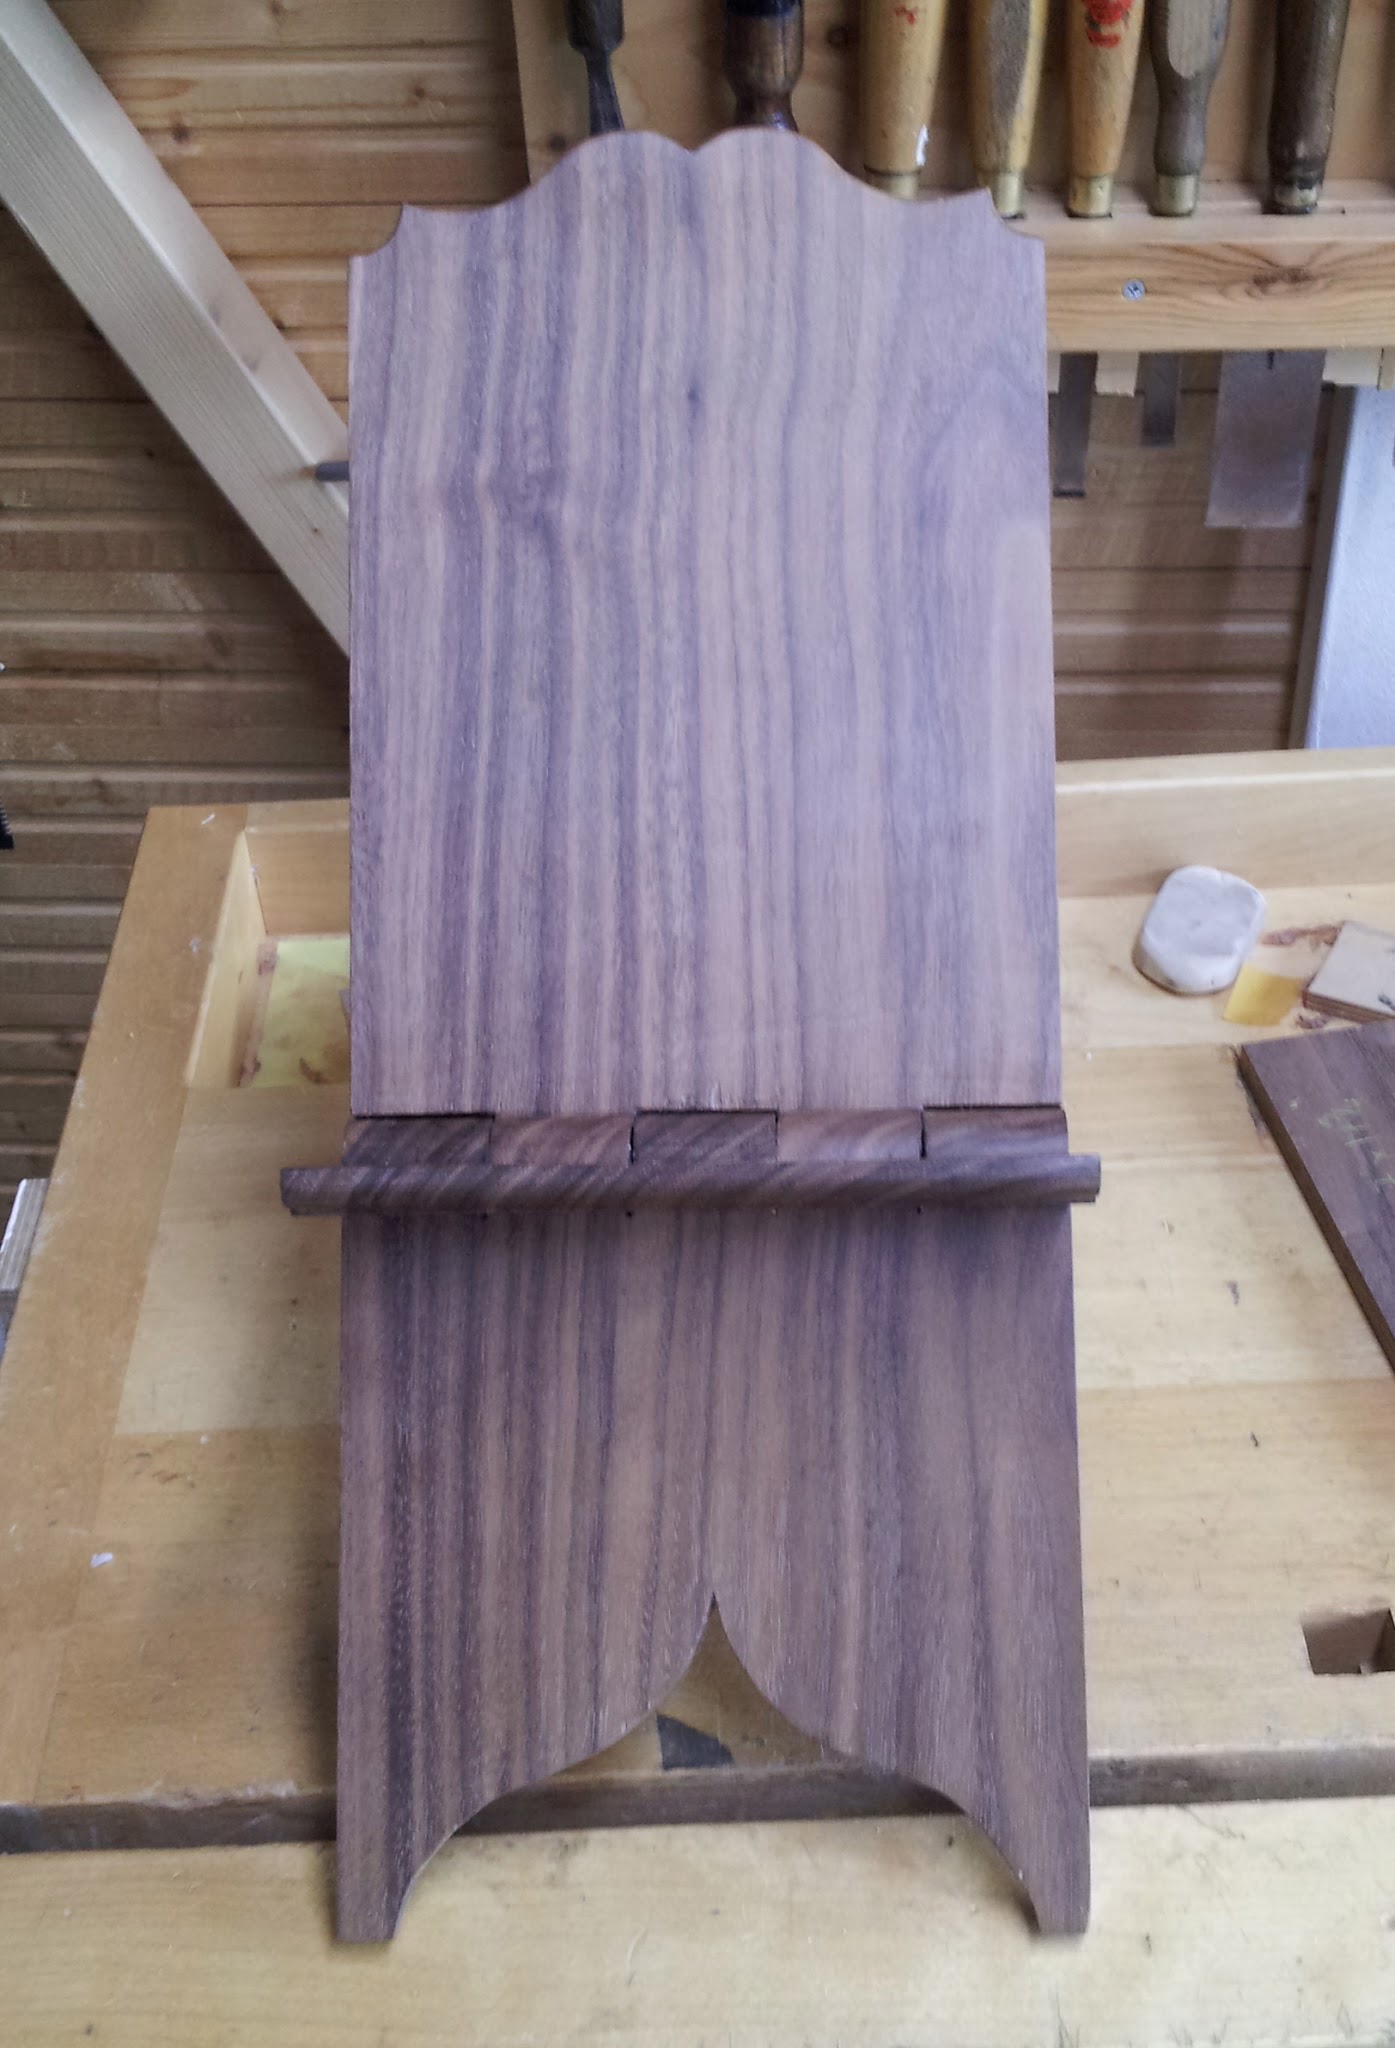
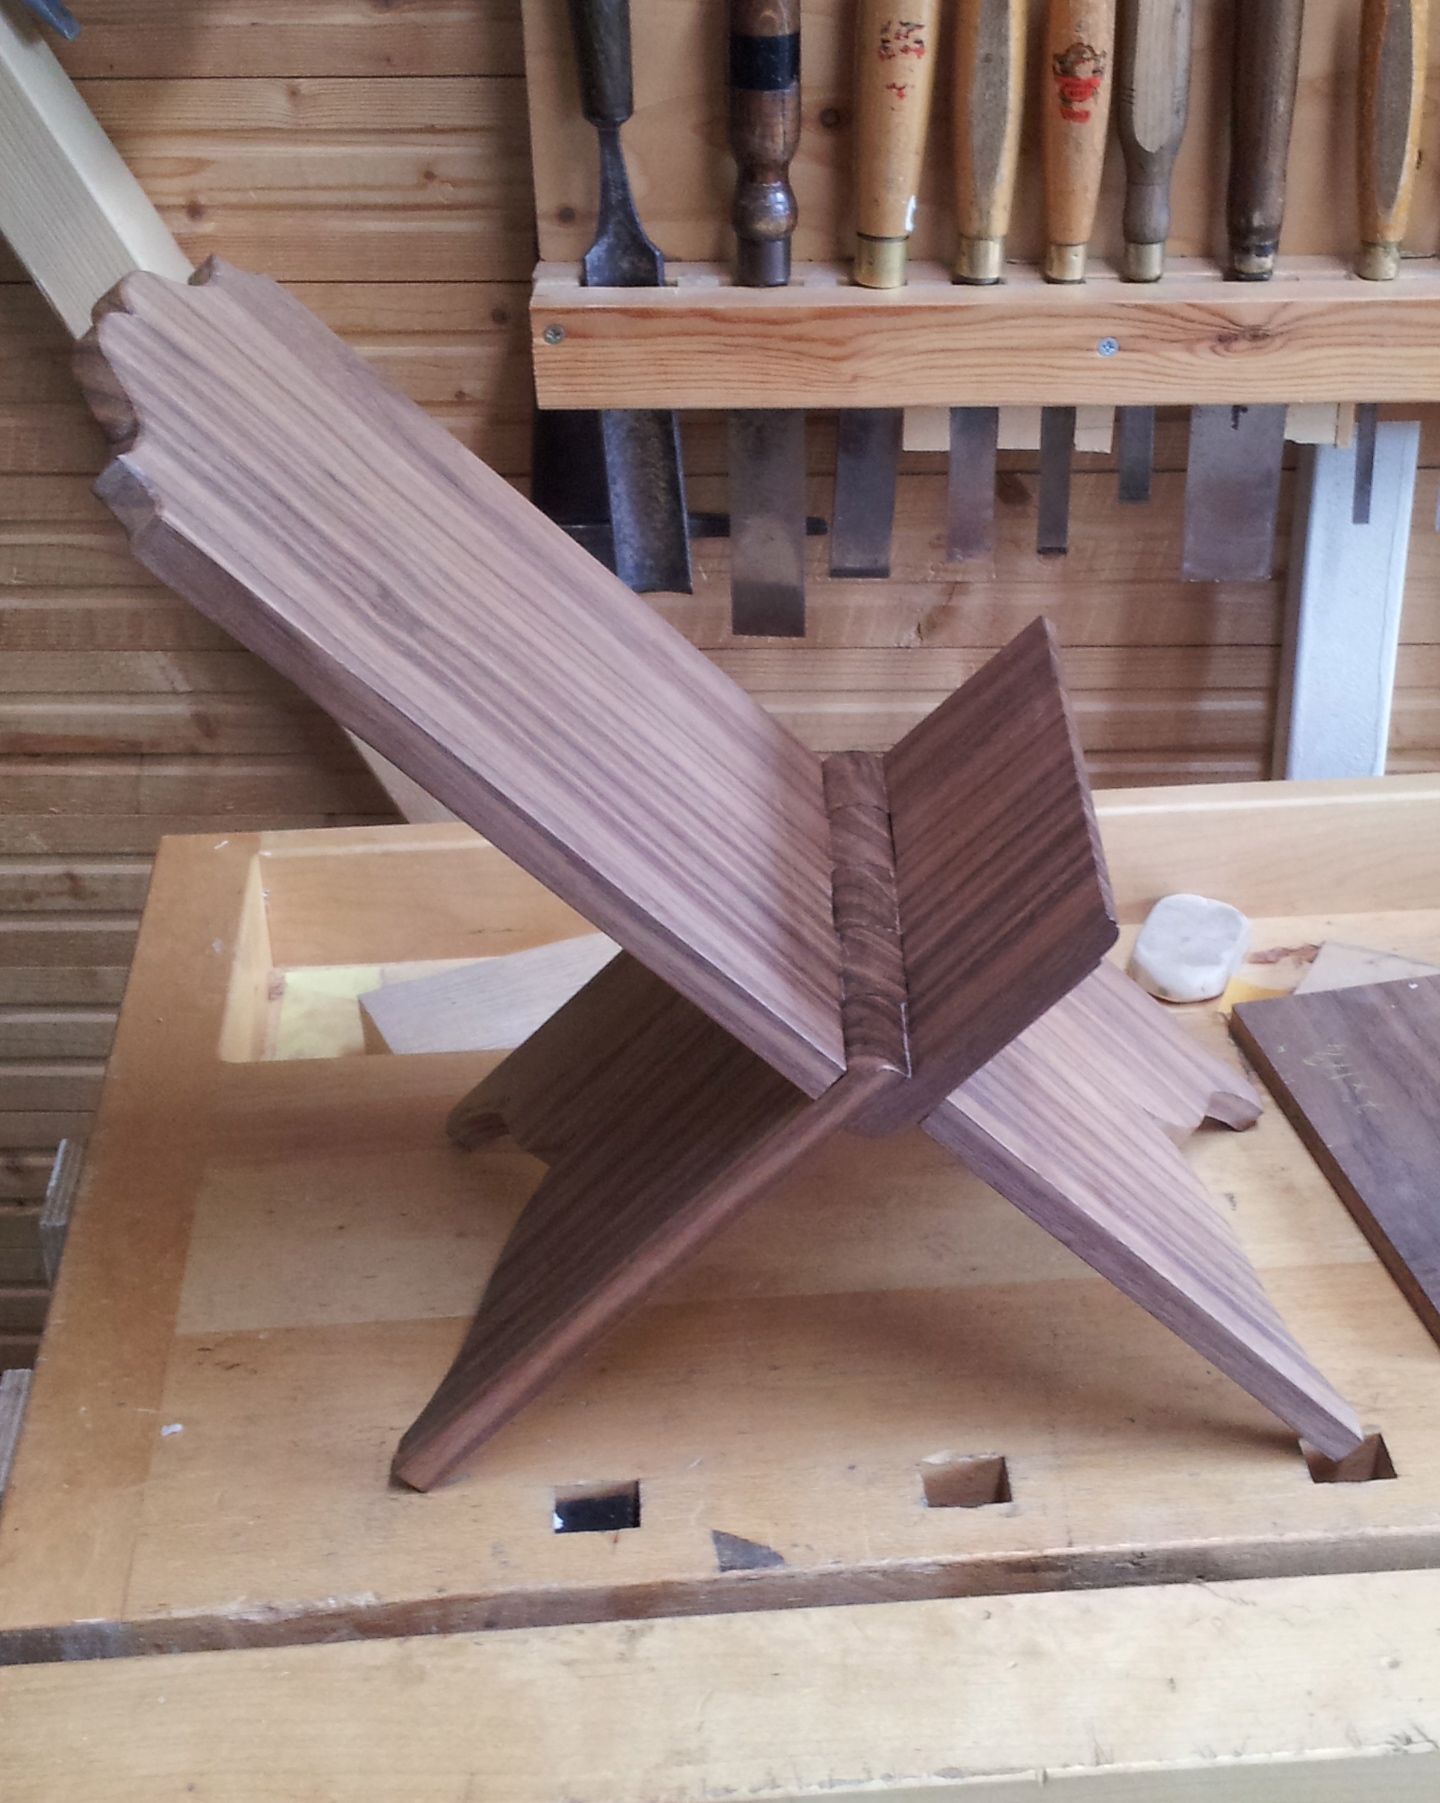
With some careful chiselling, I got the stand to open right. It actually works as a mobile phone stand:

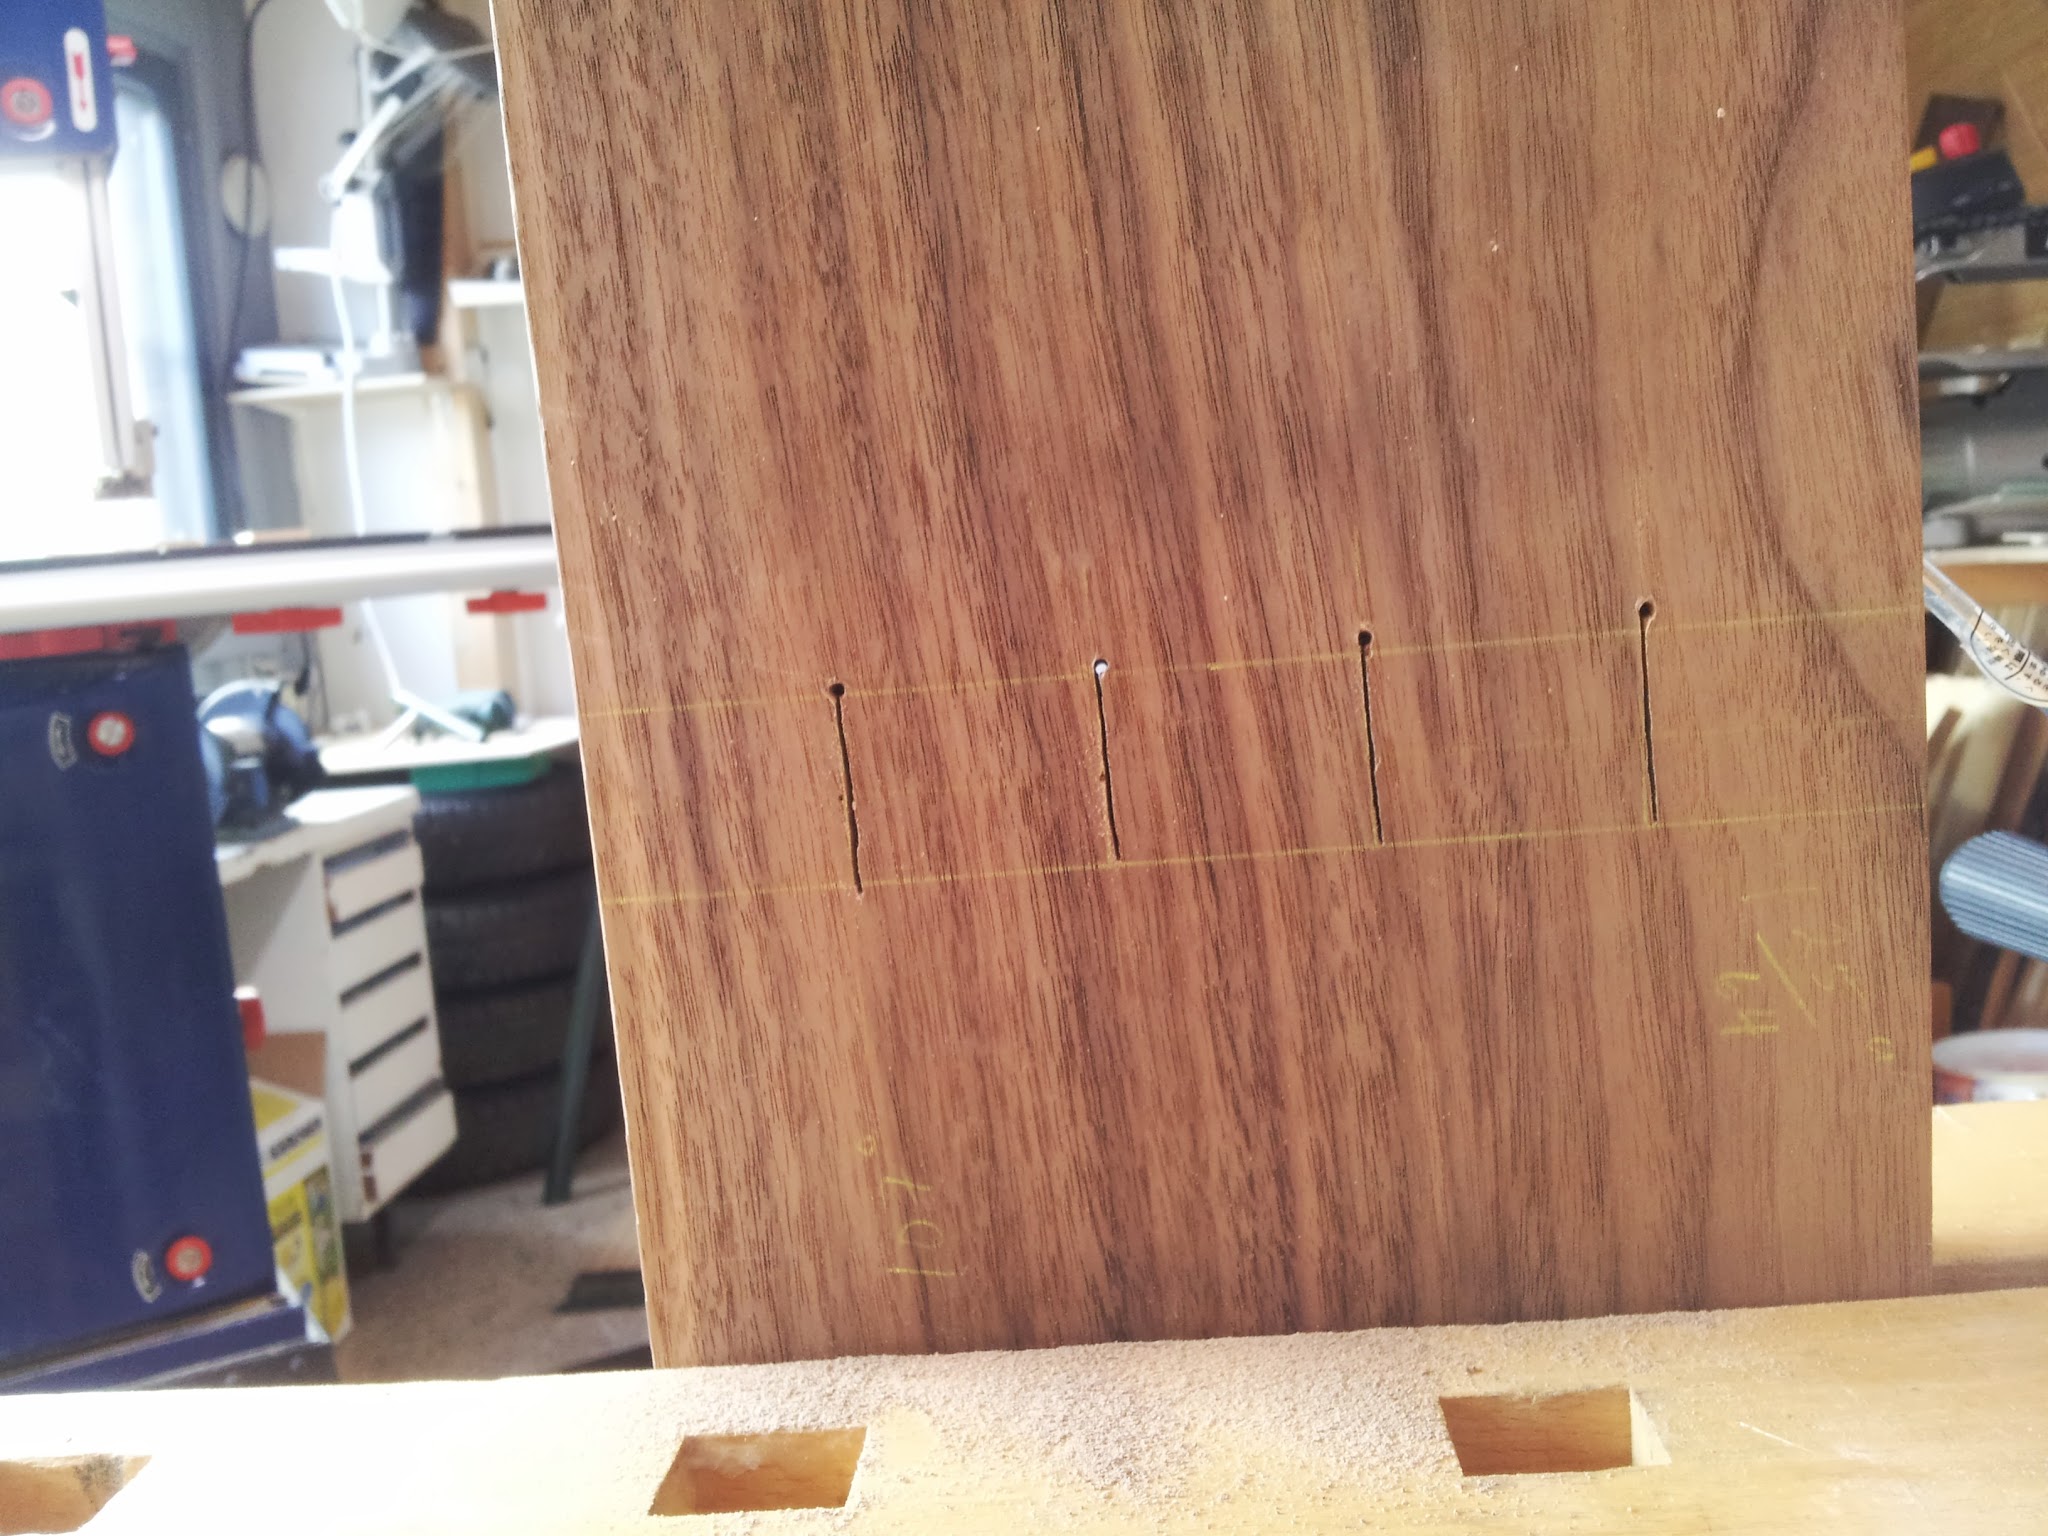
Then I had to mark out the pilot holes, and set the whole thing on a mandril, left over from the canteen project, where I used it to clamp and cut the cutlery frames.
A bit wiggly, but there it is:
Then, time to sharpen up all chisels and knives I expect to use, raising a burr on the bevel with my 1200 grit, and polishing off both bevel and flat on my 8000 grit, finishing off on the strop with a 10000 grit paste. Shiny 🙂
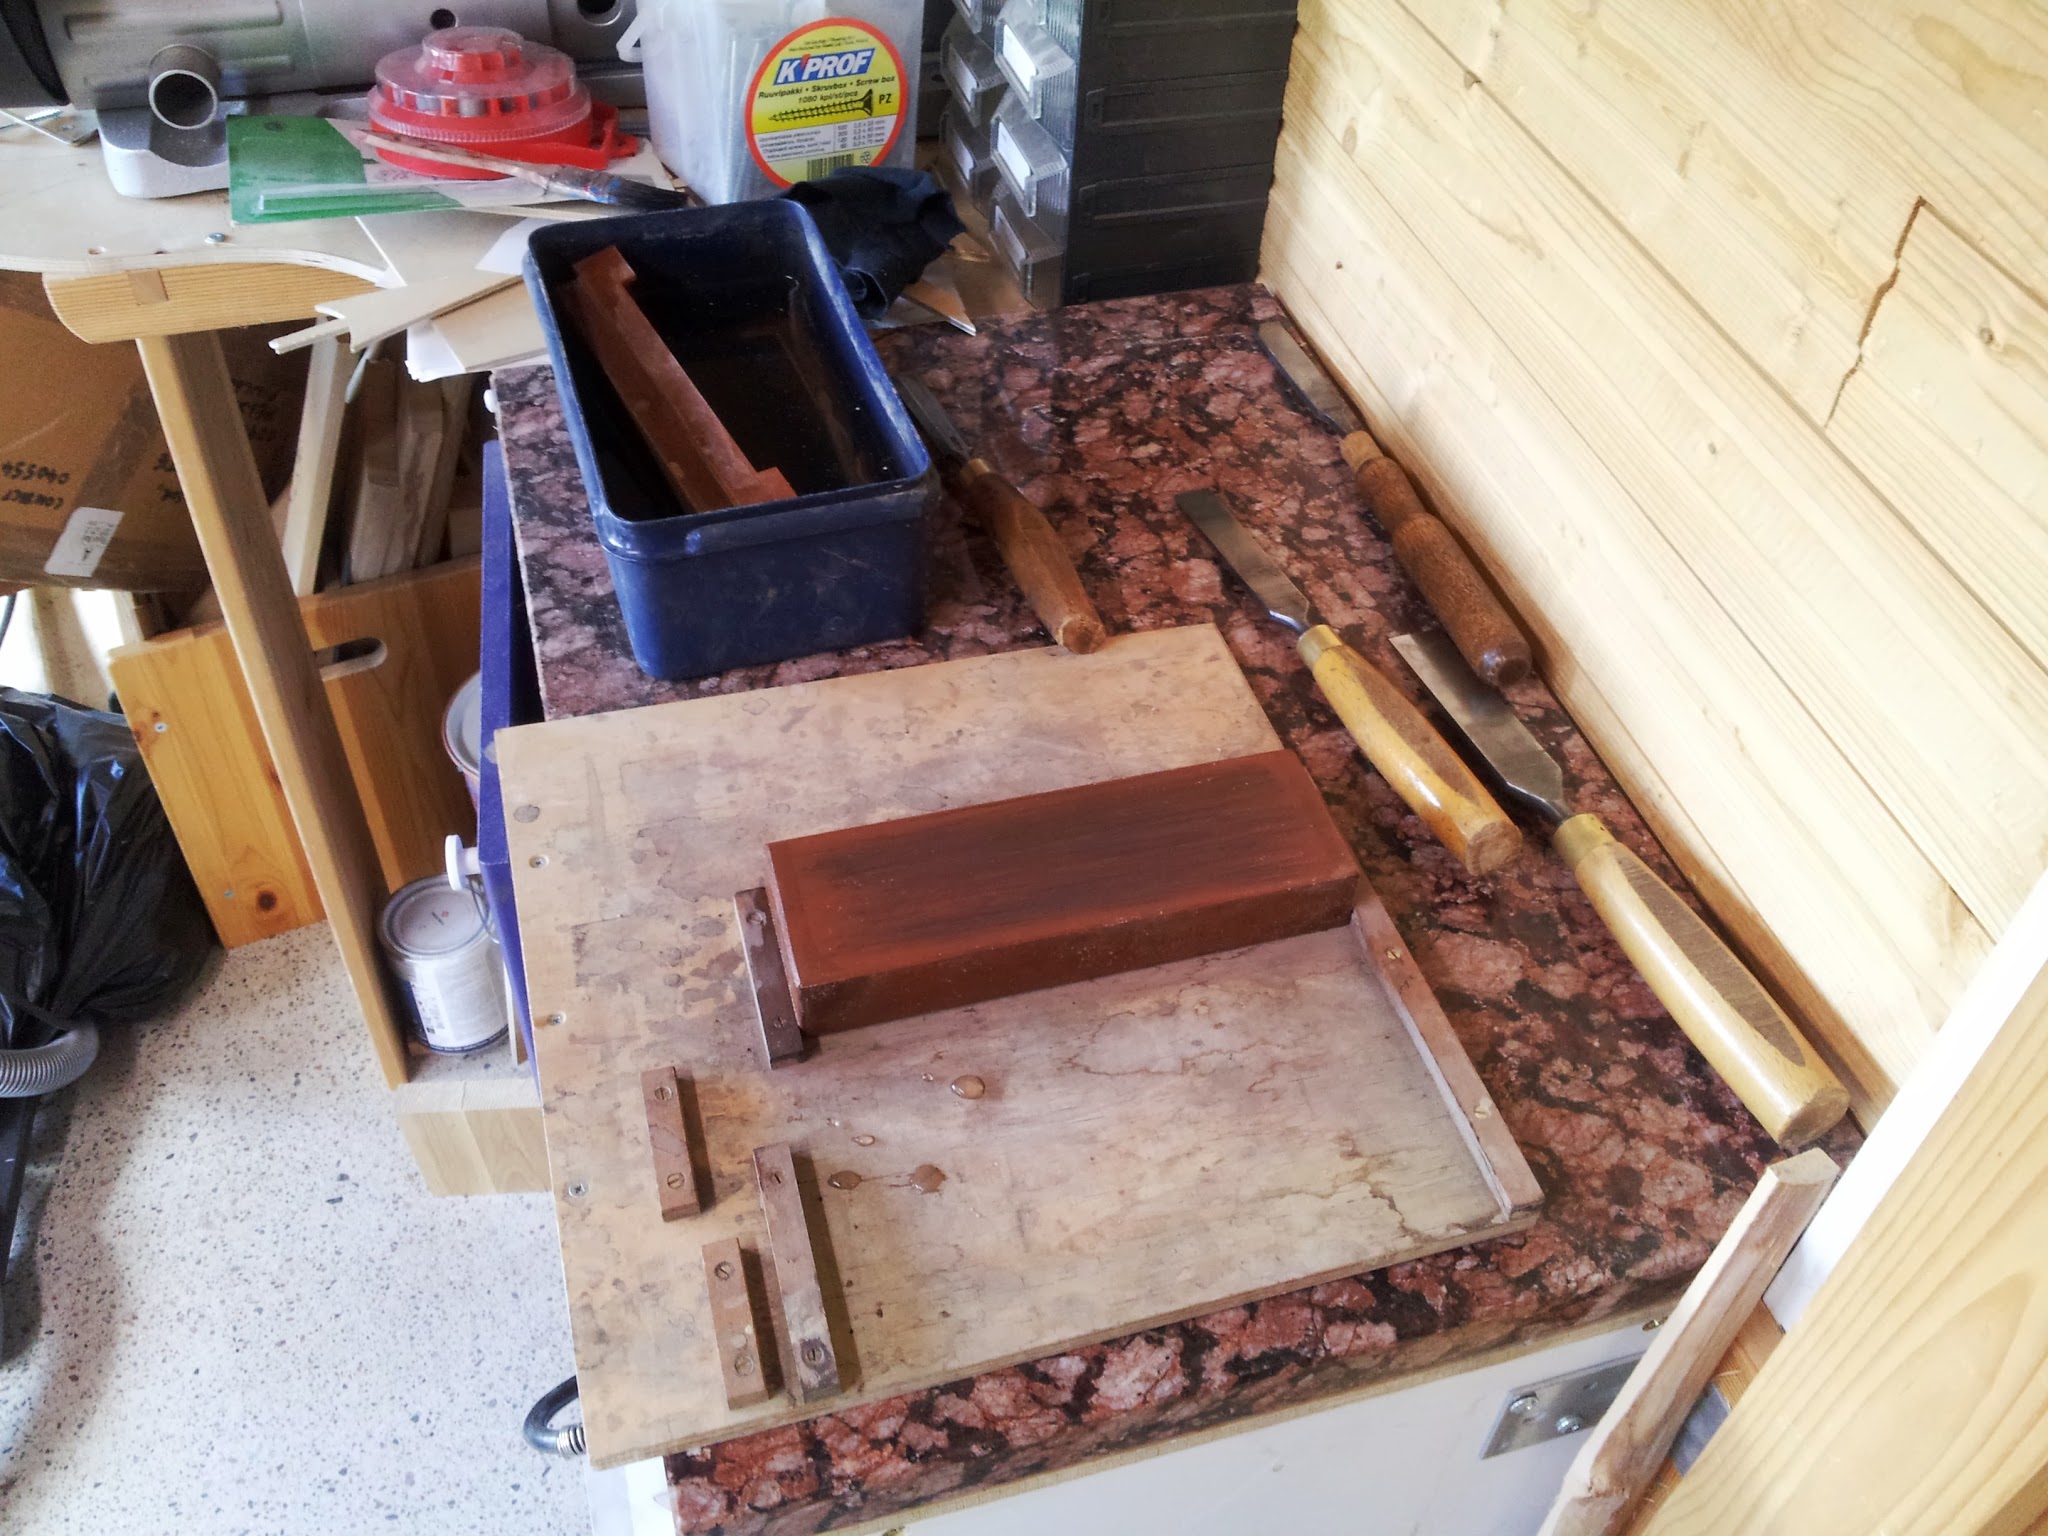
I also ground the bevel of a paring chisel back a bit, to help it fit into the tight spaces in the knuckles. Failing to get all the way down to the centreline was why the test piece broke.
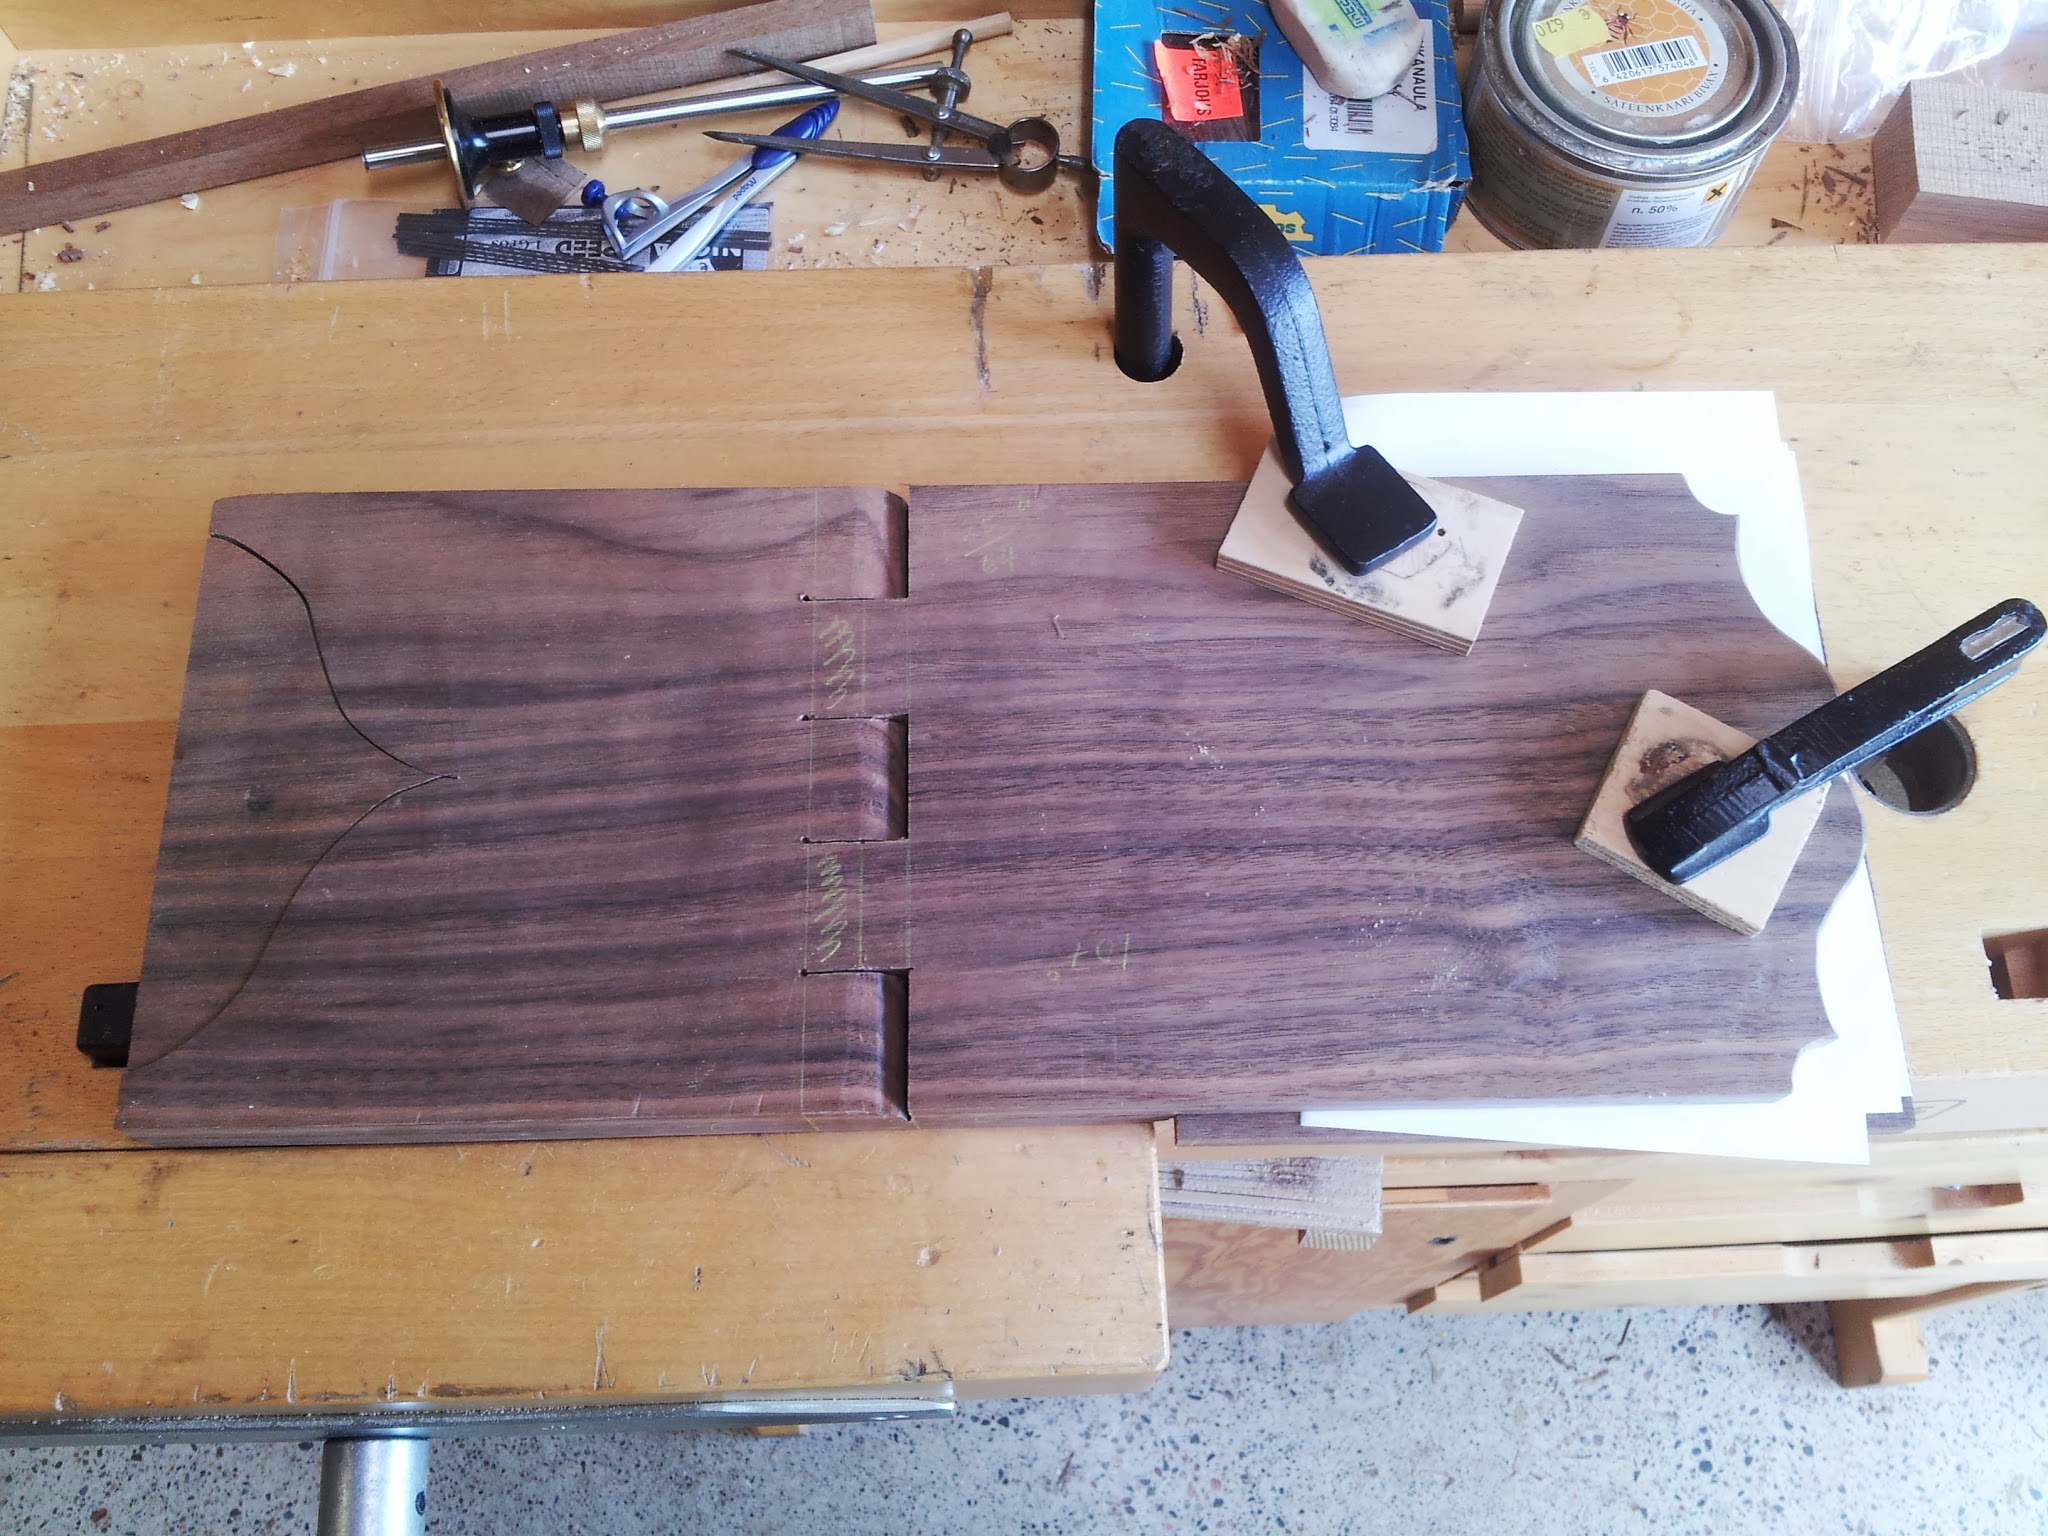
then clamp it up and cut! Not easy, but actually much easier in the thicker walnut than it was in the thinner pine test piece.
I have shot video of the tricky bits here:
Cutting the knuckles: this is perhaps the most critical process.
Then opening the joint, and cleaning it up, getting it to open smoothly.
Lastly, sand with 200 grit, raise the grain, sand with 320 grit, and three coats of beeswax-based polish, and we're done! All in all, a fun and challenging project, which will be going to a good home.