
I've set this post to go out automatically on Christmas day, so as not to spoil the surprise (in the unlikely event that my nieces actually read this blog). Don't worry, I'm not sat at my computer right now!
My nieces were thrilled with the broomsticks I made for them four years ago, and they are still avid Harry Potter fans. They are members of Pottermore, and have been sorted into their houses: Slytherin, and Ravenclaw. The eldest is just starting University, so I thought a Slytherin-themed notebook would make a good Christmas present for her. Her sister being in Ravenclaw, so it made sense to make her a similar one too. I'm still mostly a woodworker when it comes to crafts and craftsmanship, but I took up bookbinding as a hobby I can do at home sat at the table while my kids do their homework. Plus, I am very pernickety when it comes to notebooks, and the only way, I found, to get them exactly the way I want them is to make them myself. I usually make them about A6 size, to fit in a pocket. Hardback, so they have their own writing surface built in, and properly stitched, so they lay flat. At that size, I can fold the text blocks out of (archival quality, nicely weighted) A4 sheets, but for the larger notebook format, I got some large sheets from Shepherds Bookbinders in London, and got to work.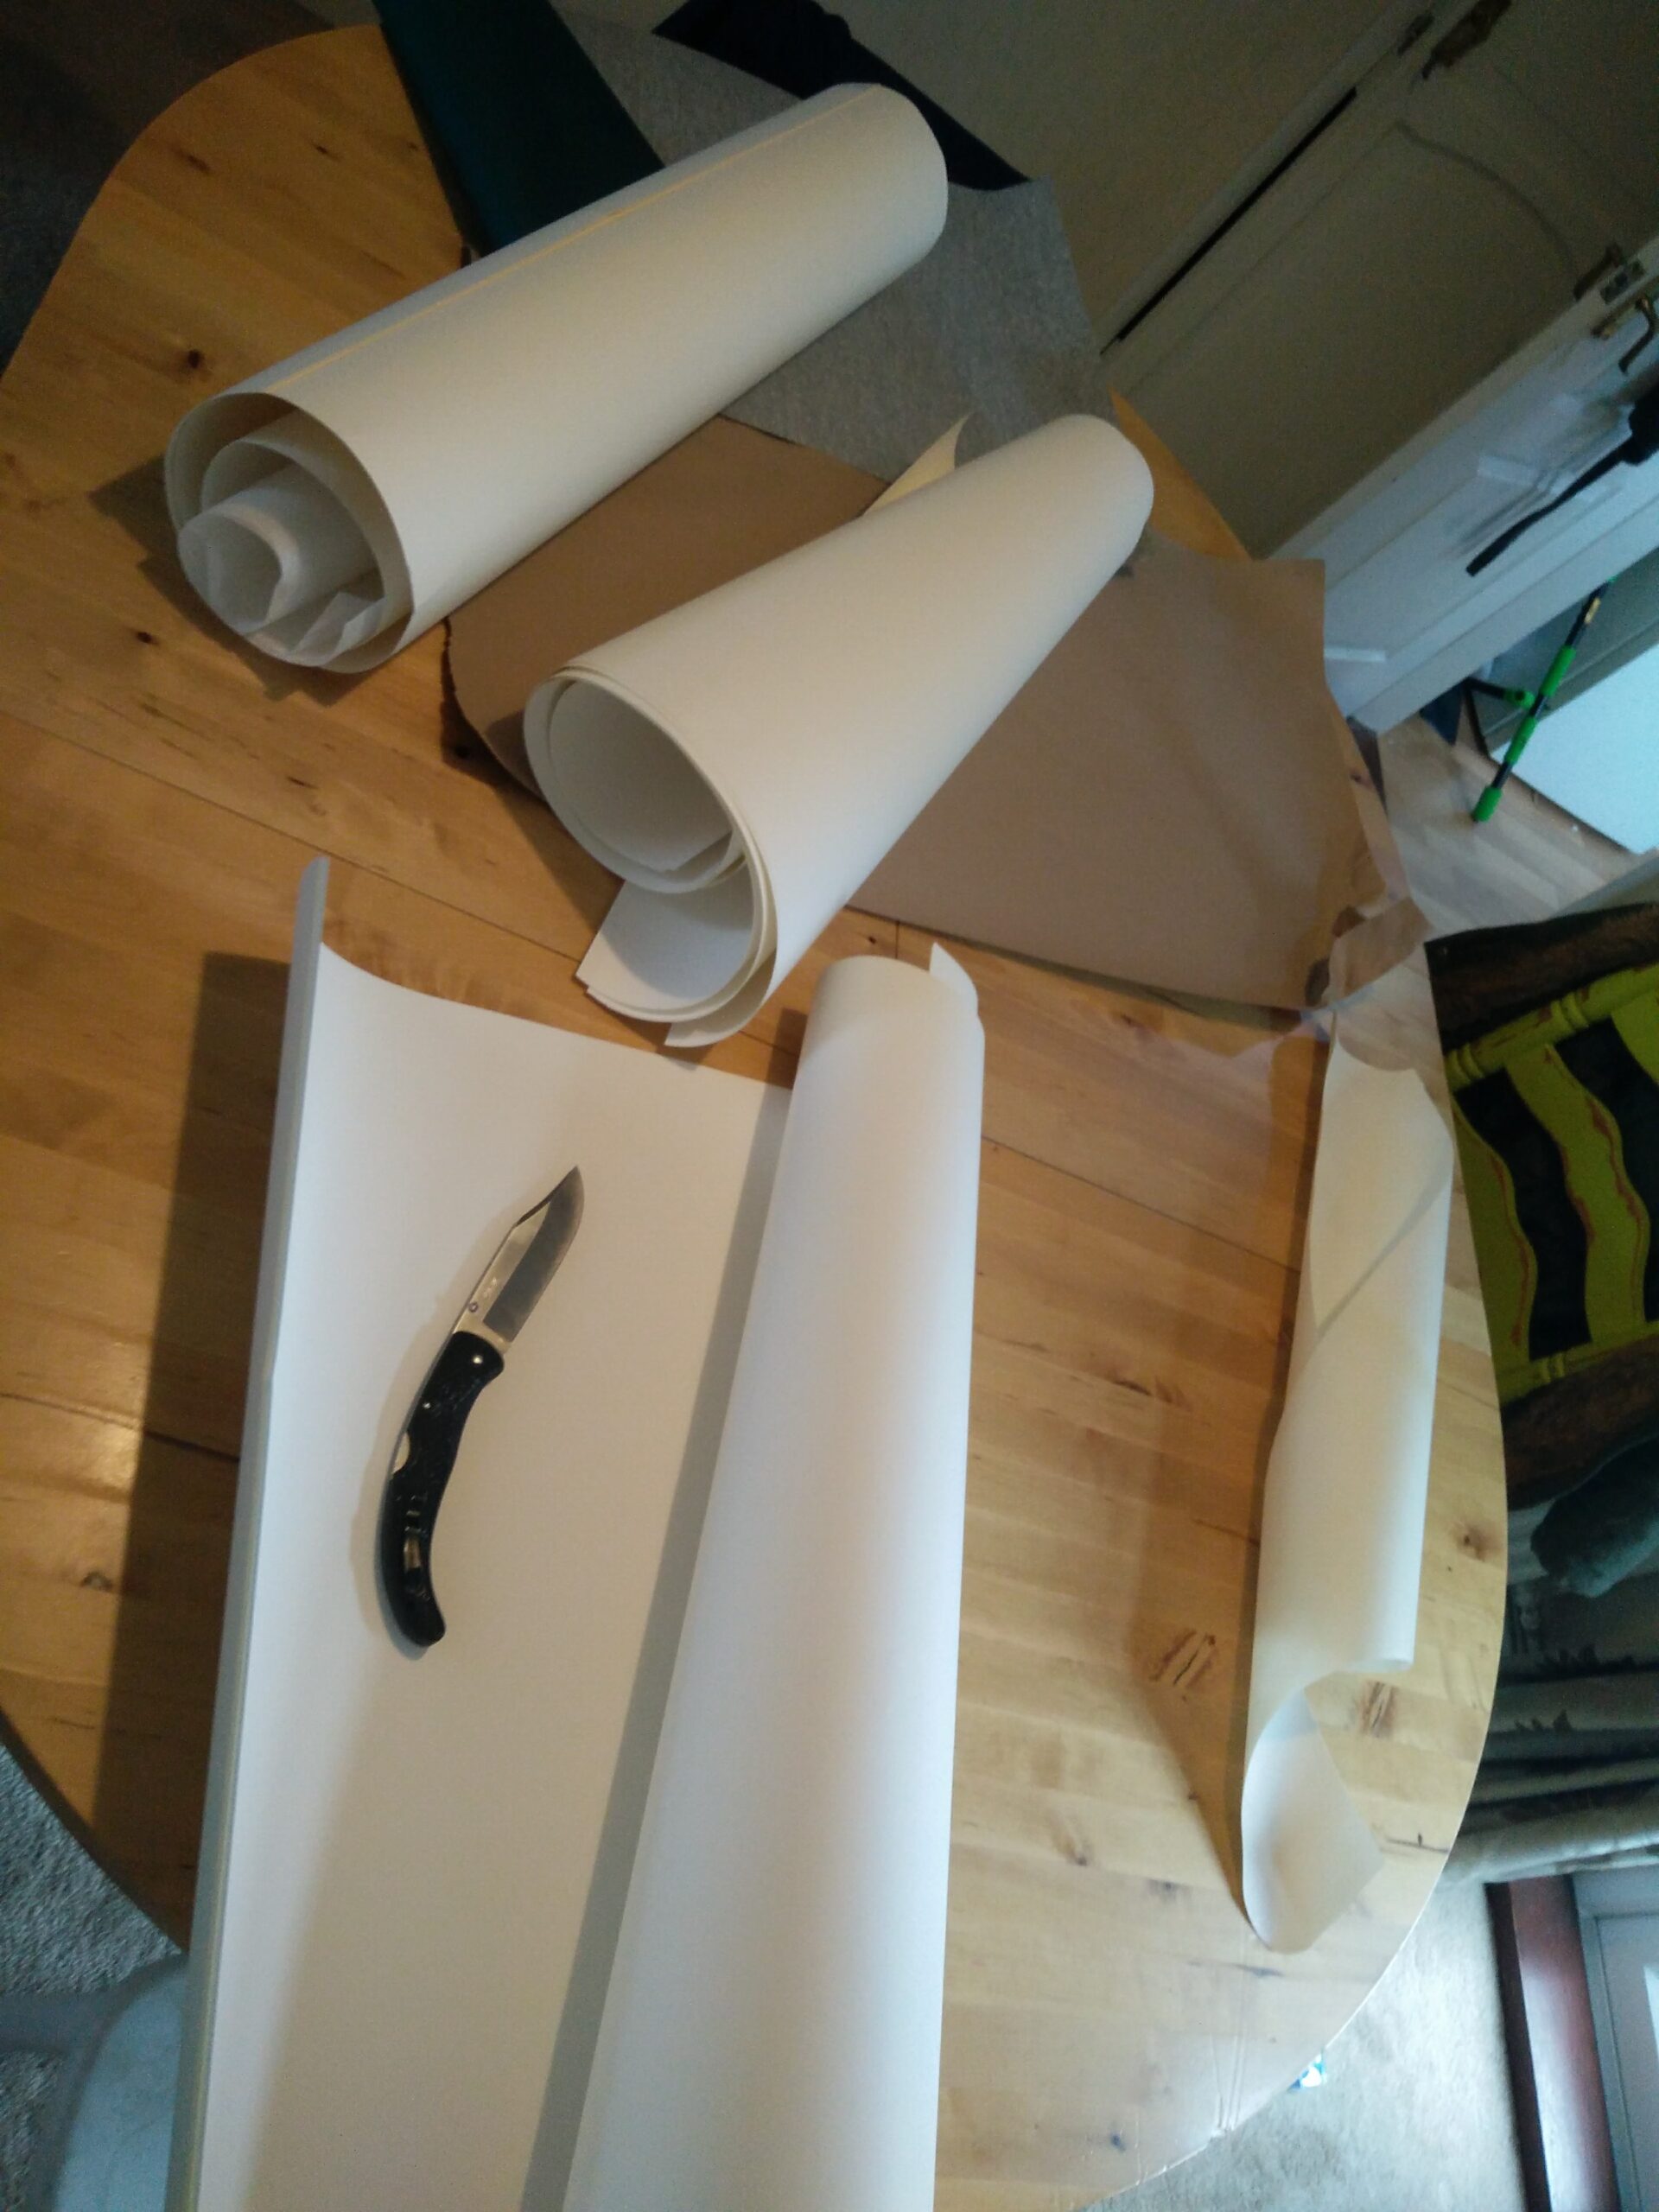

My nieces were thrilled with the broomsticks I made for them four years ago, and they are still avid Harry Potter fans. They are members of Pottermore, and have been sorted into their houses: Slytherin, and Ravenclaw. The eldest is just starting University, so I thought a Slytherin-themed notebook would make a good Christmas present for her. Her sister being in Ravenclaw, so it made sense to make her a similar one too. I'm still mostly a woodworker when it comes to crafts and craftsmanship, but I took up bookbinding as a hobby I can do at home sat at the table while my kids do their homework. Plus, I am very pernickety when it comes to notebooks, and the only way, I found, to get them exactly the way I want them is to make them myself. I usually make them about A6 size, to fit in a pocket. Hardback, so they have their own writing surface built in, and properly stitched, so they lay flat. At that size, I can fold the text blocks out of (archival quality, nicely weighted) A4 sheets, but for the larger notebook format, I got some large sheets from Shepherds Bookbinders in London, and got to work.
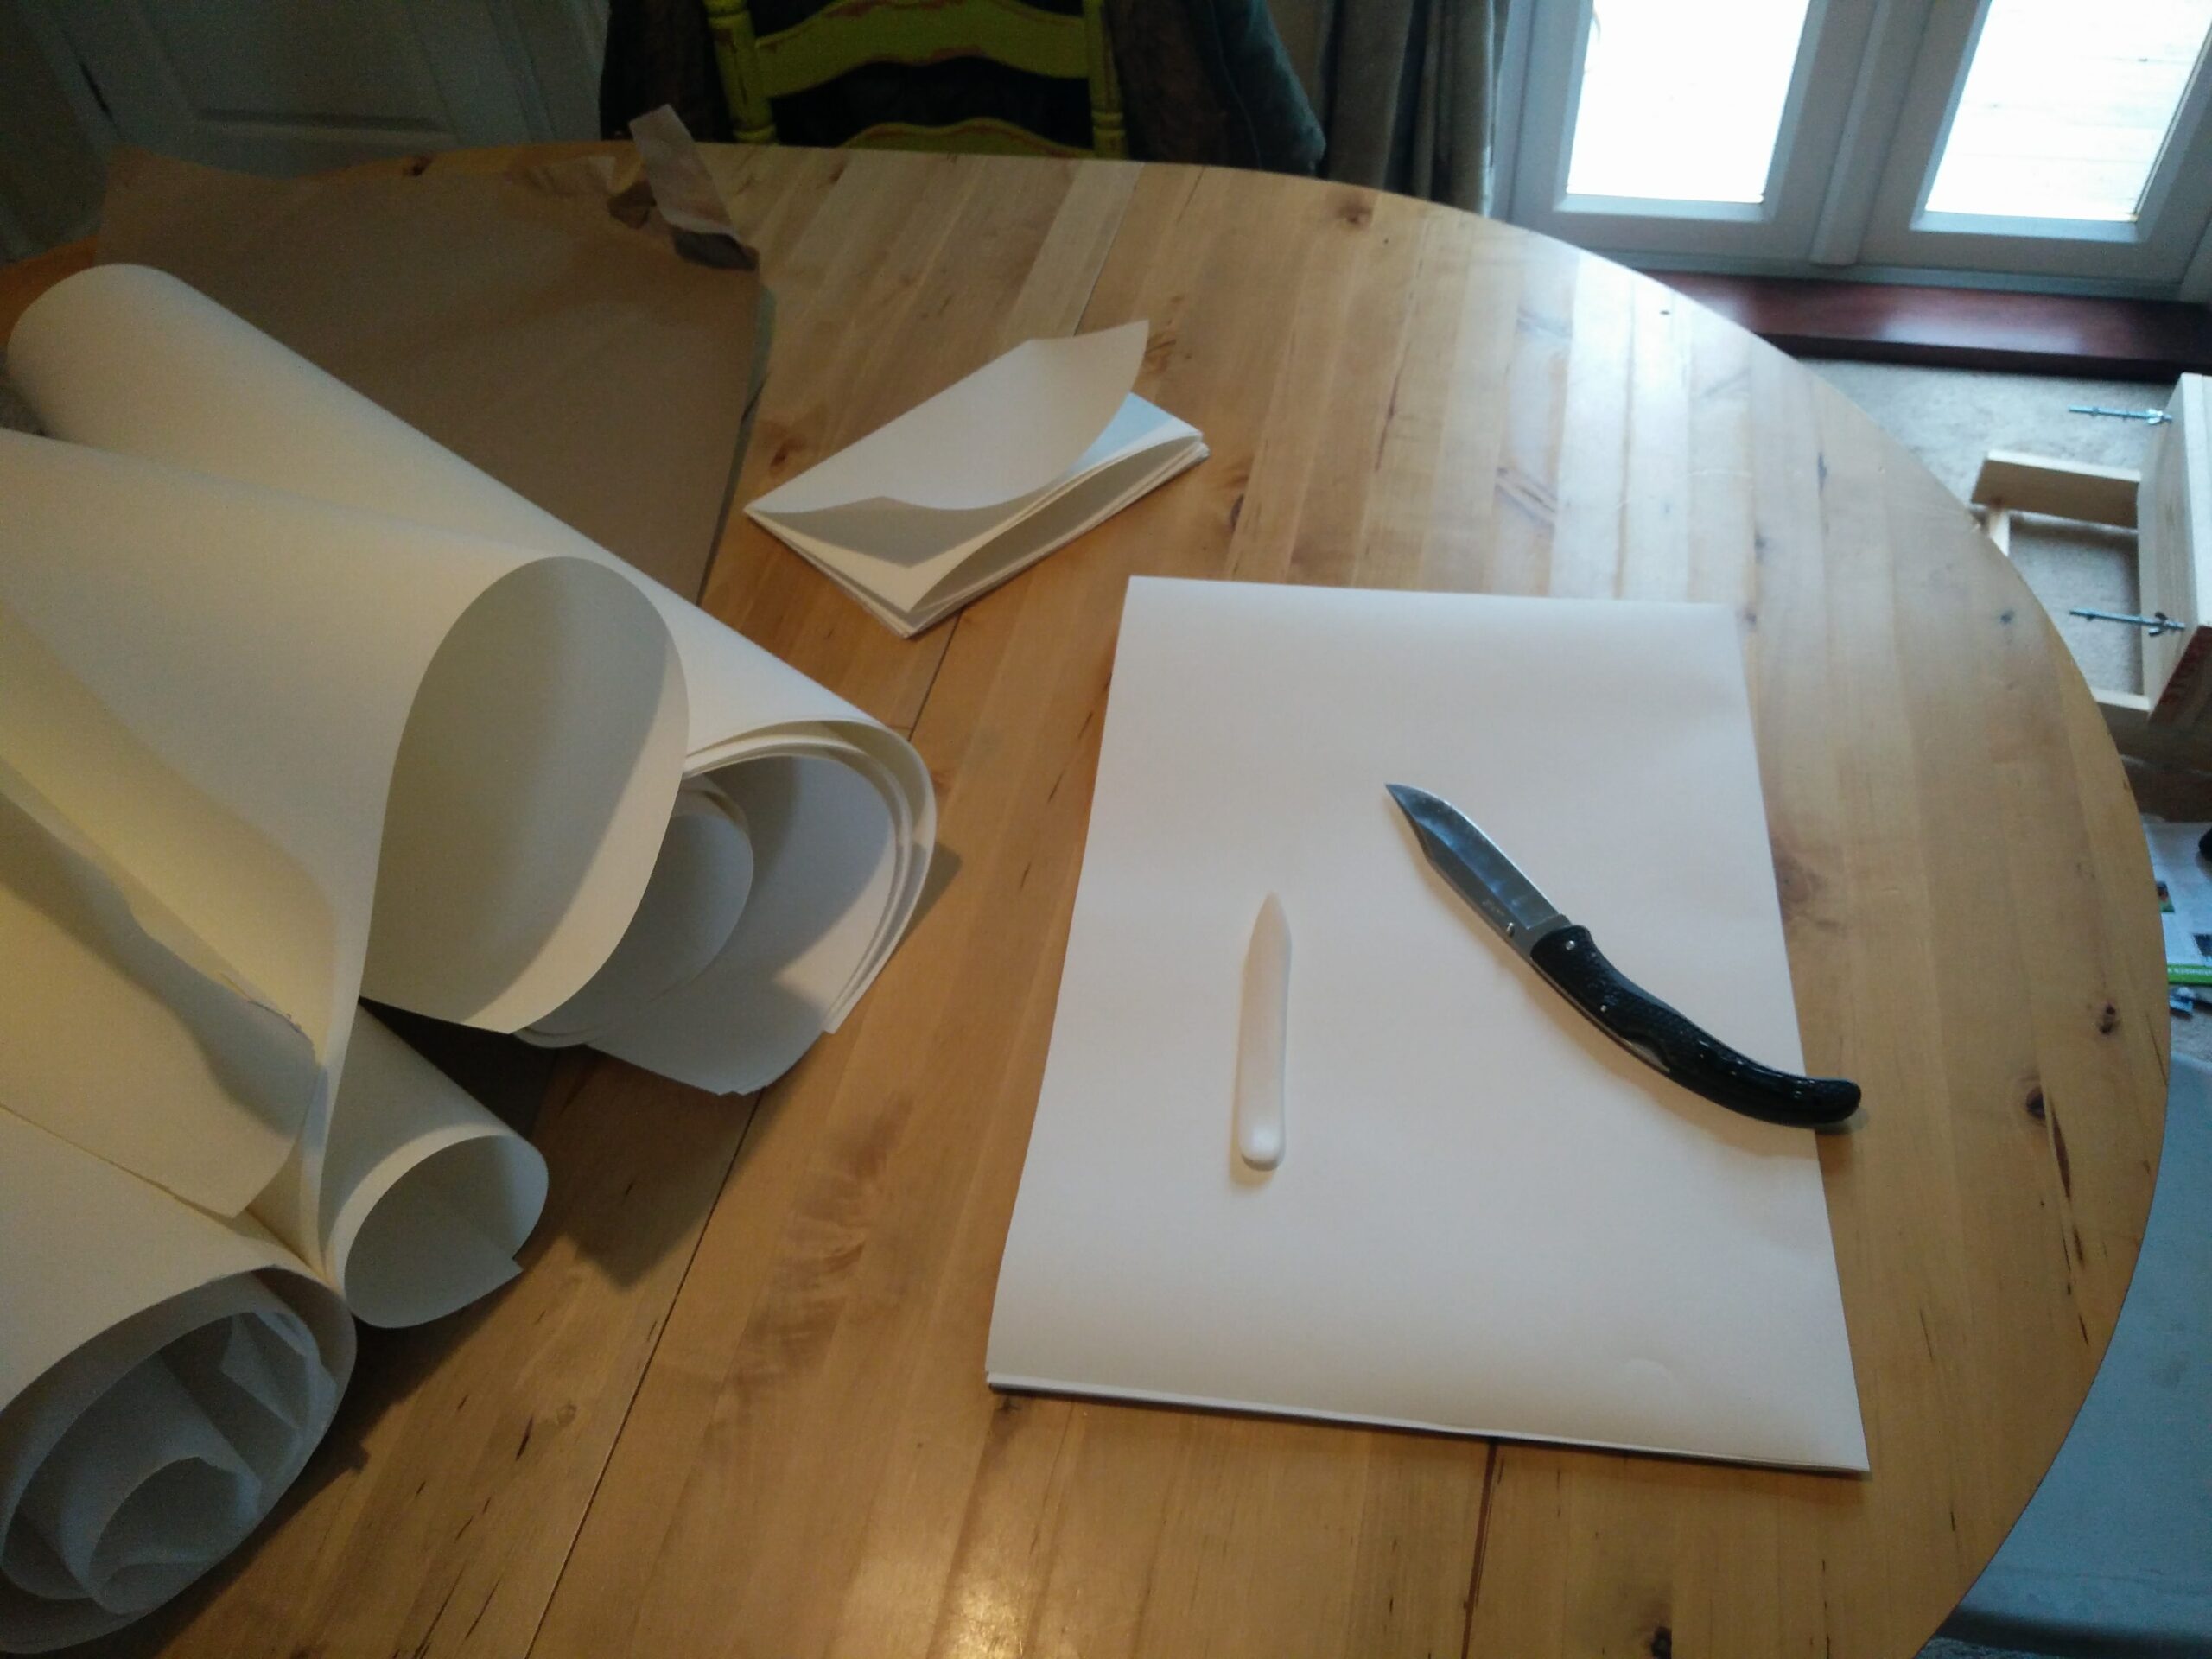
The roll on the right is vellum- I picked up some scraps while I was there… Anyway, I folded the large sheets into quires, and slit them into pieces about the right size for folding into the notebook.
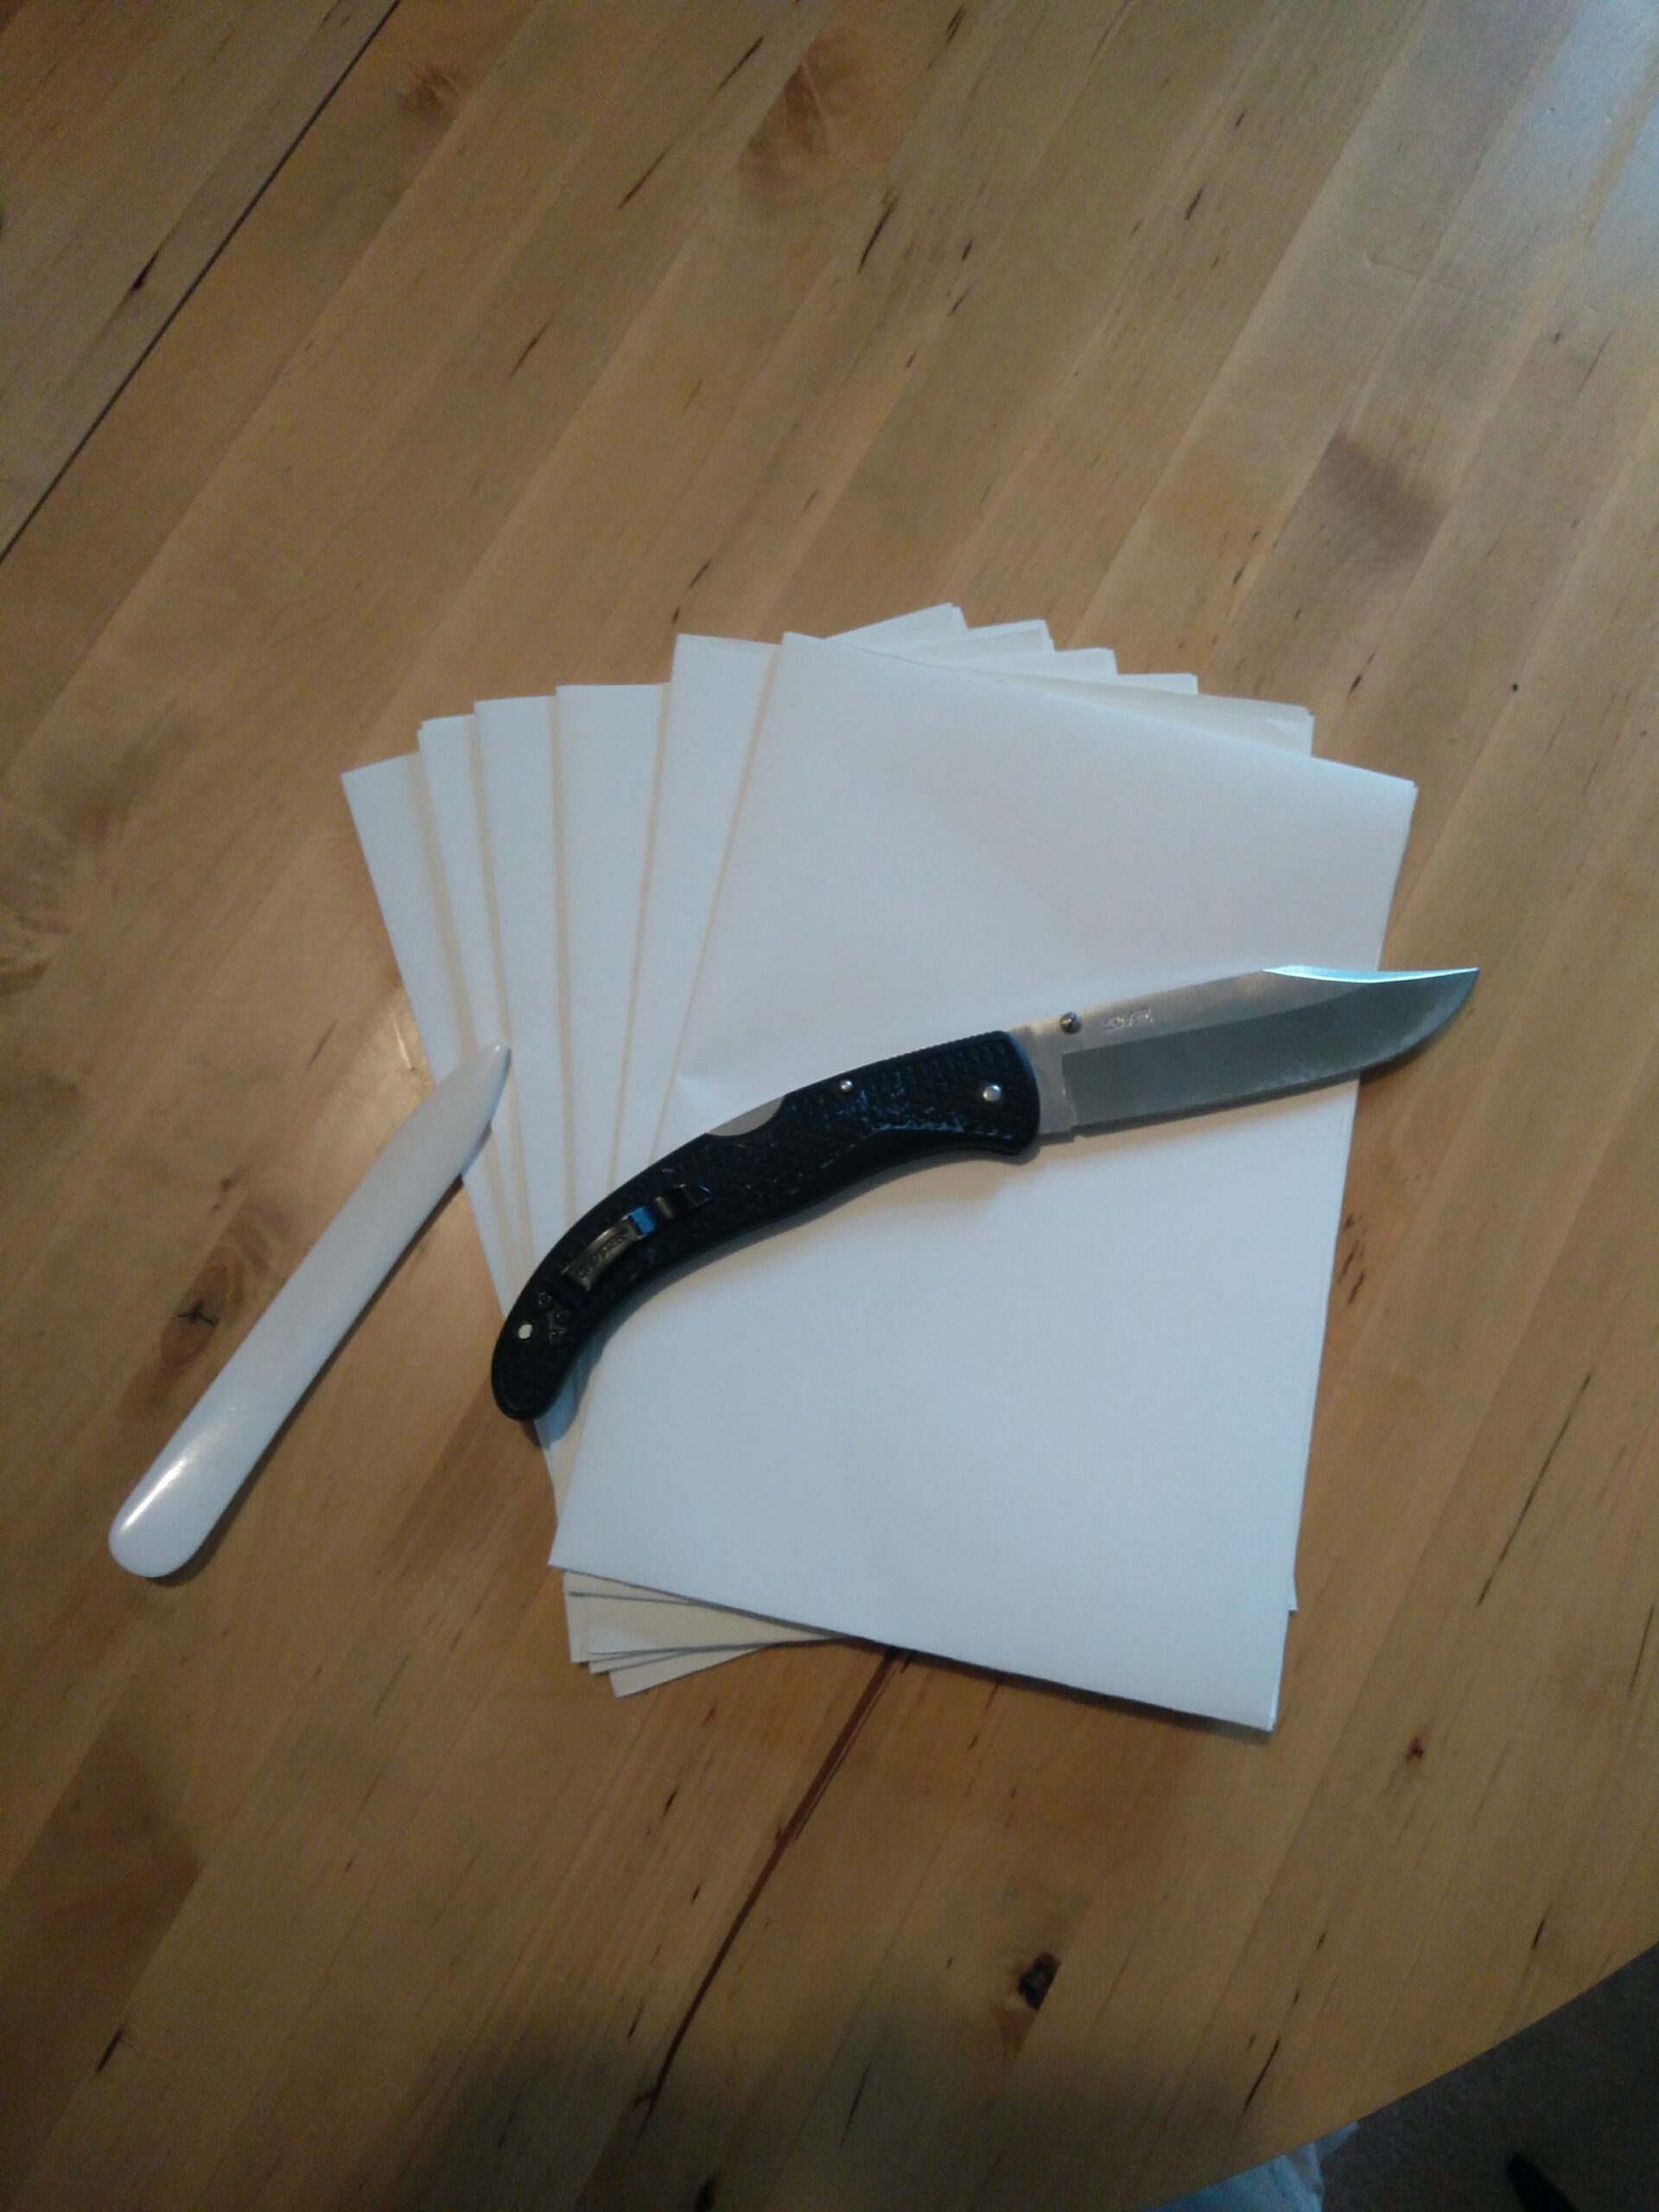
The smaller stack is about 18 by 27cm square. I like the big, broad 5″ blade of my Cold Steel Voyager for slitting the folds. It's also handy as a paperweight.
I then created 6 quires of 4 sheets each, to make the text block. That makes 8 leaves, 16 pages, per quire, so a 96 page book.
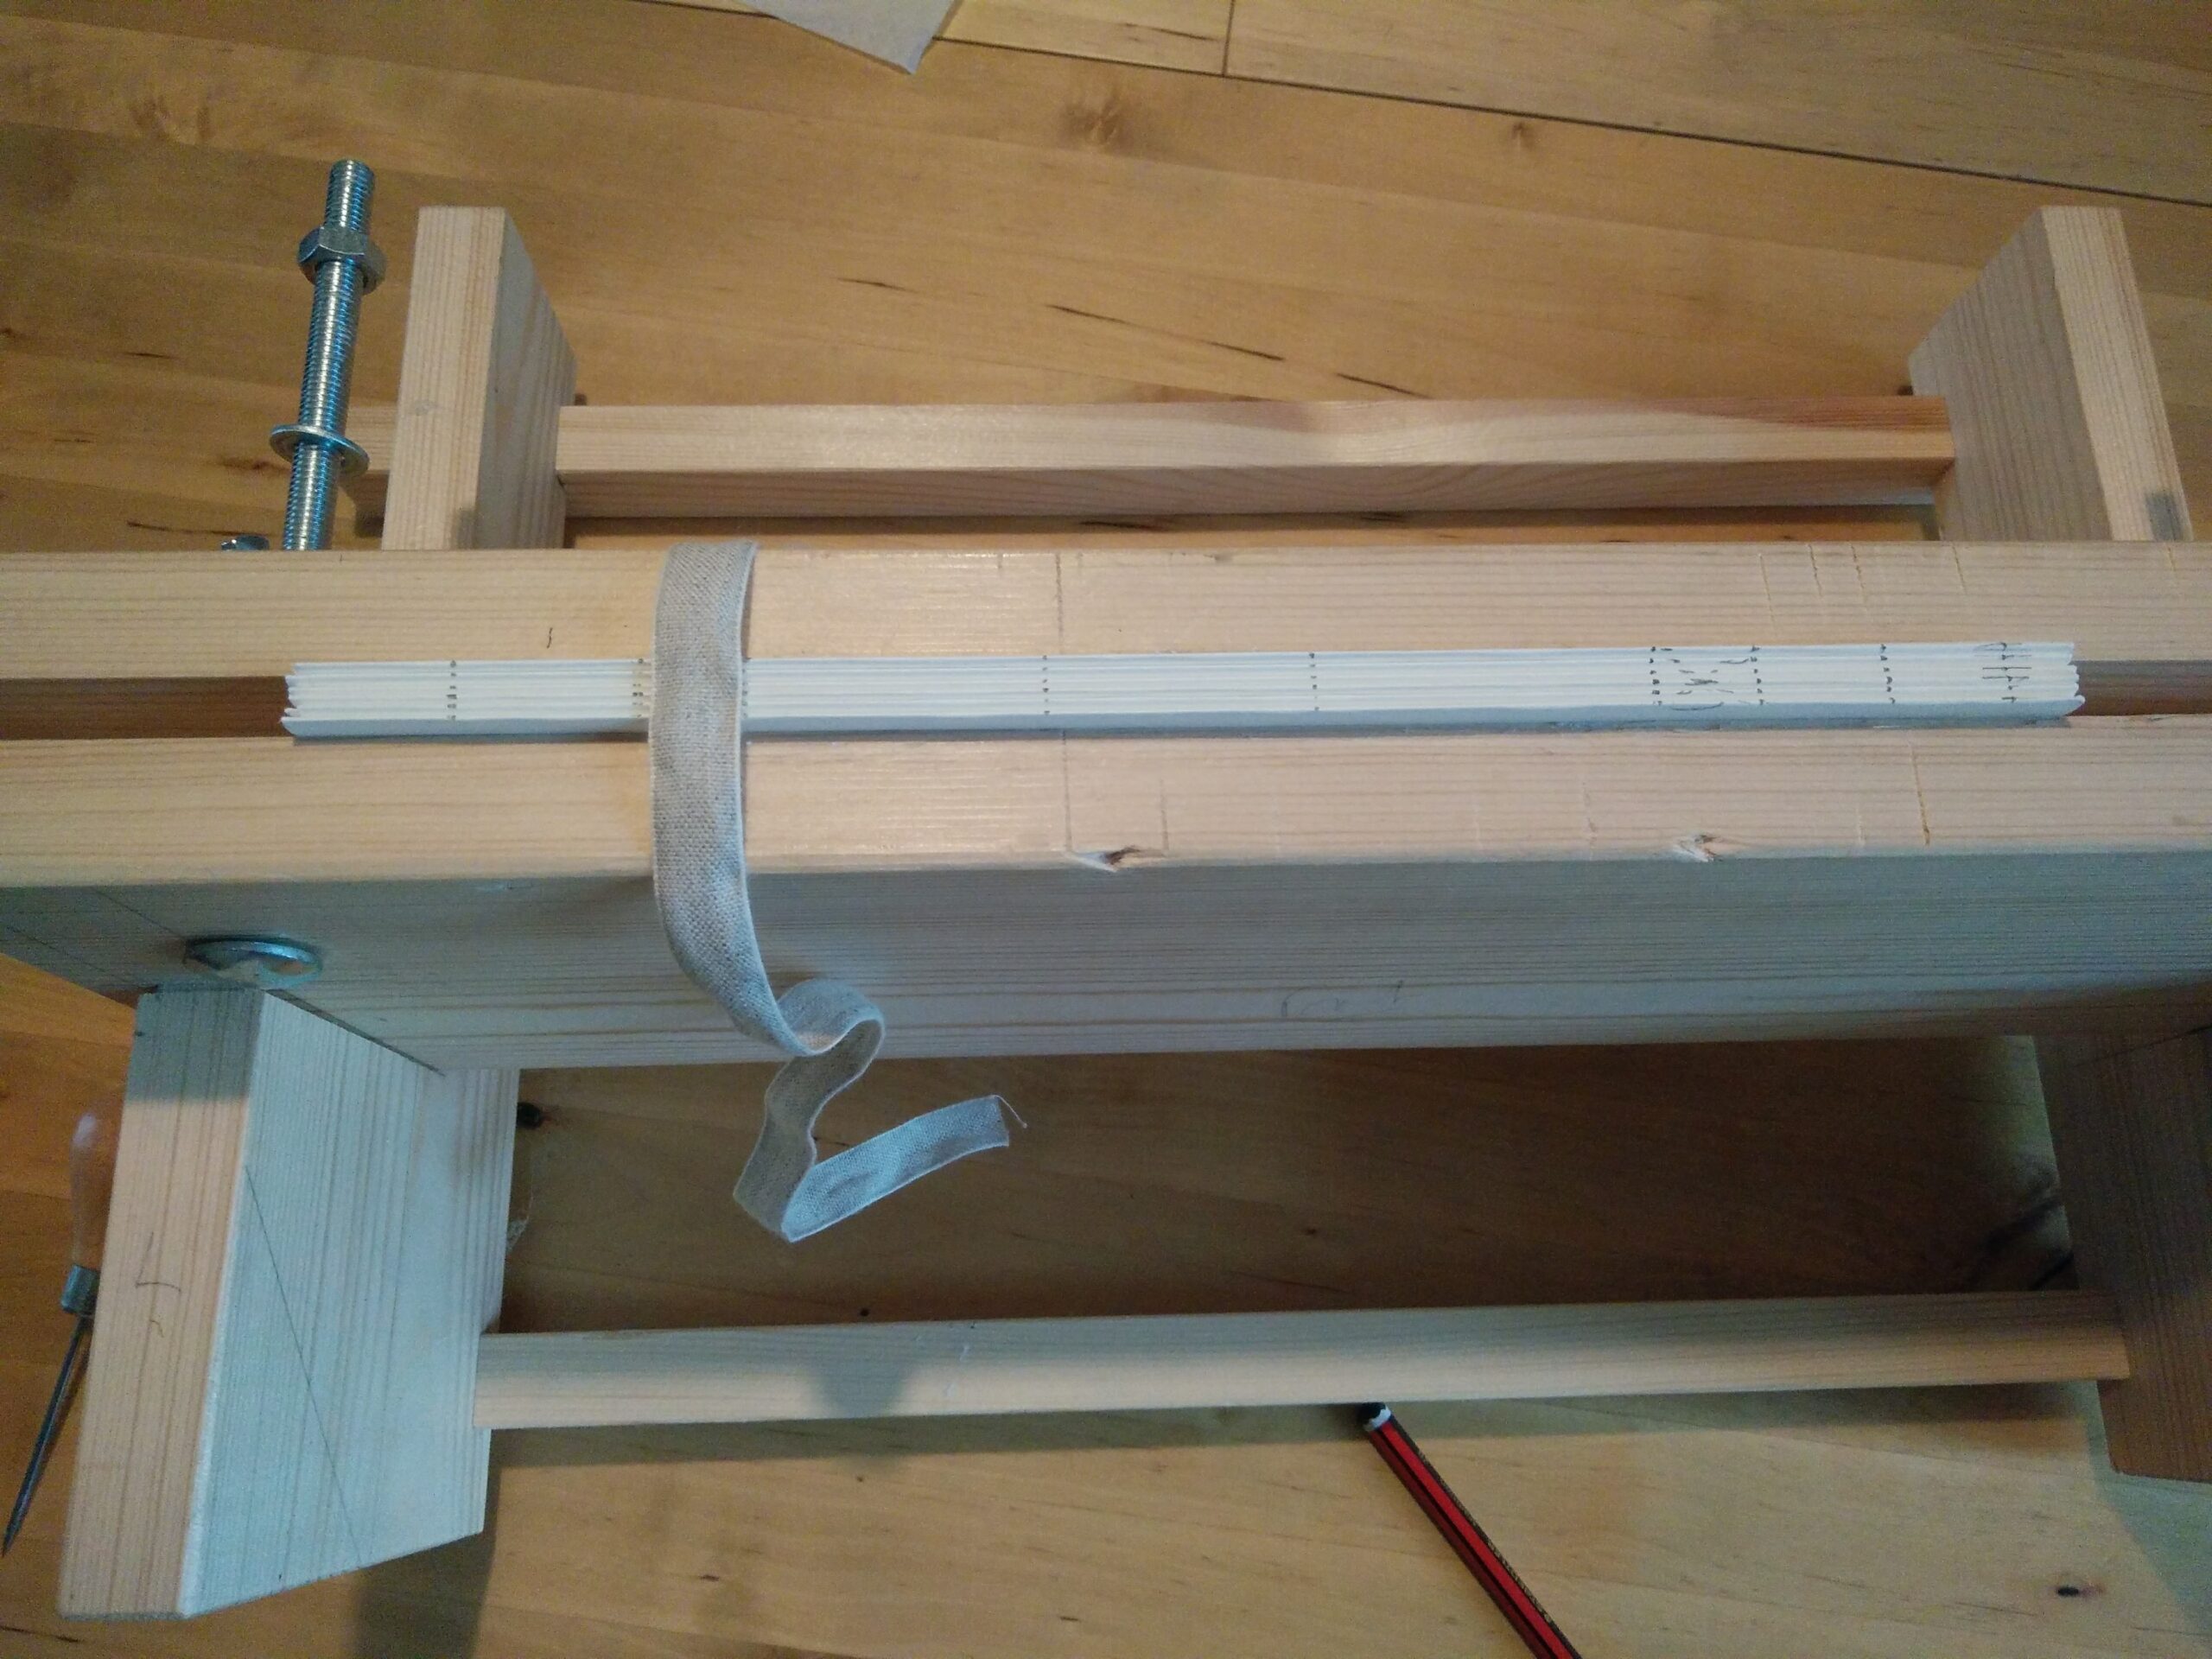
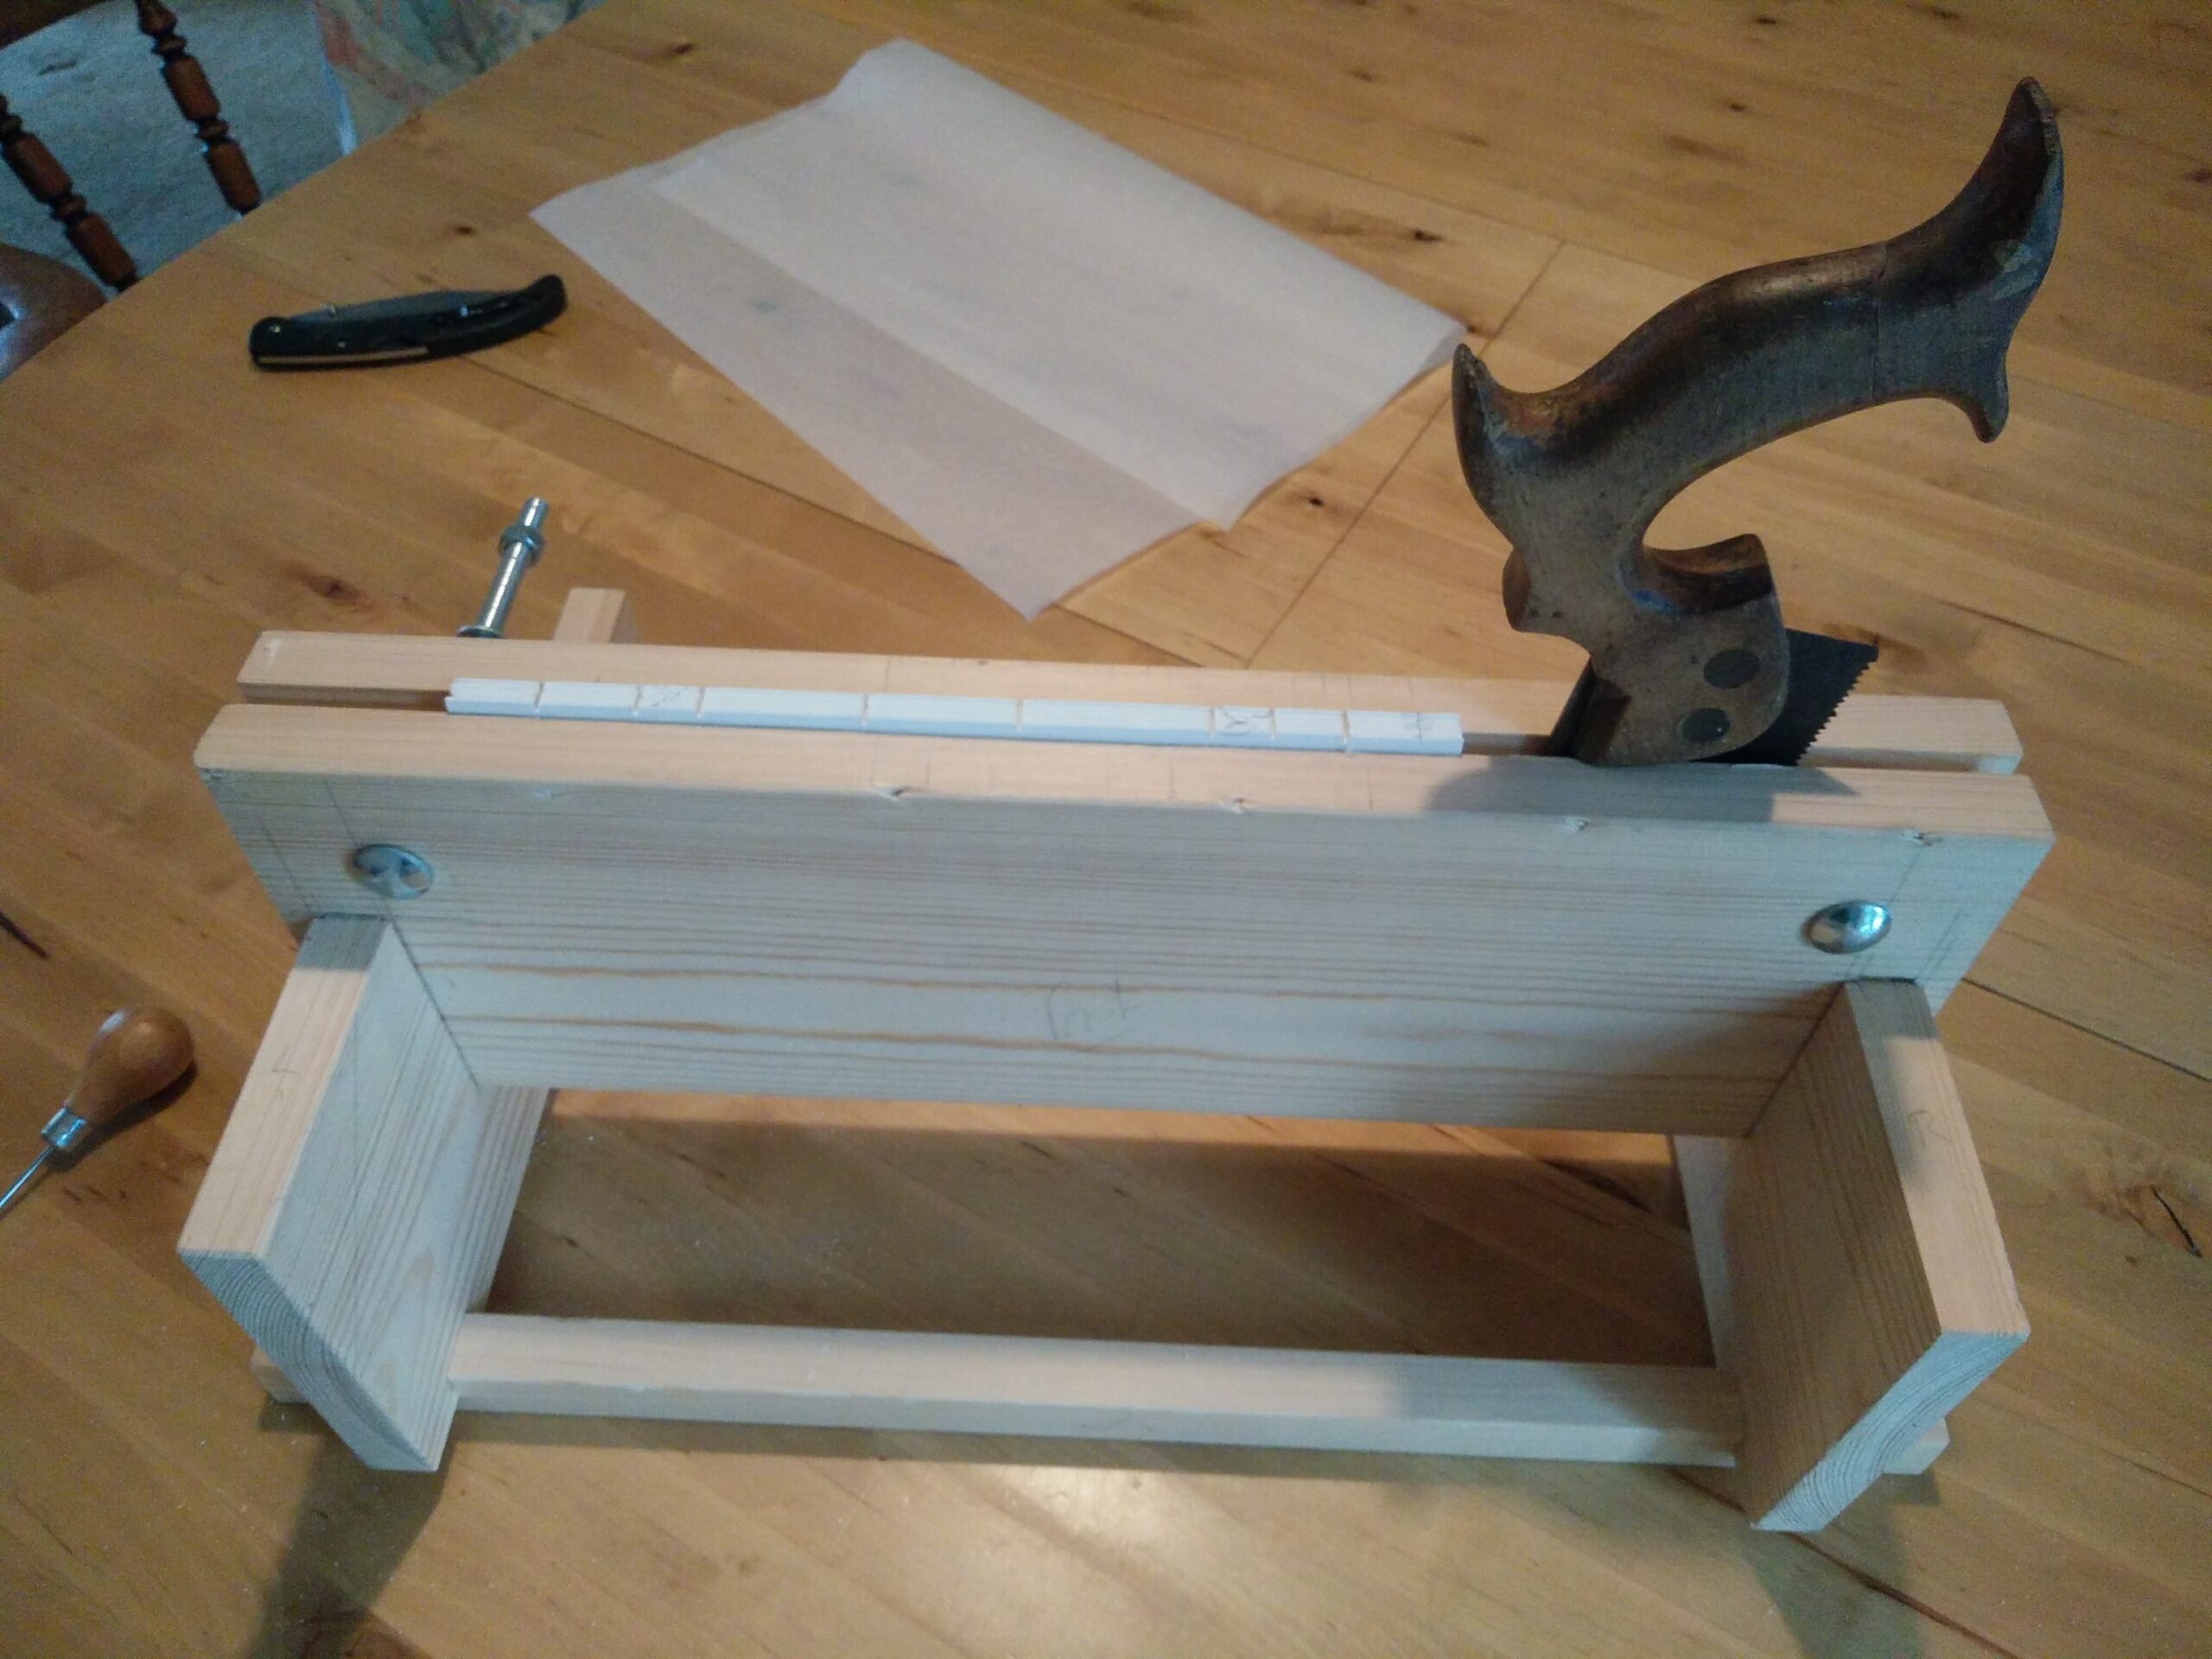
These went into my rather rough and ready lying press (whacked together out of bits of pine, dismantlable into a few short planks), for cutting the sewing holes. I decided to stitch these onto tapes, as it makes for a stronger book (I'm hoping this one will be put in a school bag and carted everywhere), so I marked out the places to cut.
I prefer cutting the holes with a saw, as it keeps them all perfectly in line from quire to quire, and the longer slits in the outside folia of each quire help with the laying flat (I think).
I didn't photograph the stitching process, as both my hands were busy! But it was a pretty standard version, and you can see it done beautifully in this video by an actual real proper bookbinder:
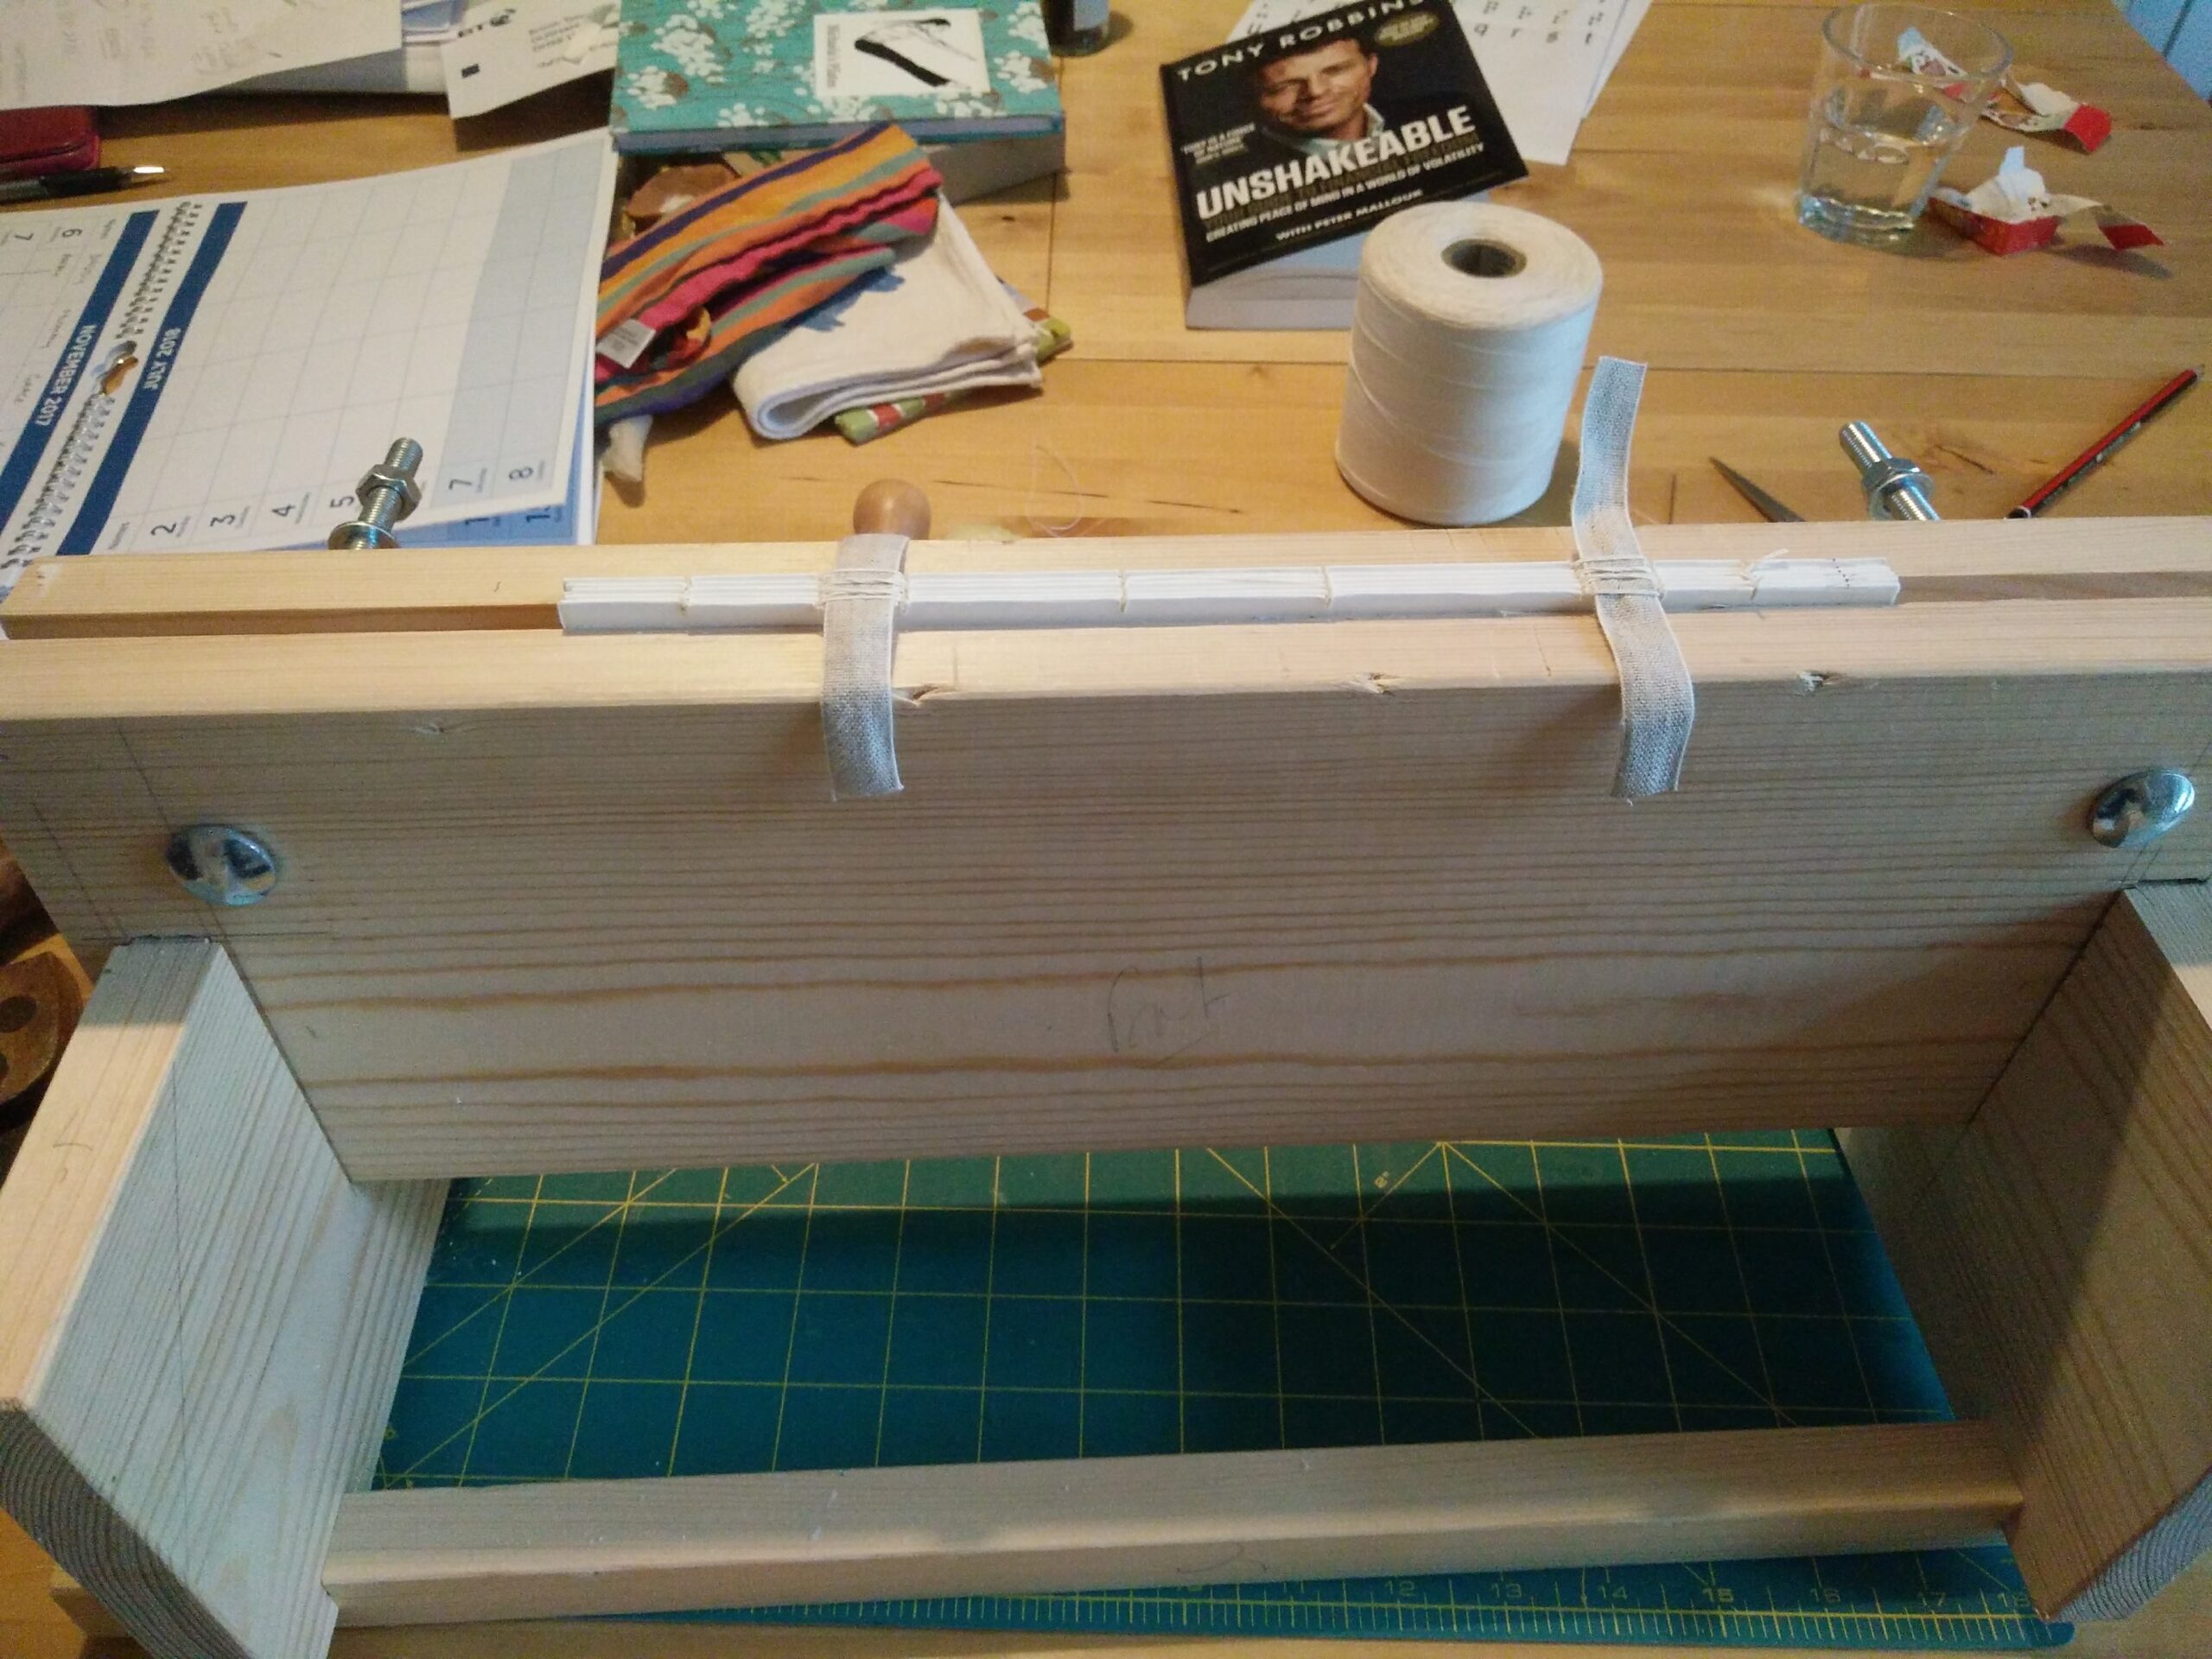
I don't have a sewing frame, so I just do it at the table, and it works just fine. The sewn text block then went back into the lying press for gluing up and adding a layer of mull:
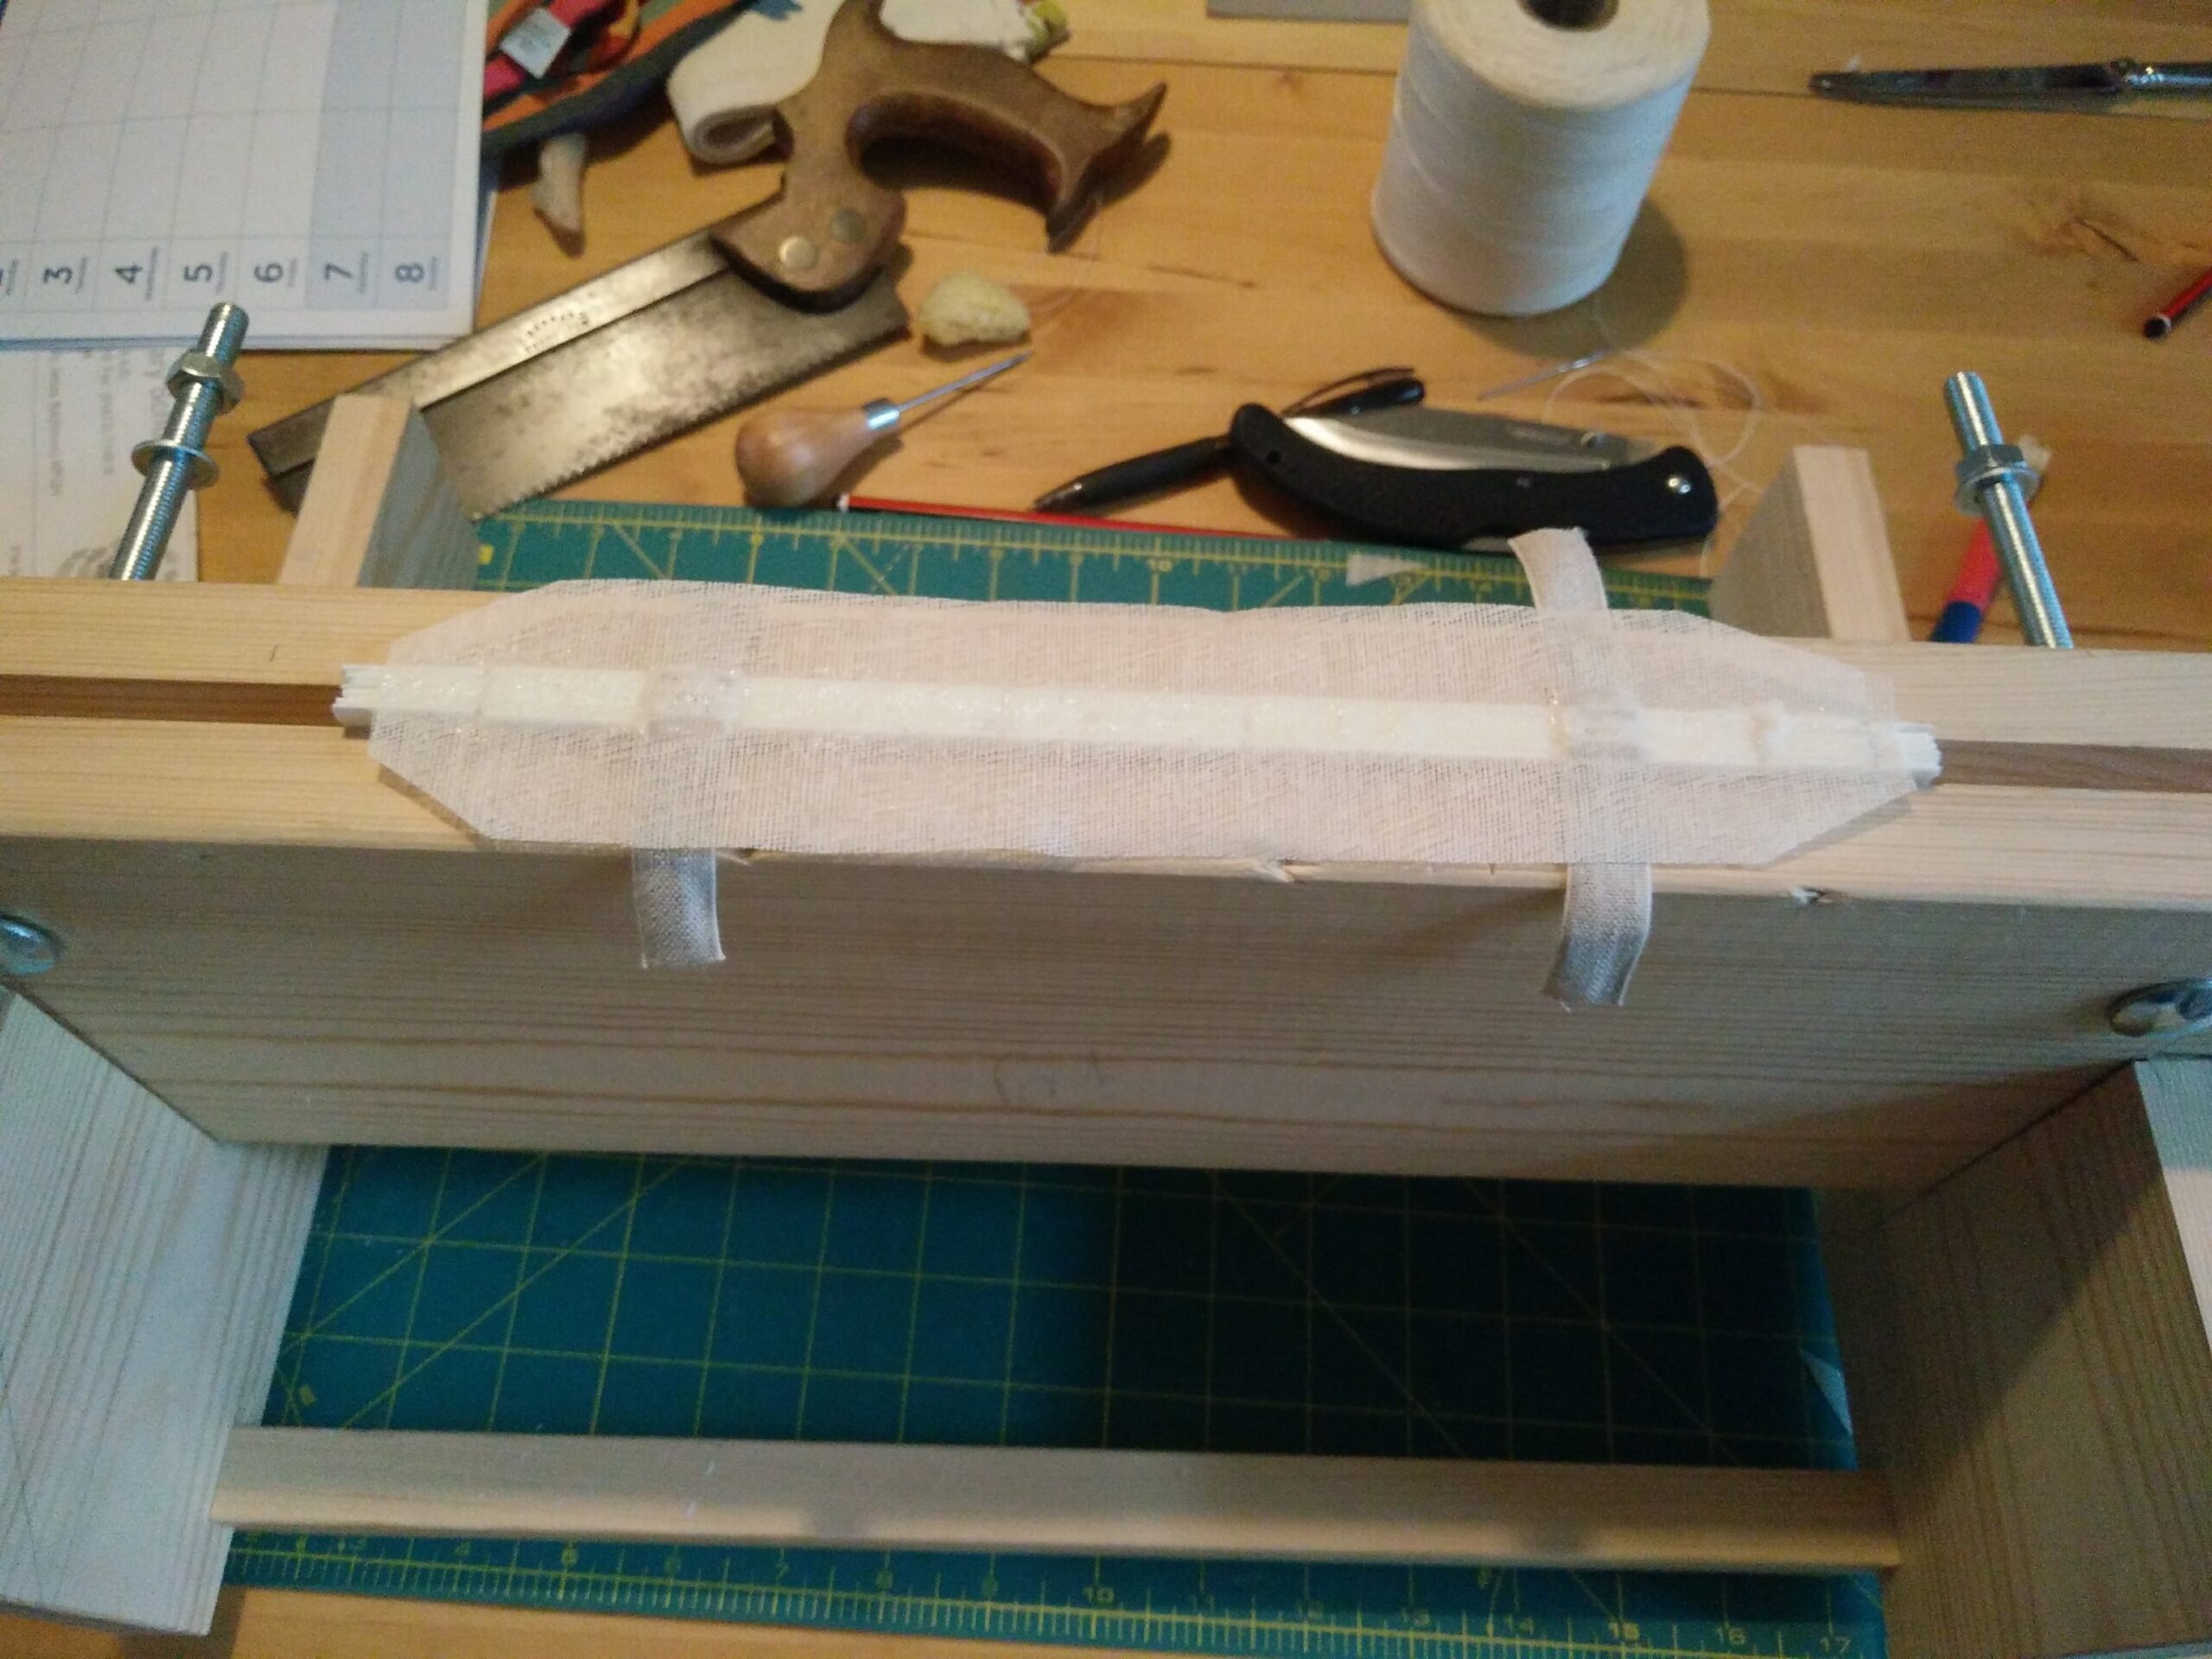
And with the mull:
Then I needed to trim the block, which I did with a stanley knife. Top tip: I keep a diamond lap handy, and touch up the edge every few minutes. Much faster than changing blades, and one blade lasts me for years! Besides, they are not sharp to my standards straight out of the box anyway.
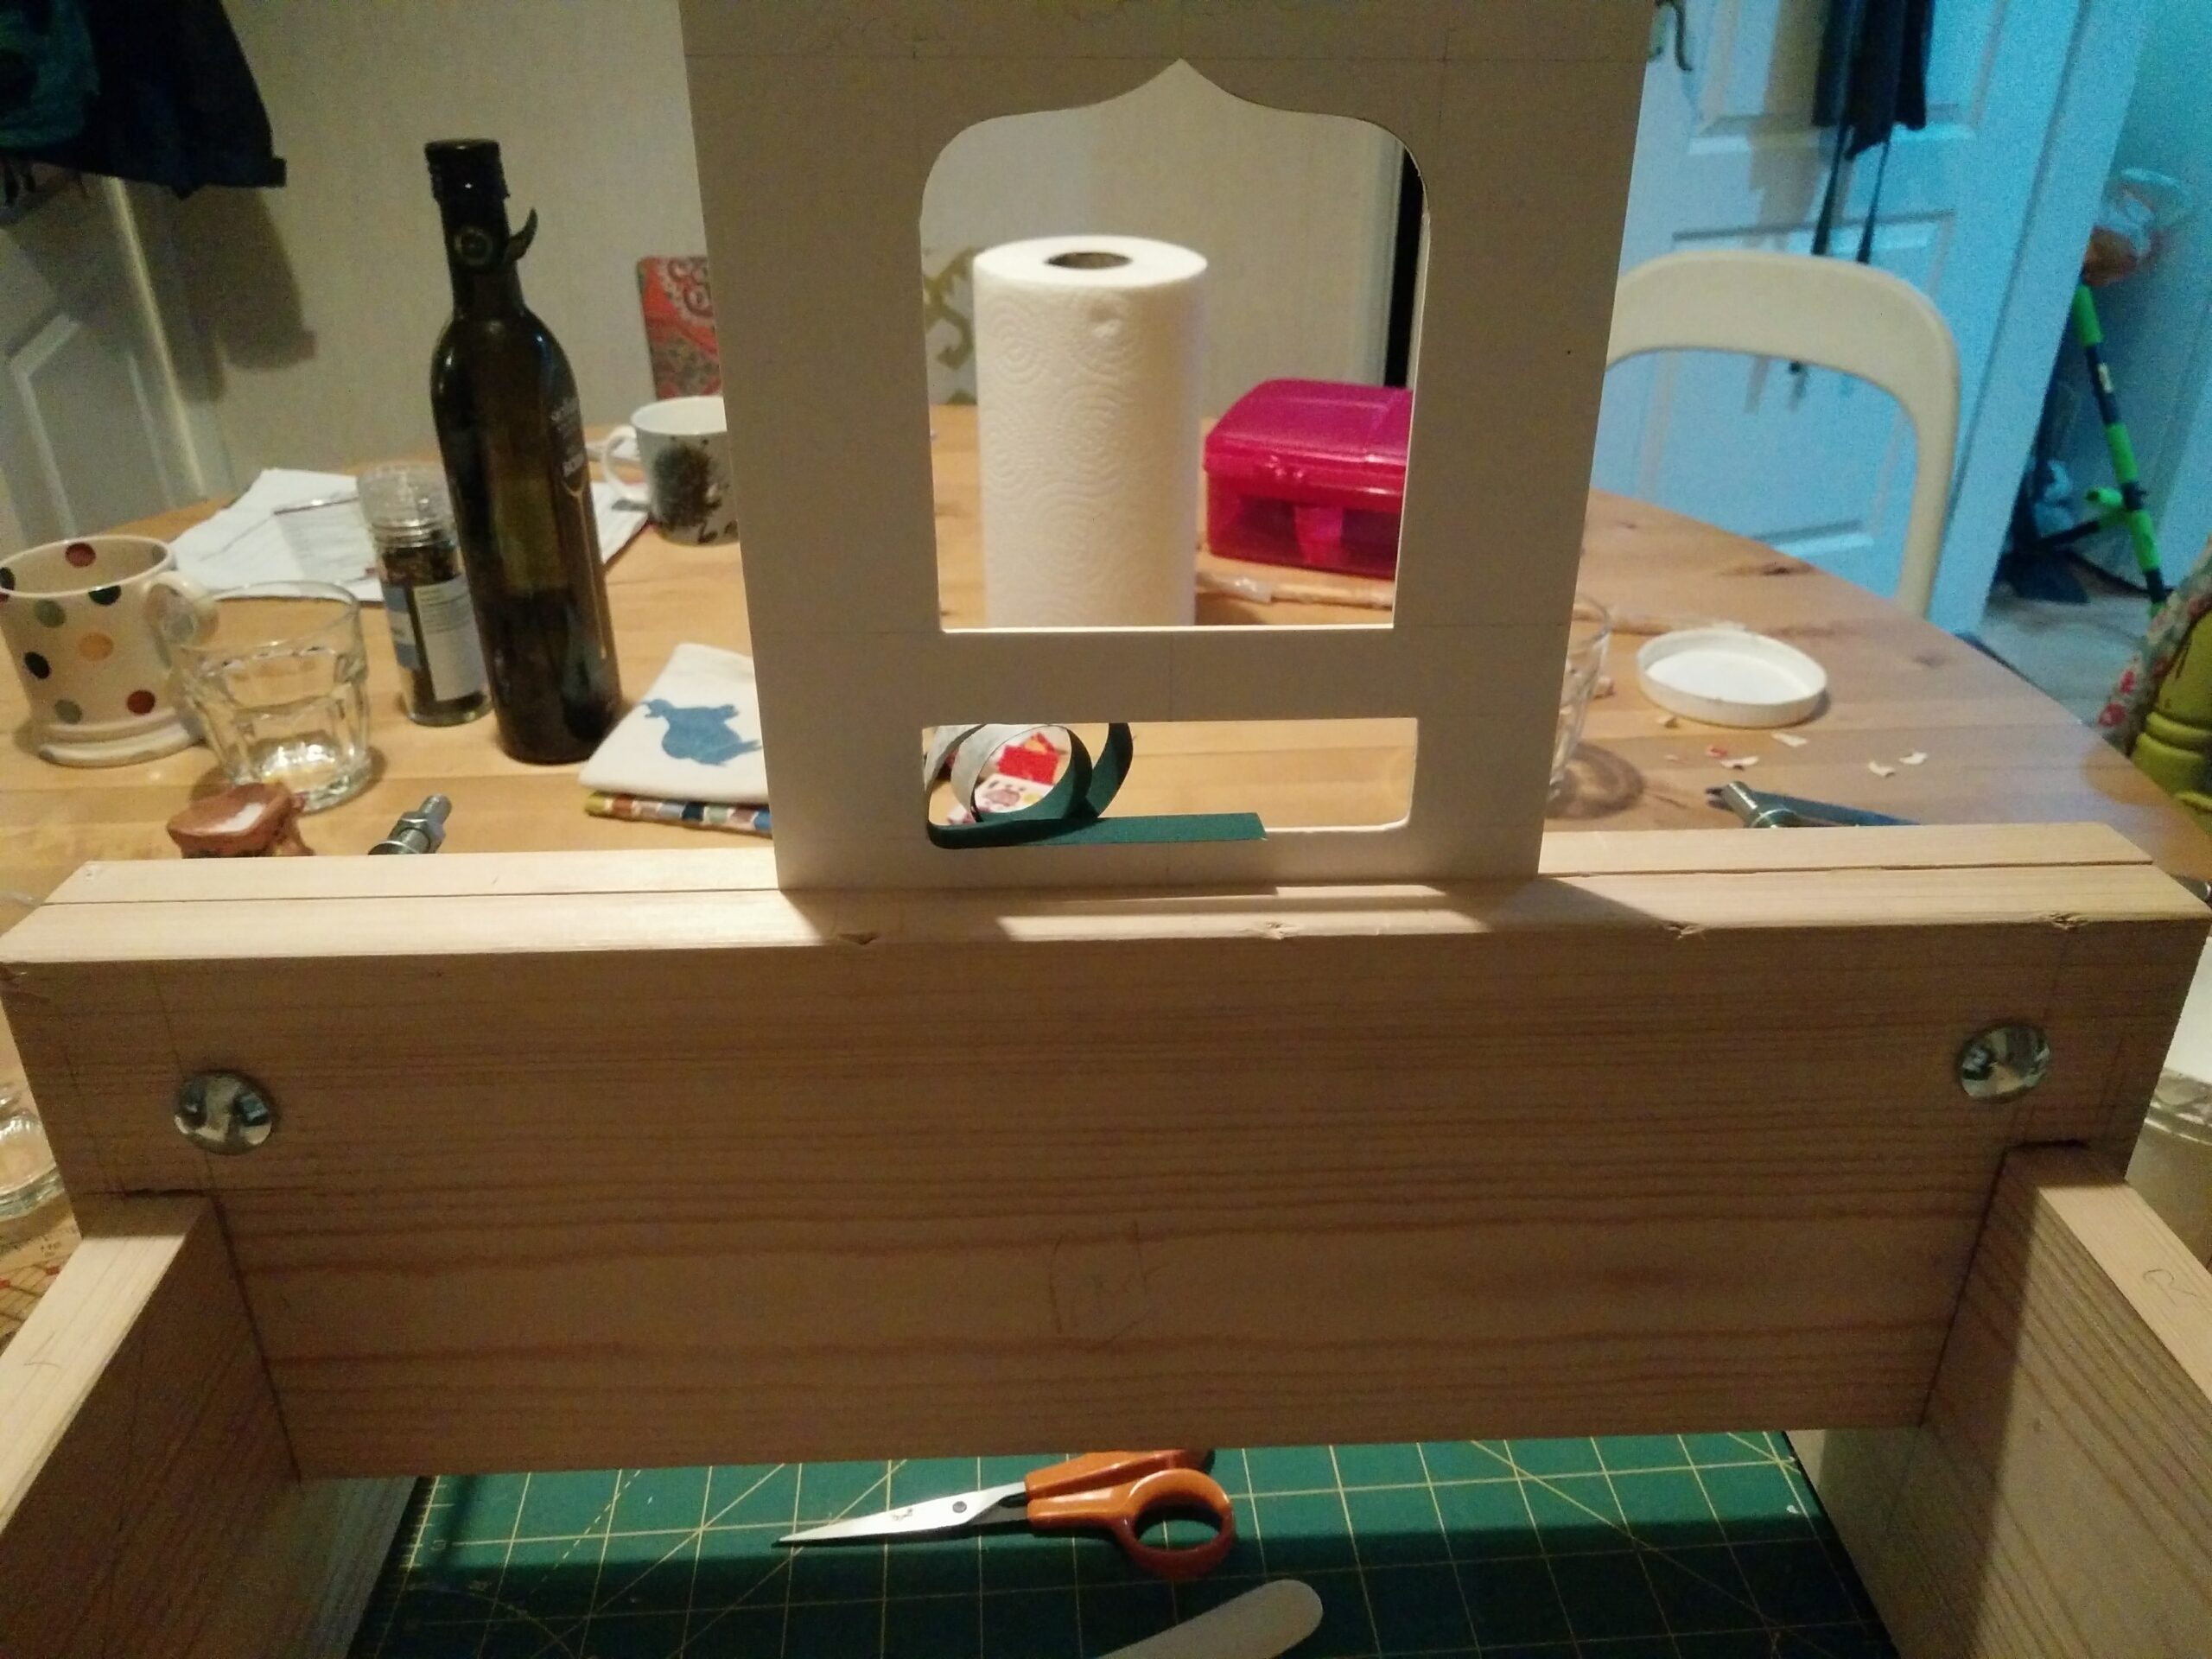
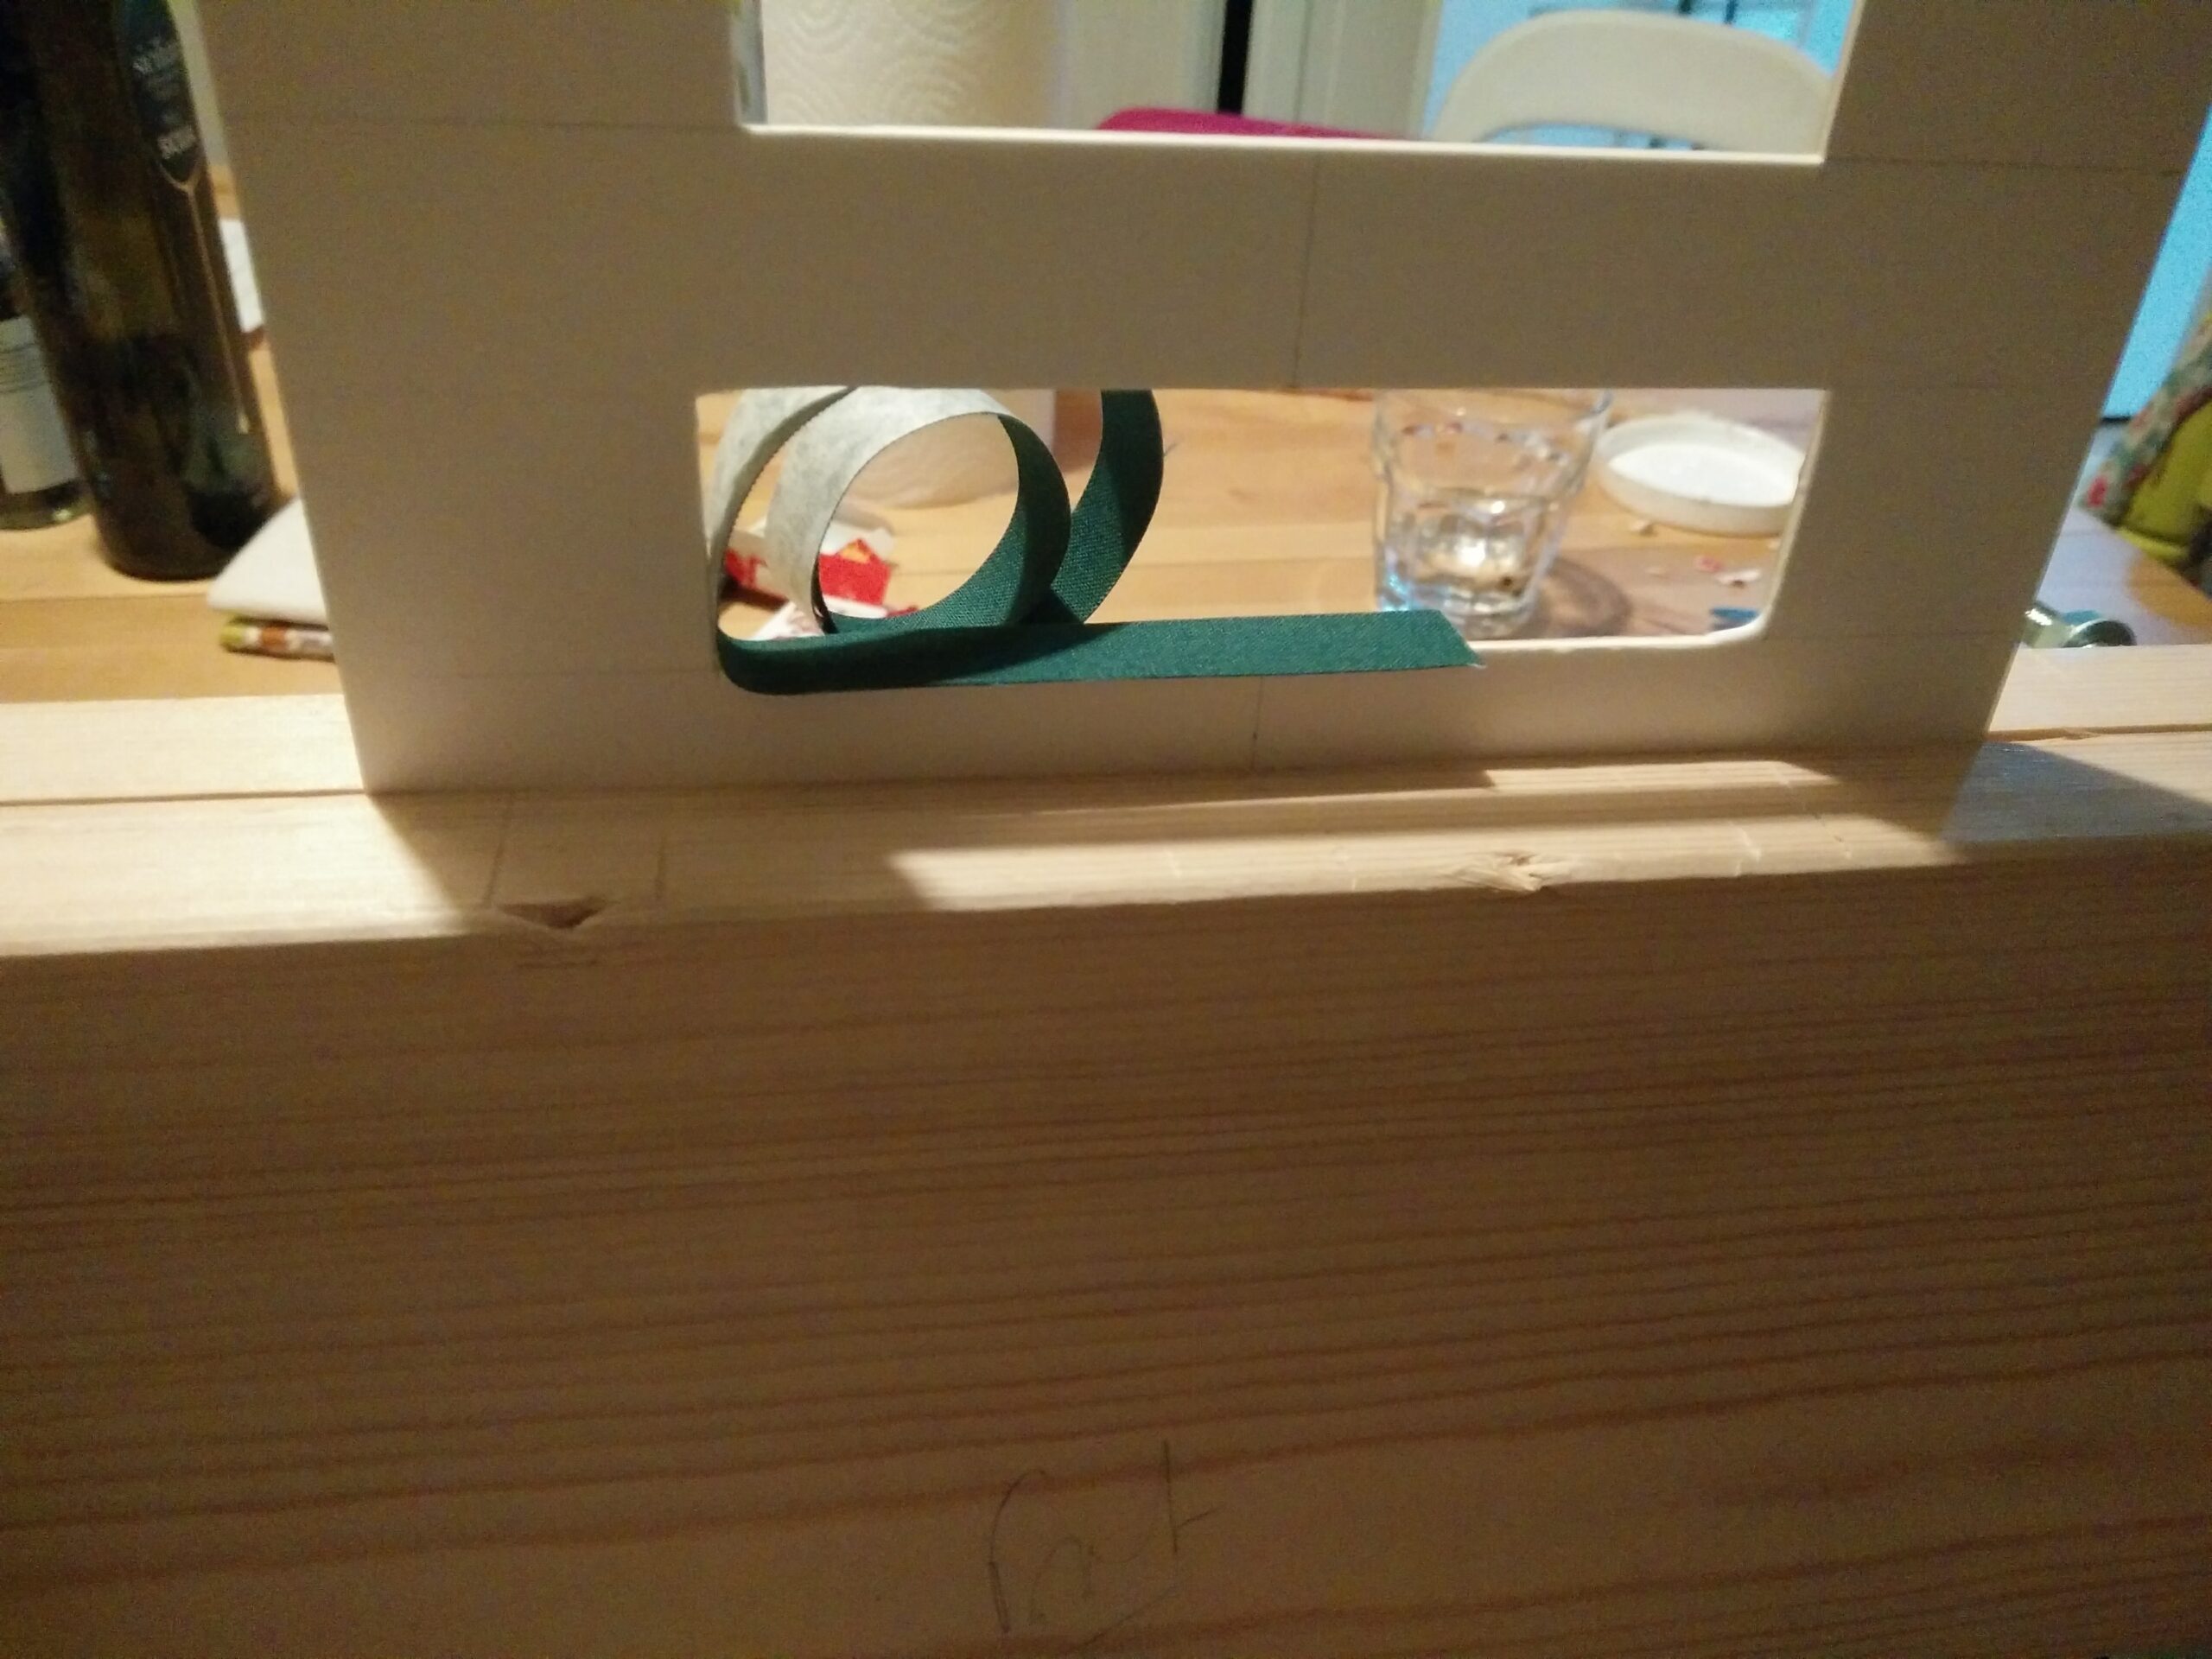
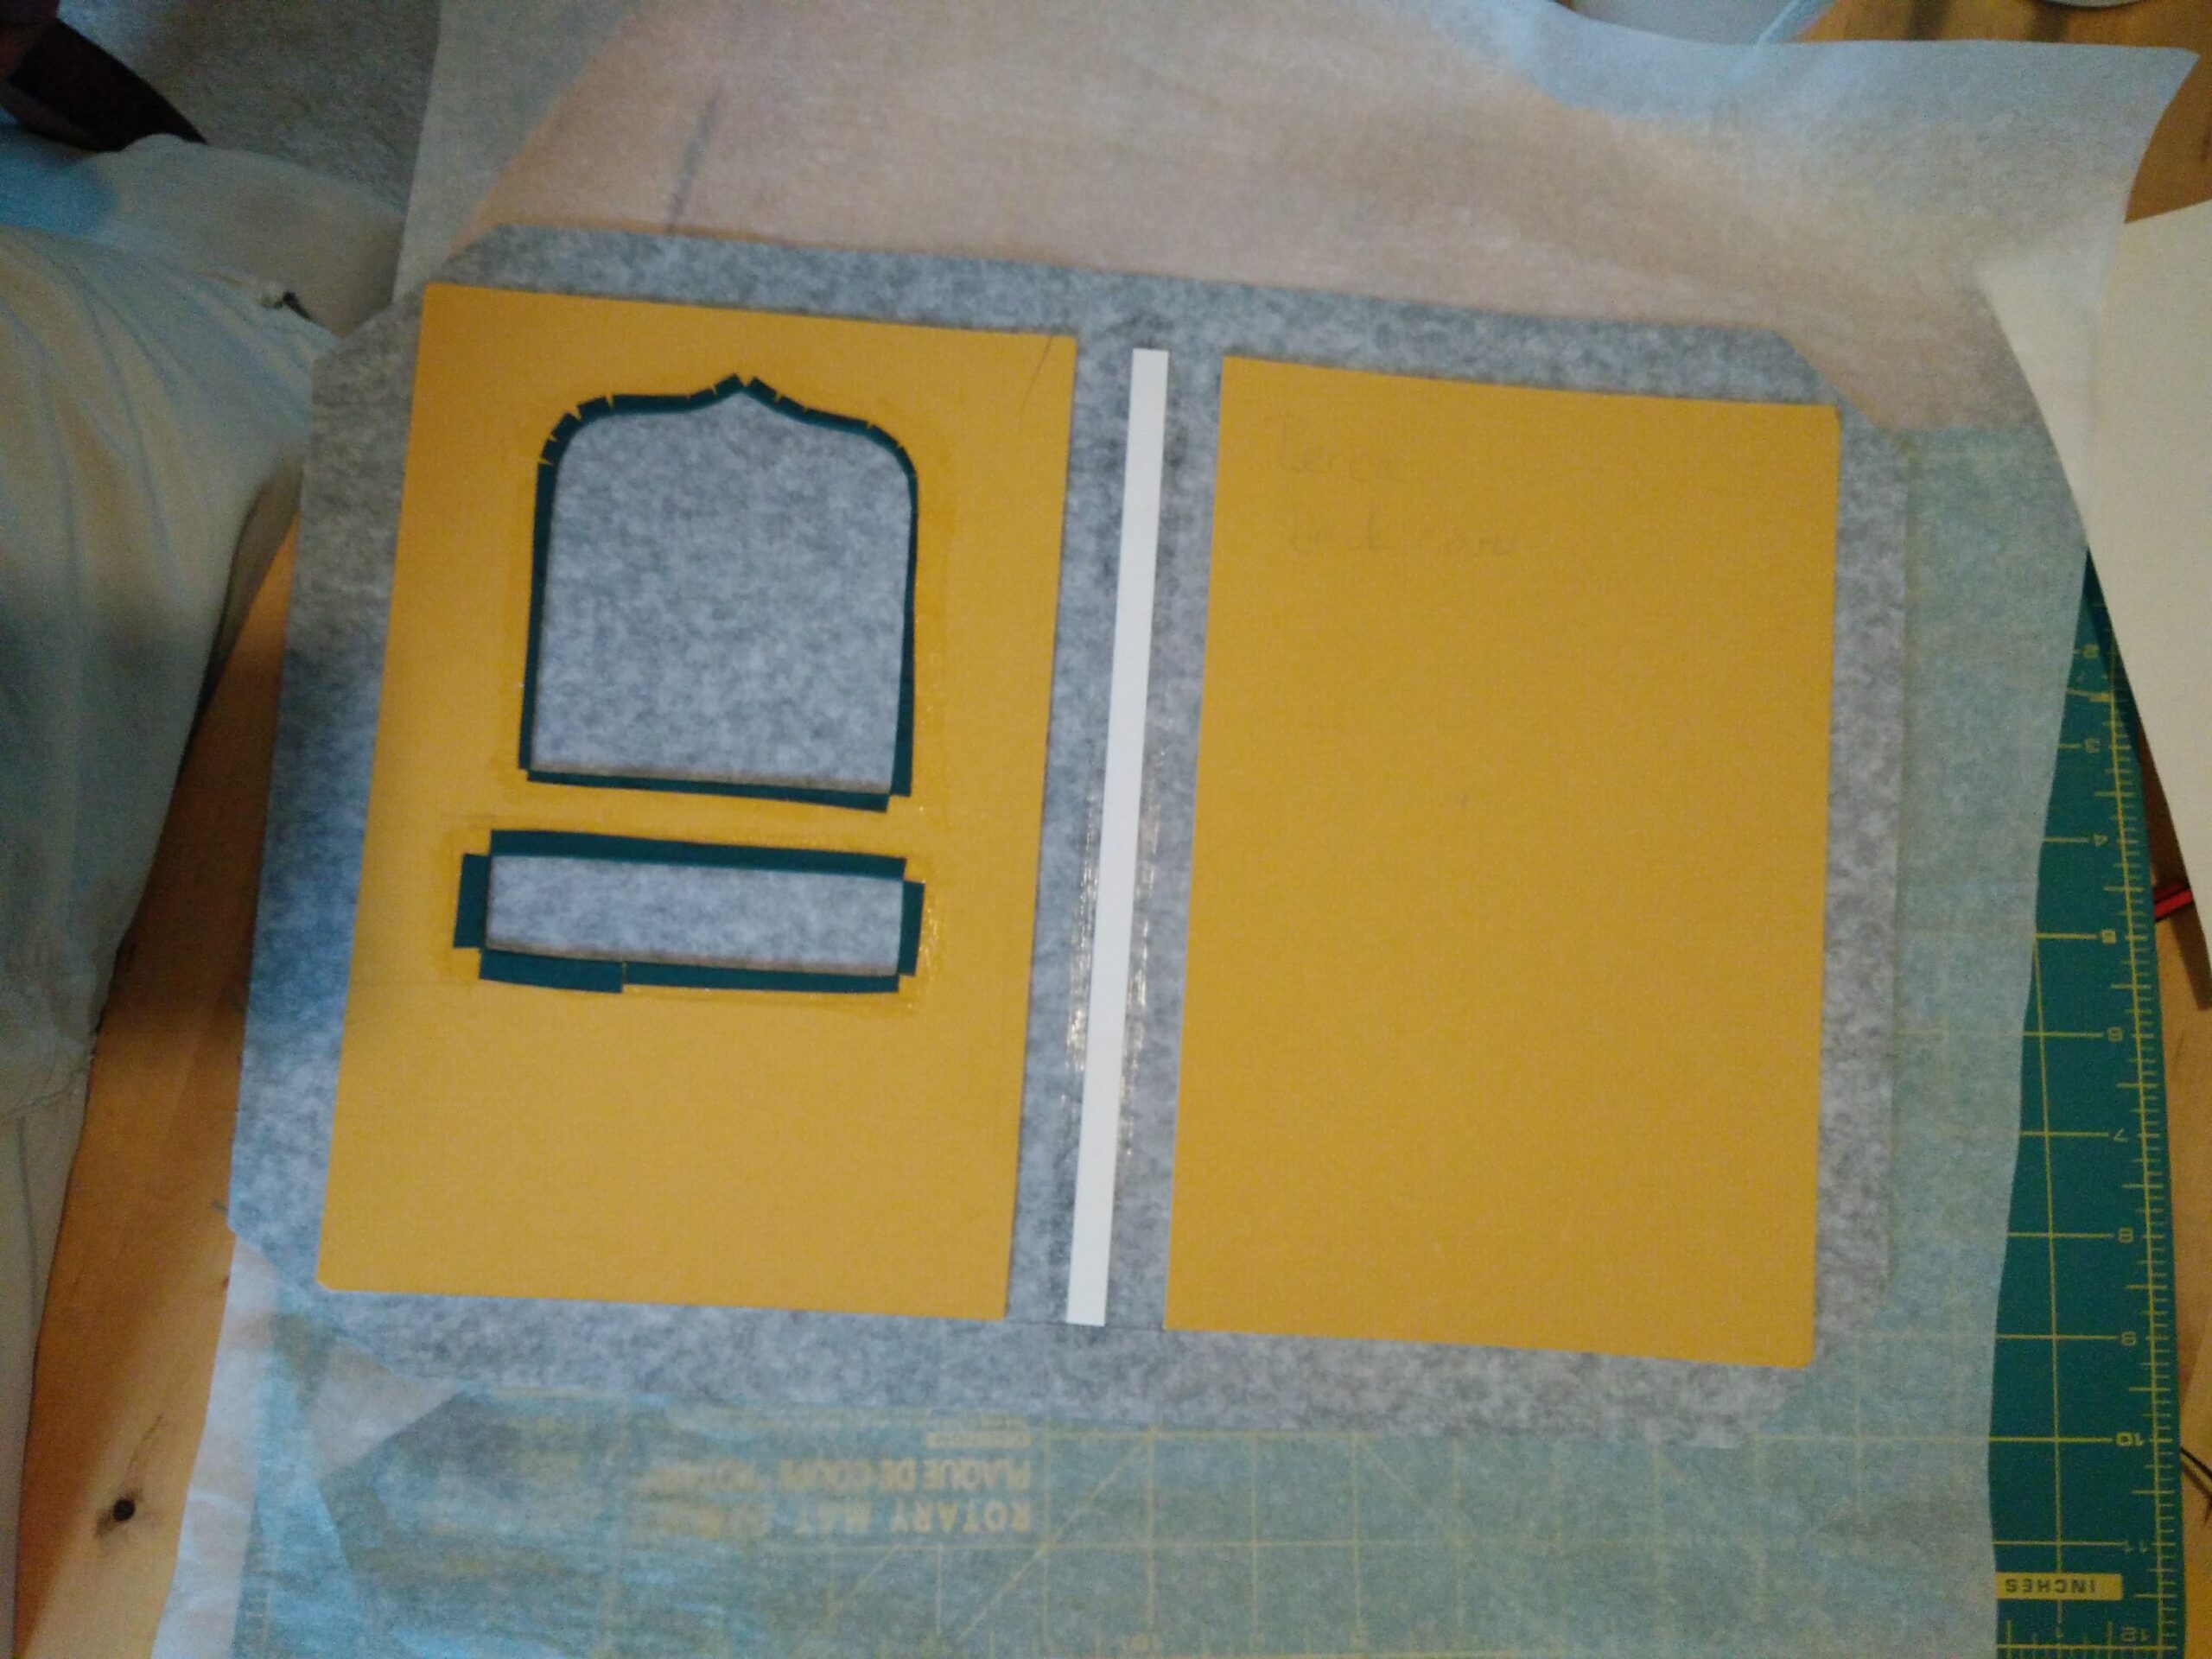
Once the block was done, I made my life much harder and more interesting by deciding to create windows in the front cover; one for a fixed image of the Slytherin house crest, and the other for a changeable message (e.g. motivational slogans). So the owner could adjust the tone of the notebook at whim.
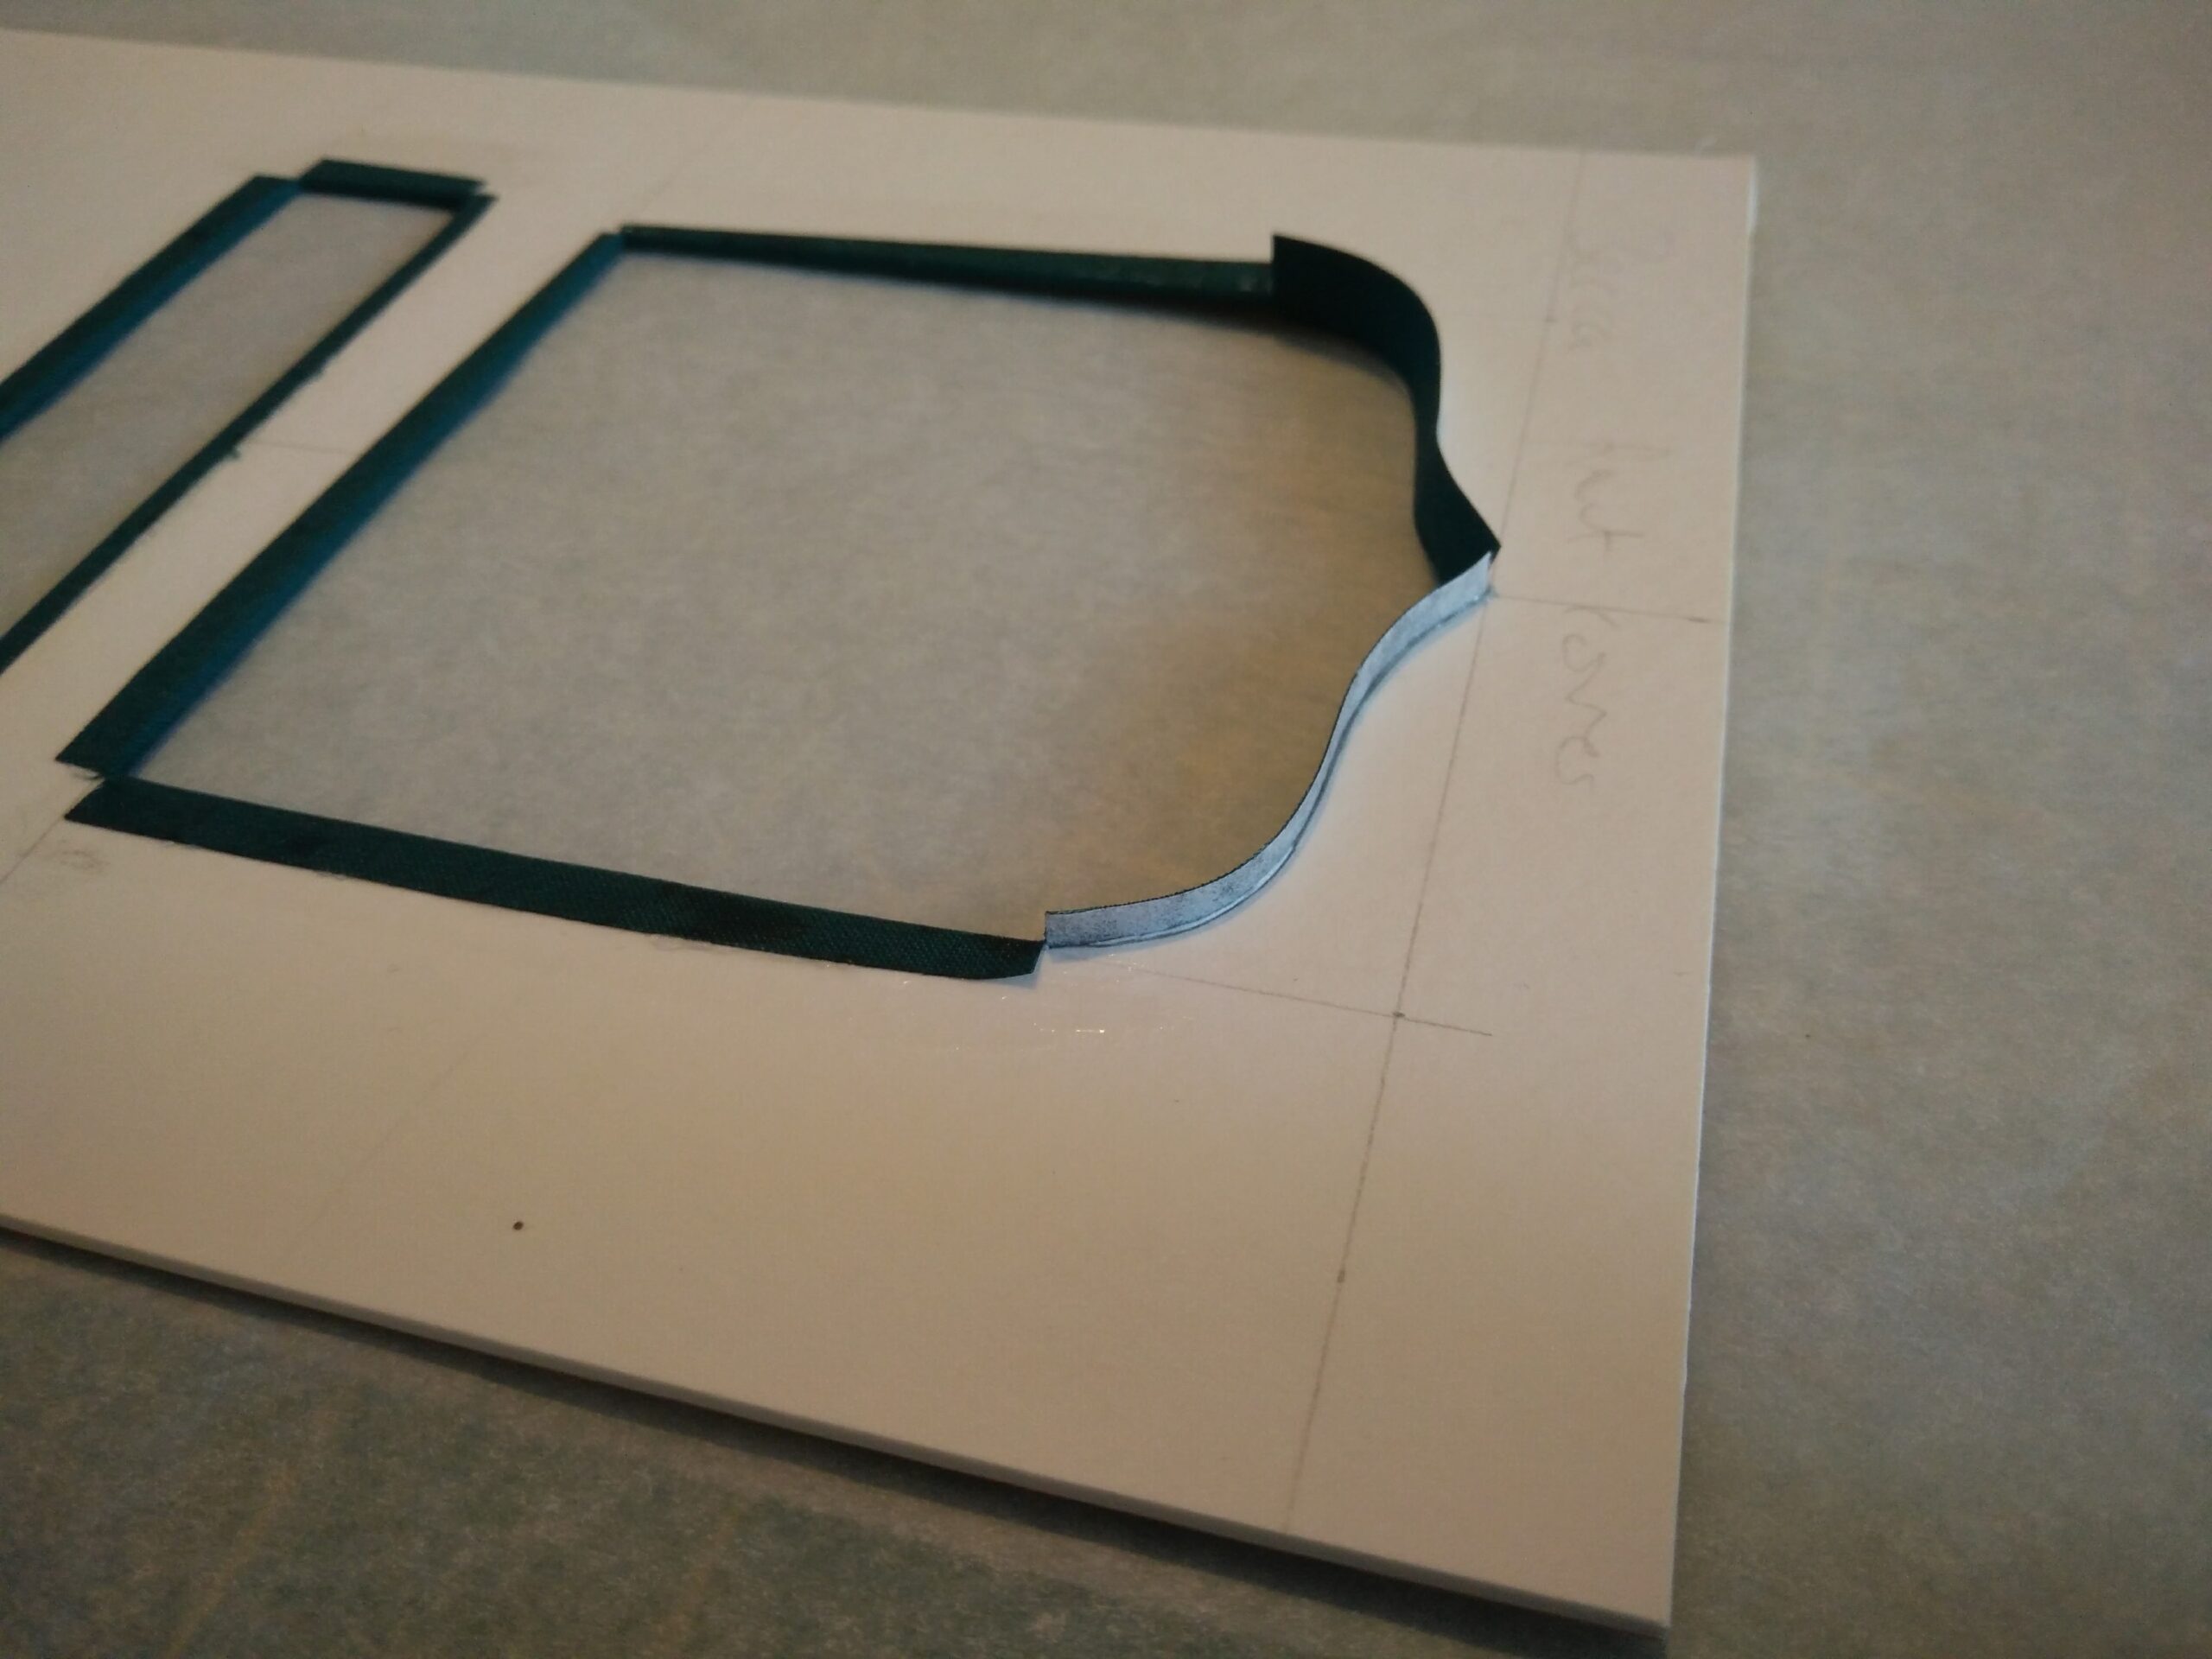
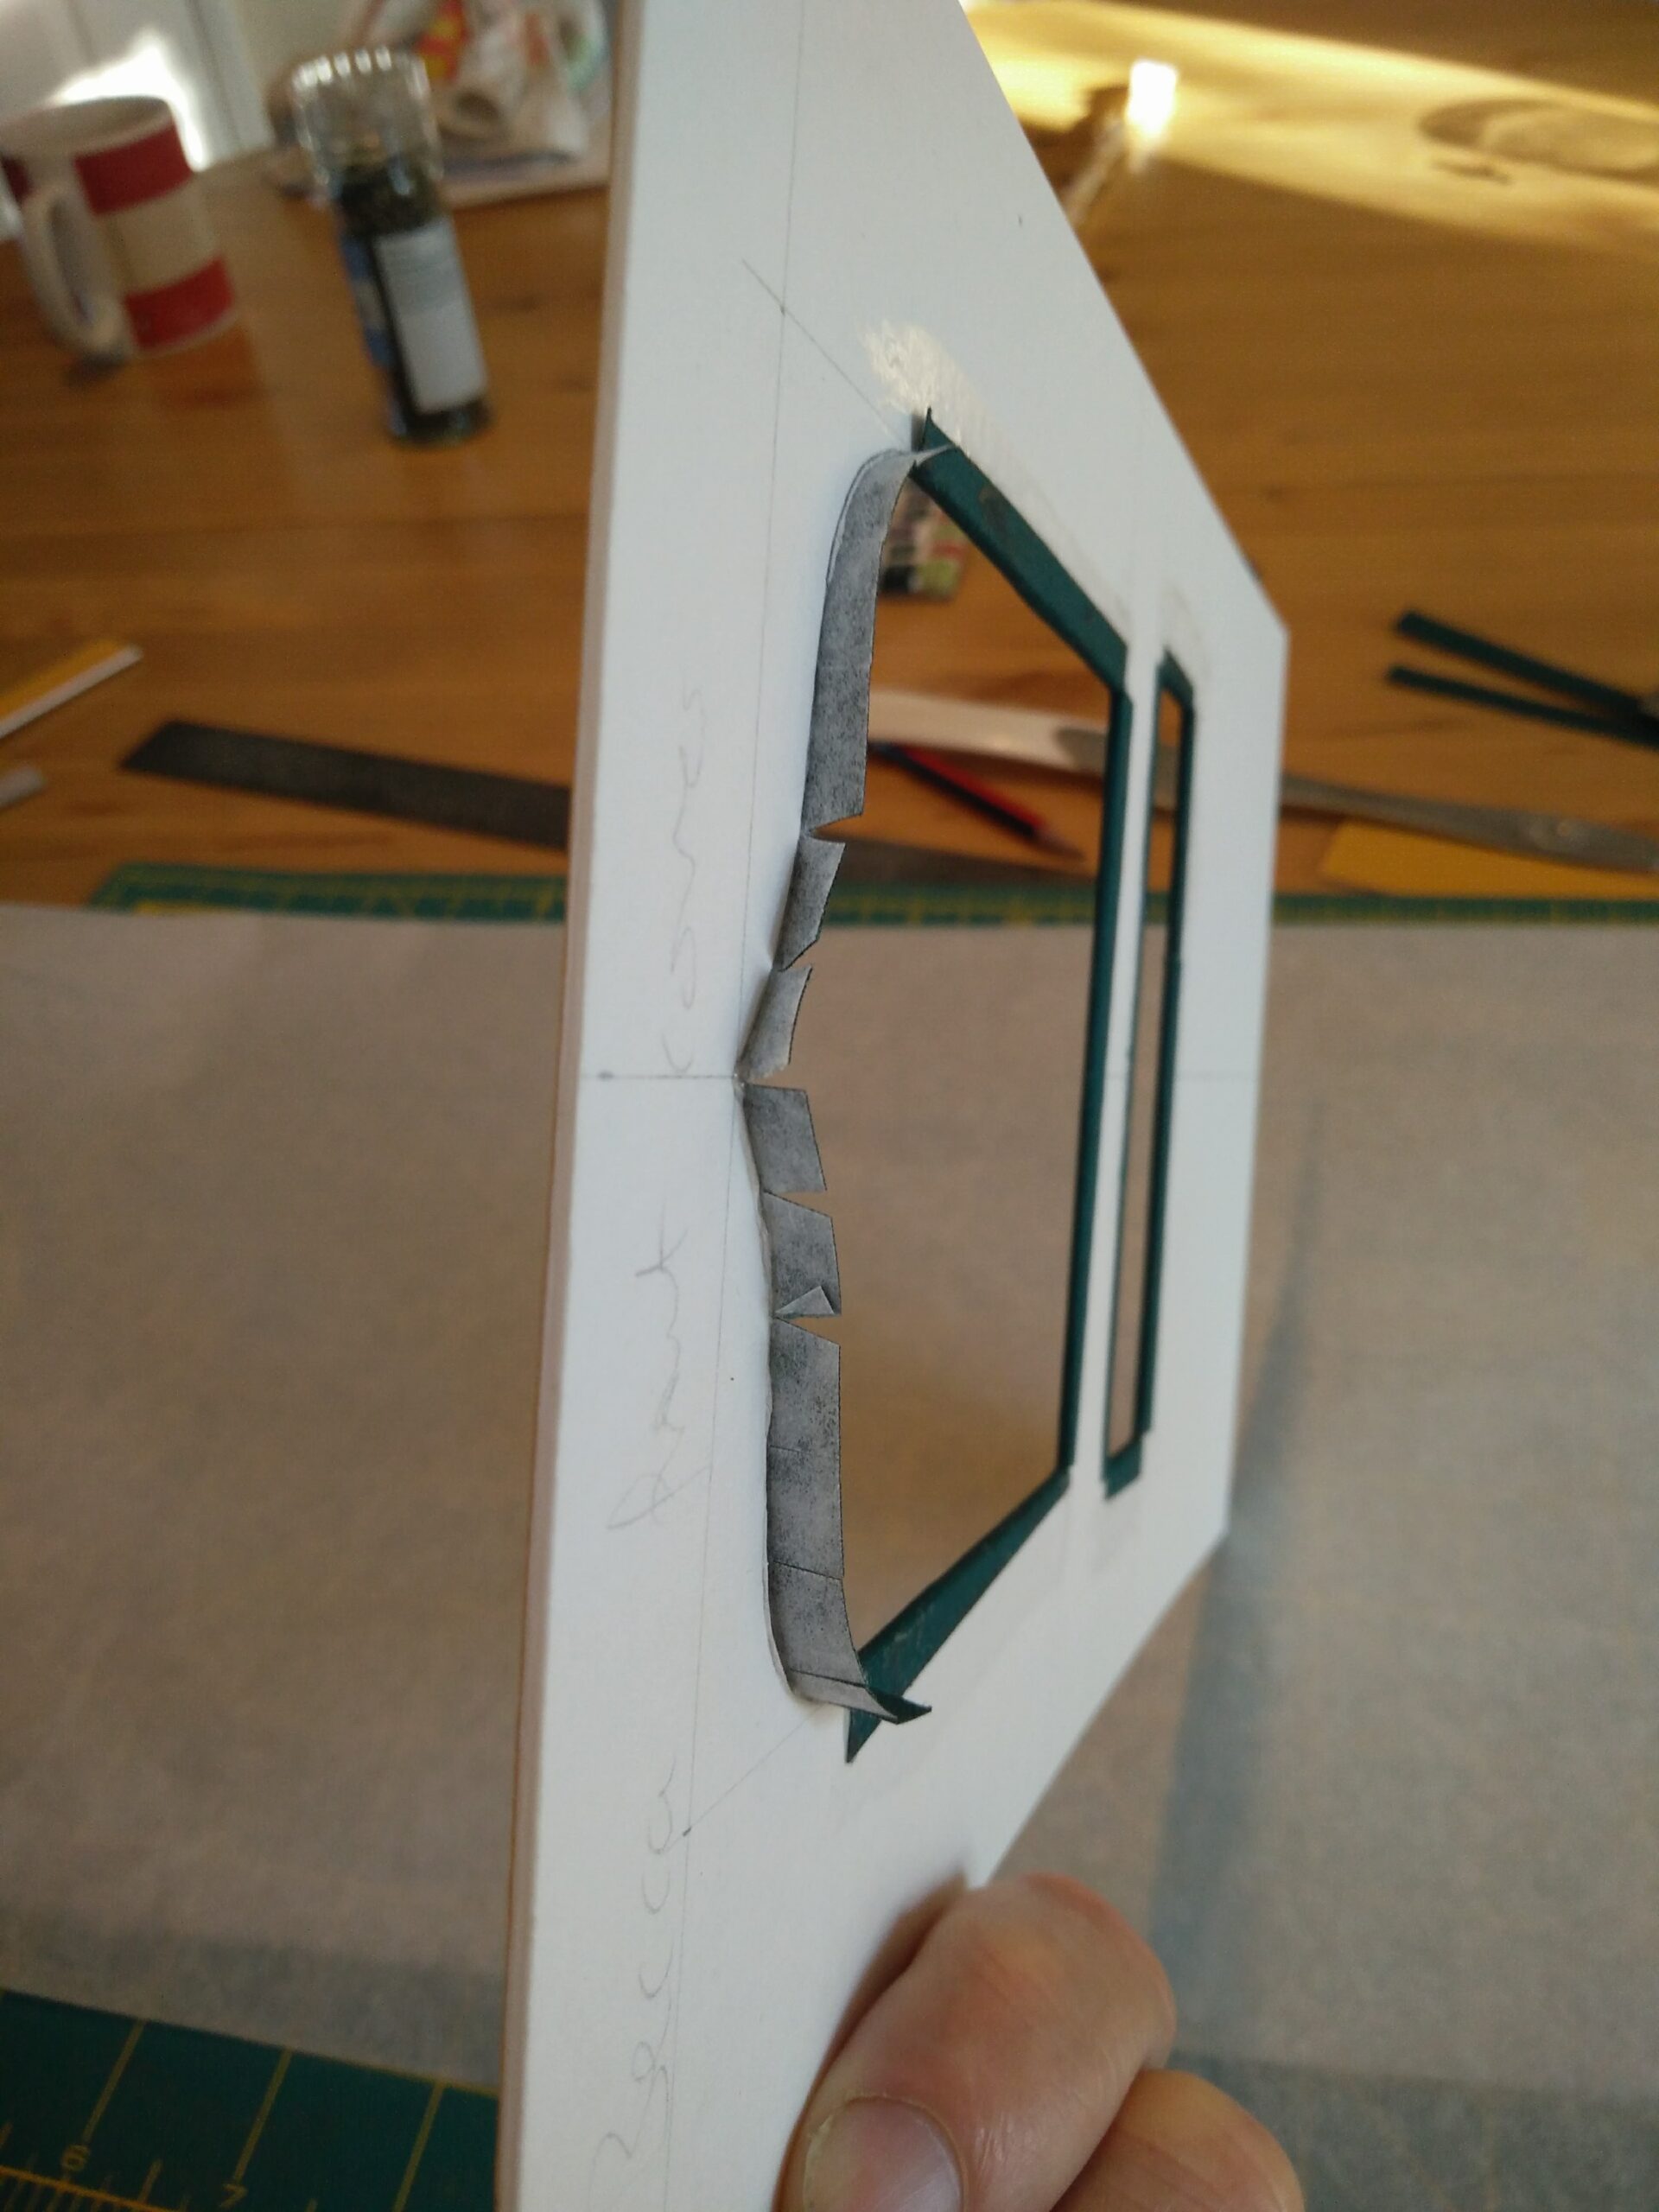
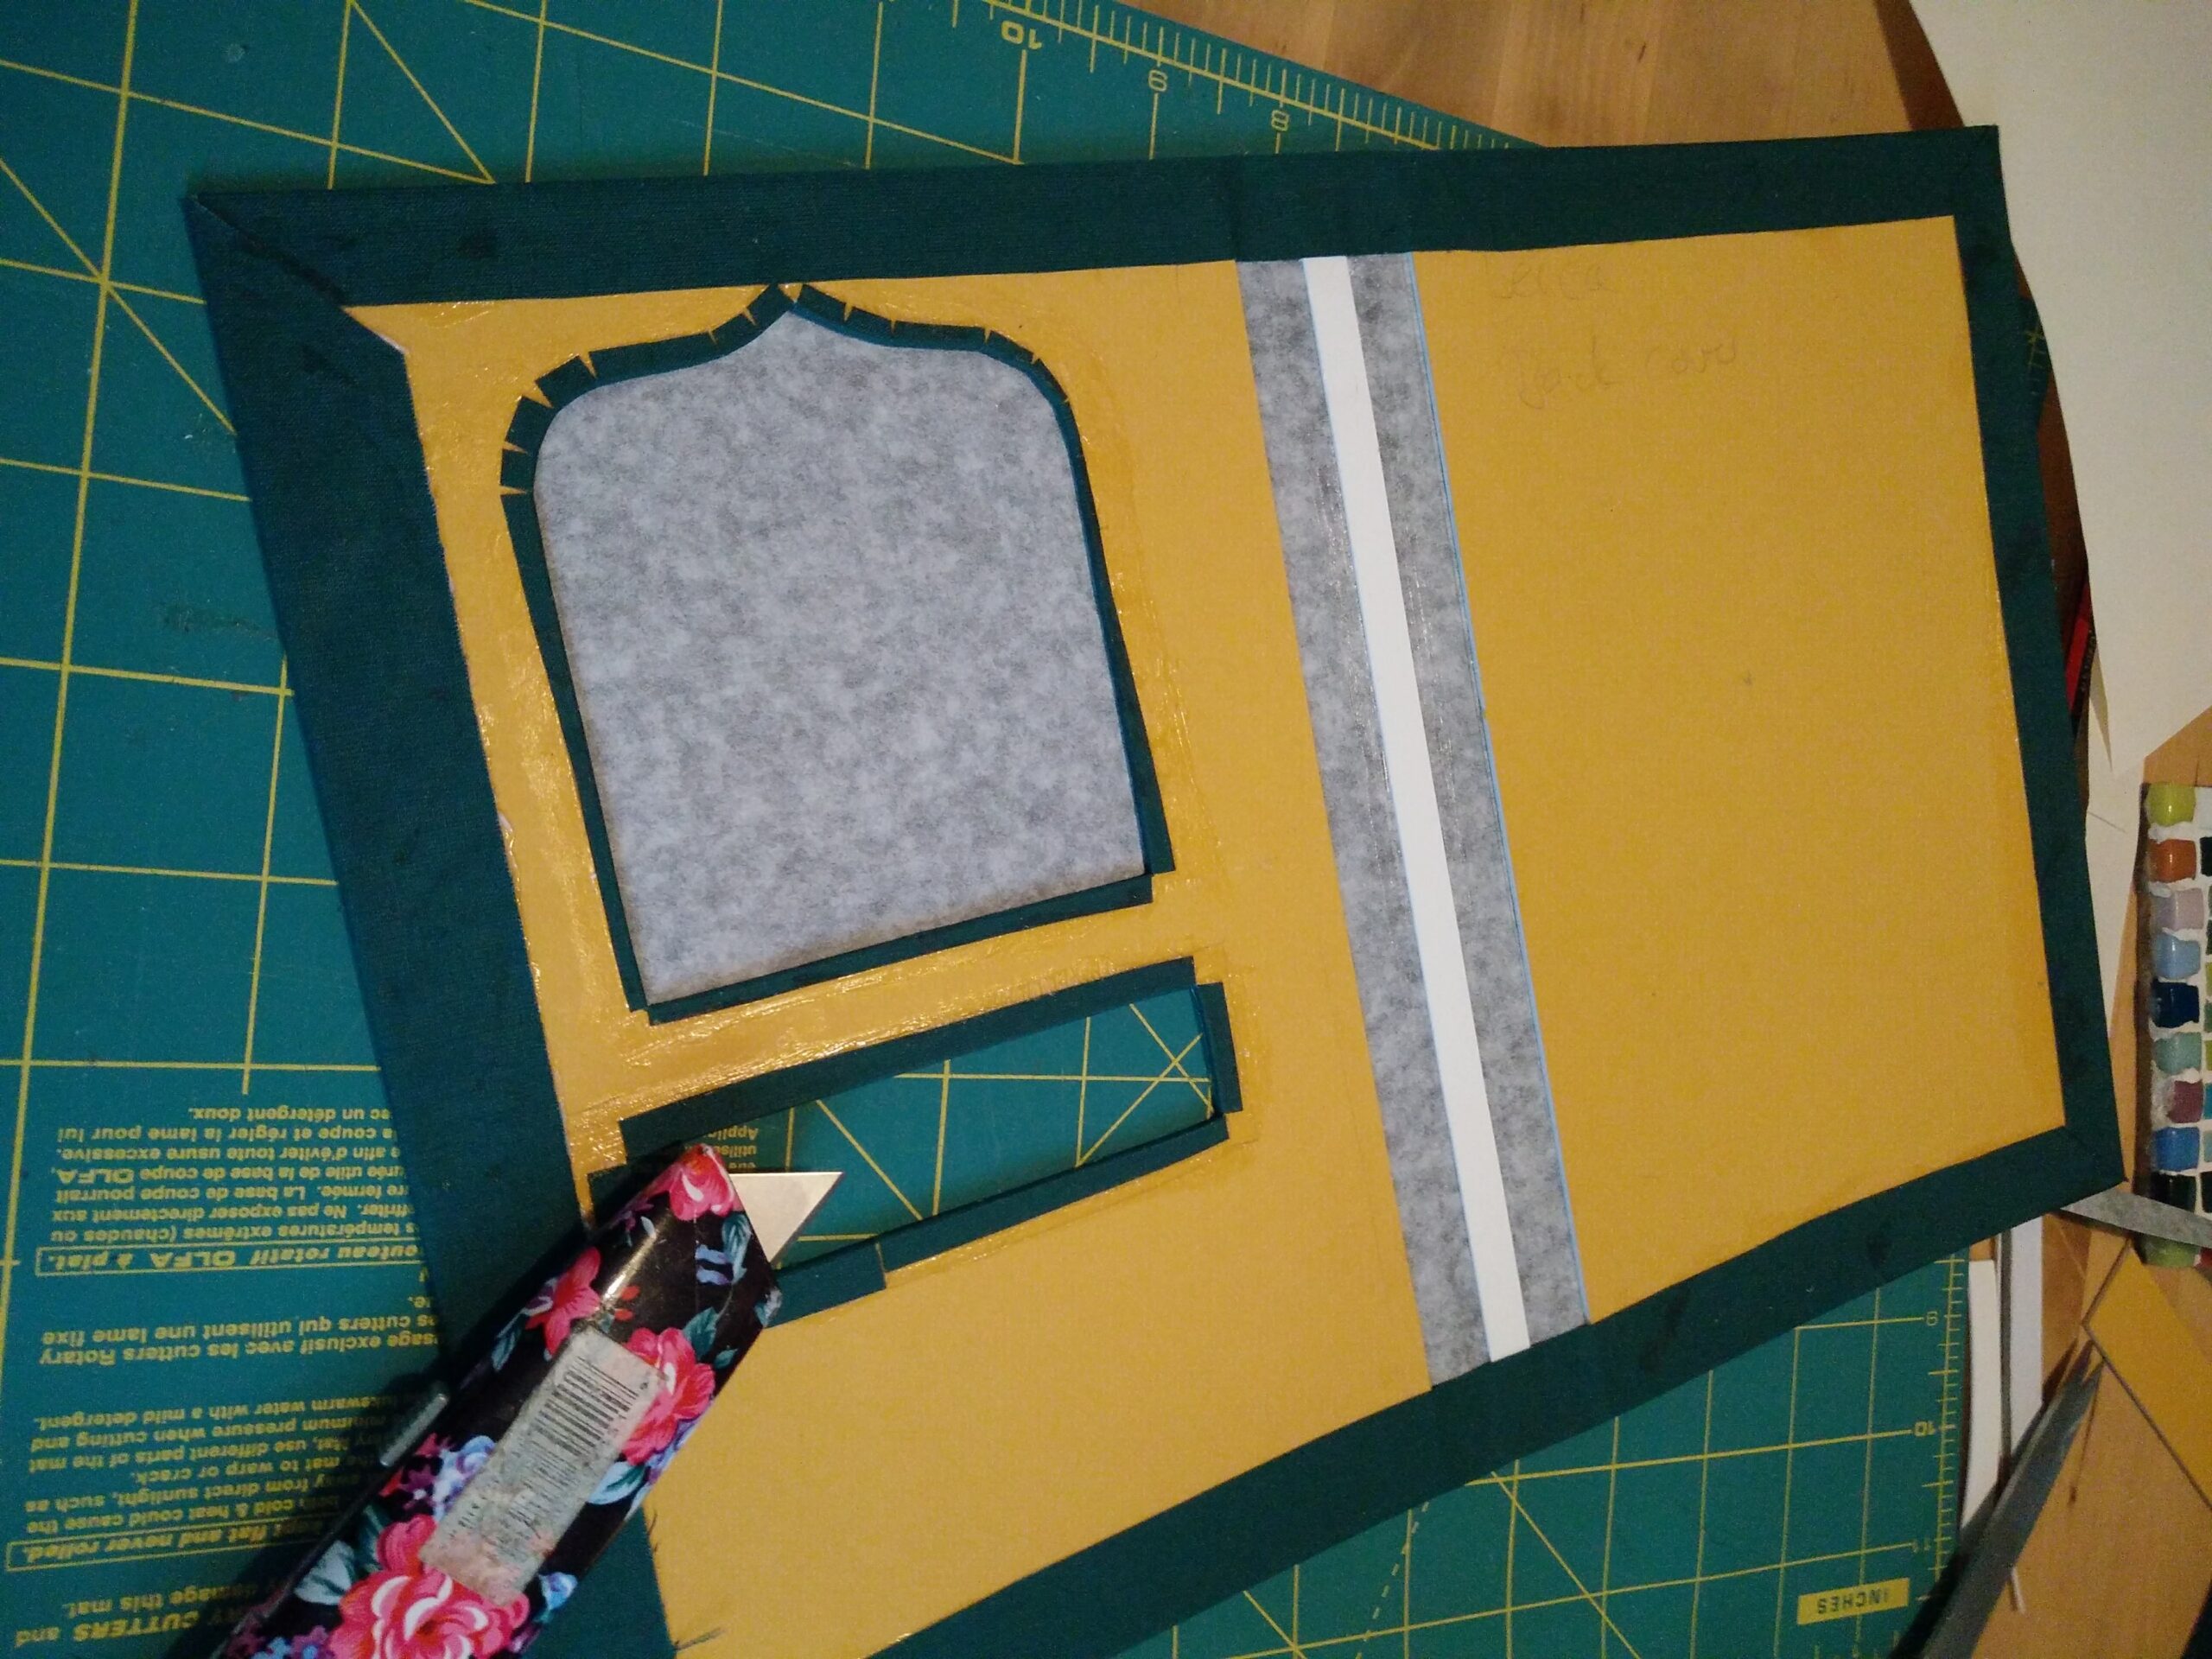
The cover is pretty standard, otherwise: it's not threaded onto the tapes, it's all just glued in. This makes everything a lot simpler. I started by printing out the crest and slogans, to give me the exact size for the windows, then cut out the covers. Here's a shot of the window. The hardest part of this whole job was gluing the (Slytherin green) bookcloth into the edges of the windows, and sticking the edges down.
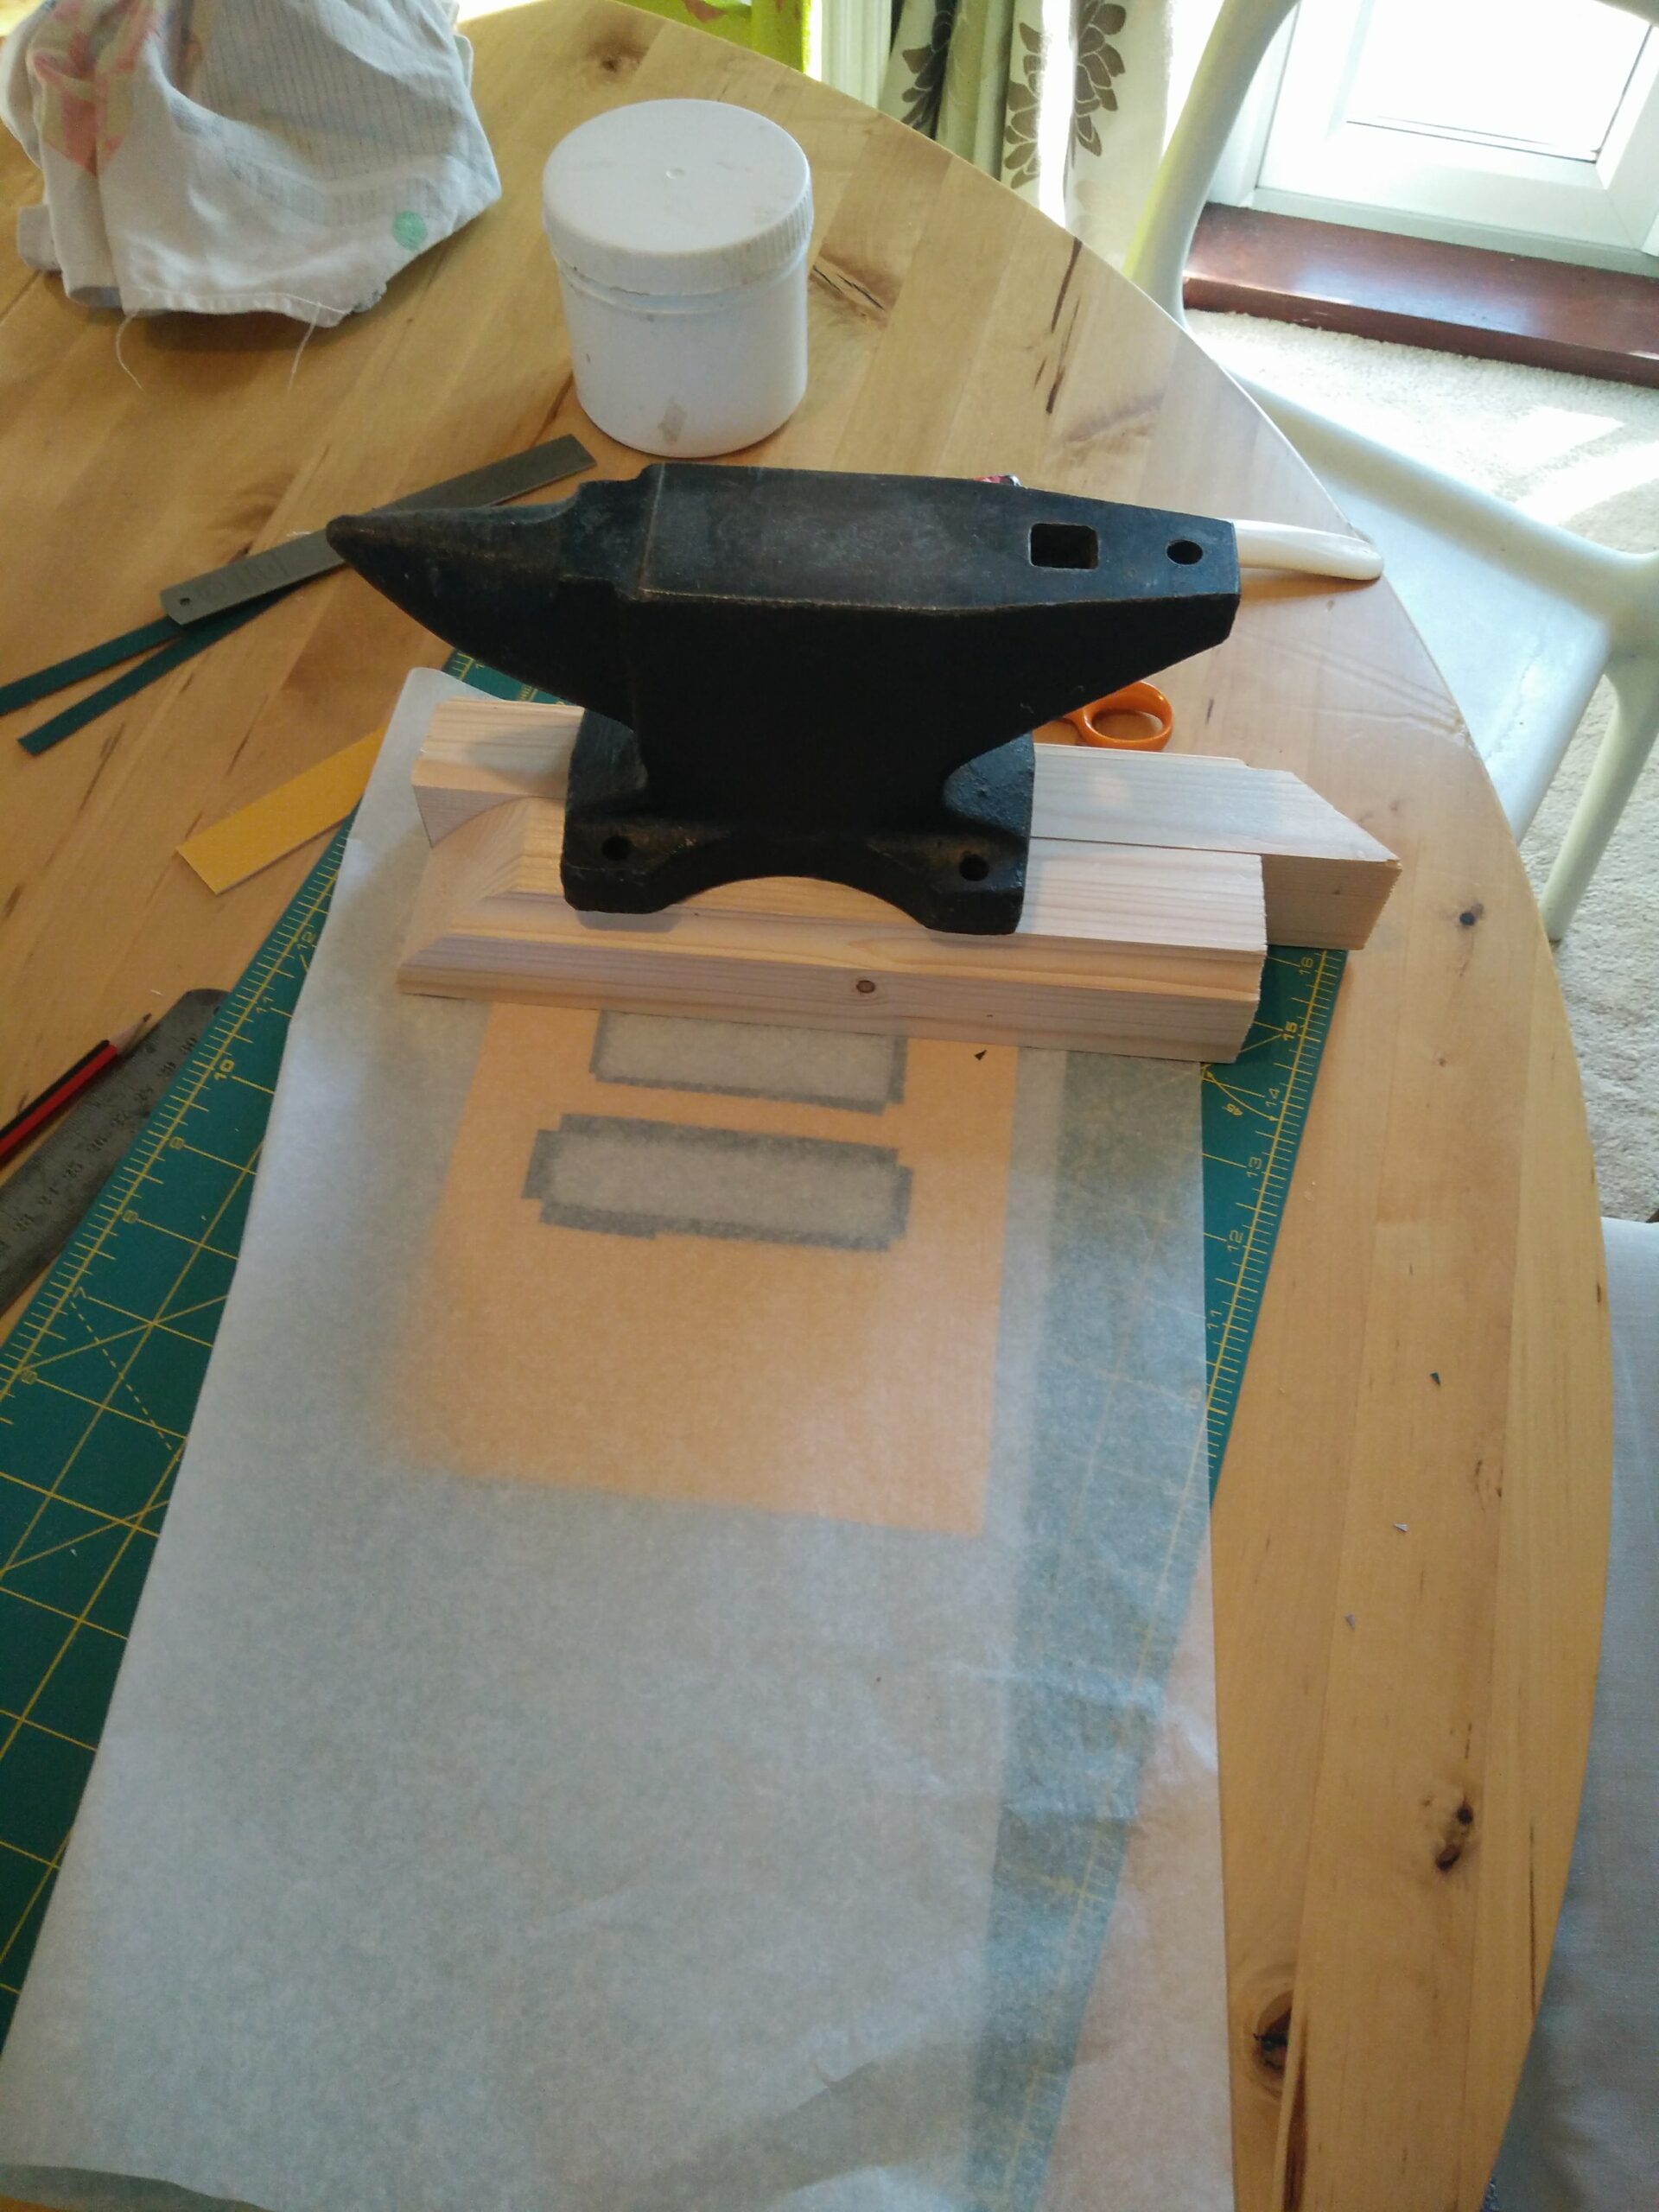
I finally got them down, and under some weight!
After that, it didn't take long at all to get the covers laid out on the book cloth:
Then glued down. When the edges were folded round, I cut out the windows:
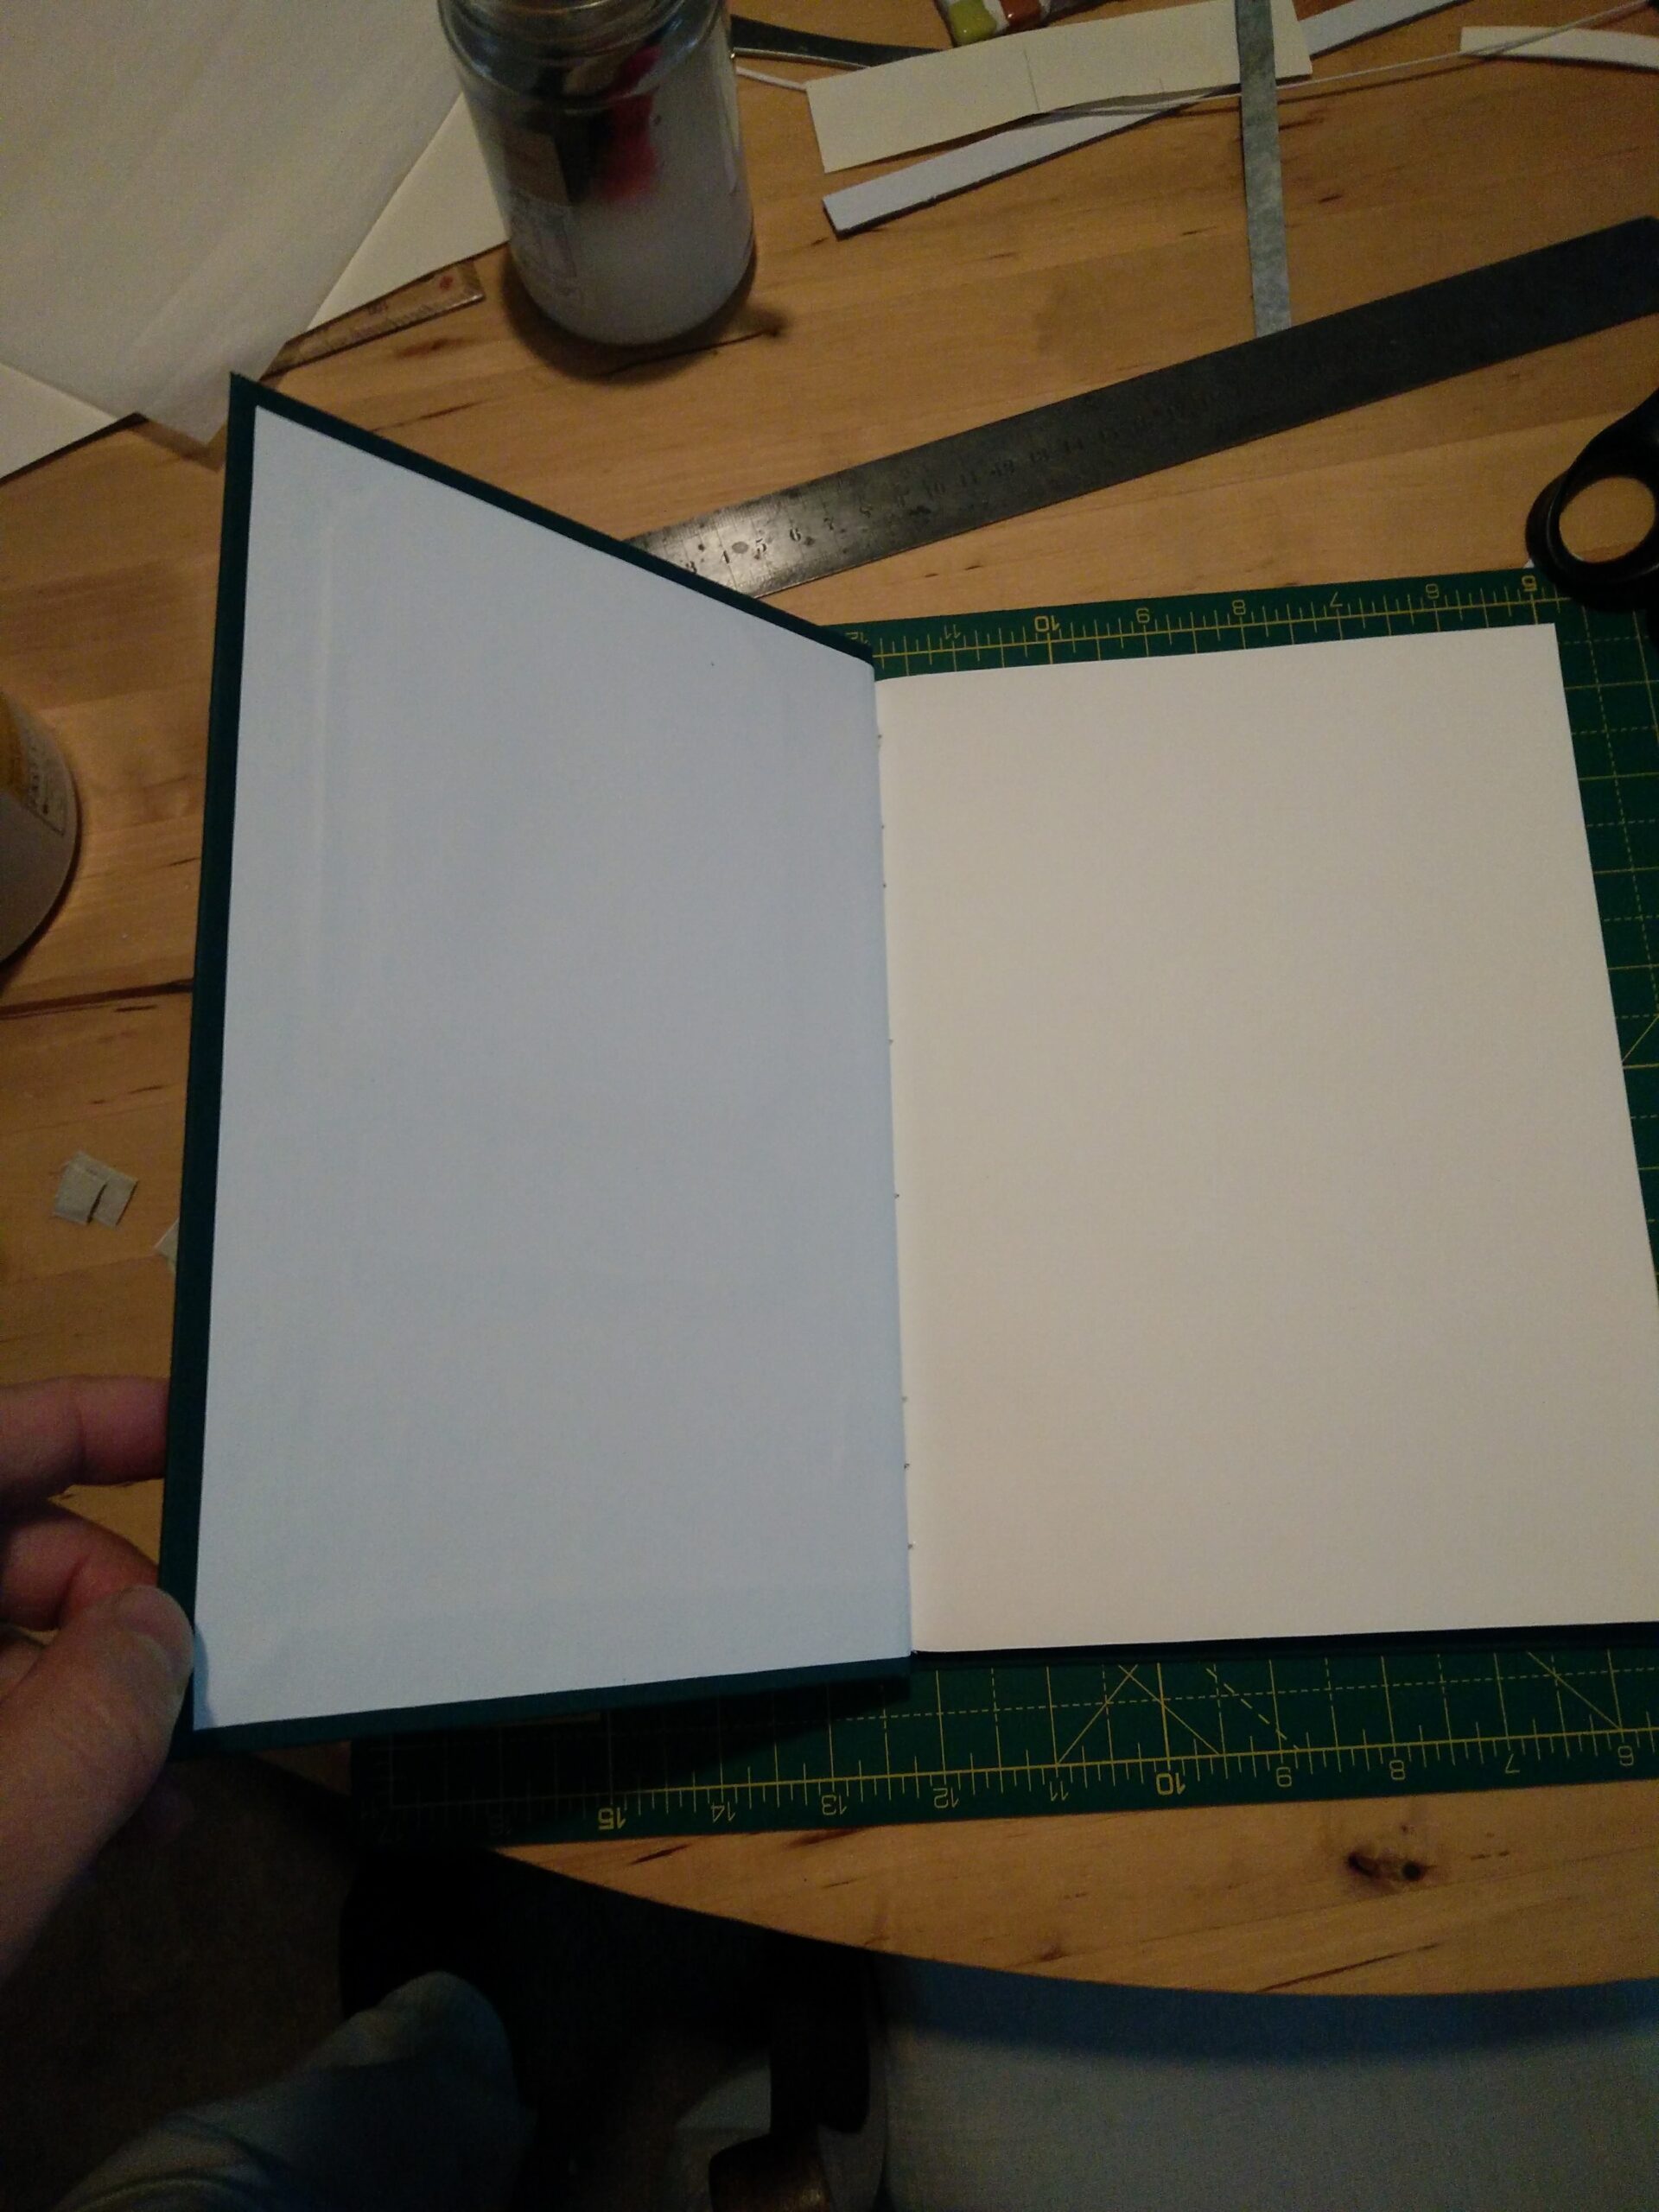
Then it was a simple matter of gluing in the crest photo (now printed out on proper photo-quality paper), and casing in (the process of gluing the text block into the covers).
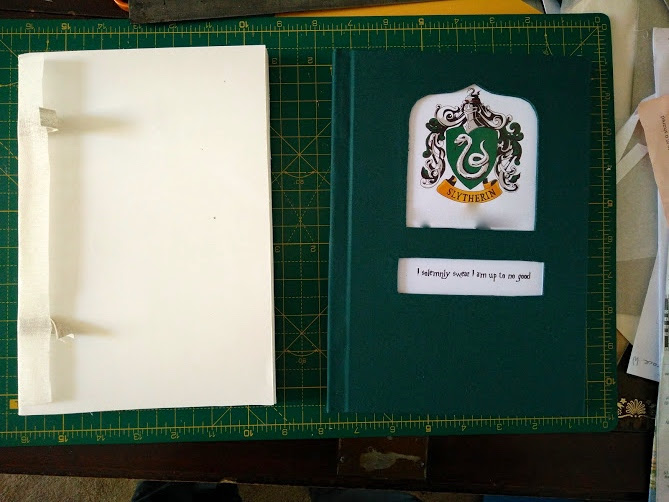
Here you can see the text block for Niece #2's notebook, and the finished front cover of Niece #1's. Excuse the scruffy deletion of her name from below the crest; it's none of the internet's business what her name is. In the actual book, it's rendered in a rather jazzy Harry Potter font.
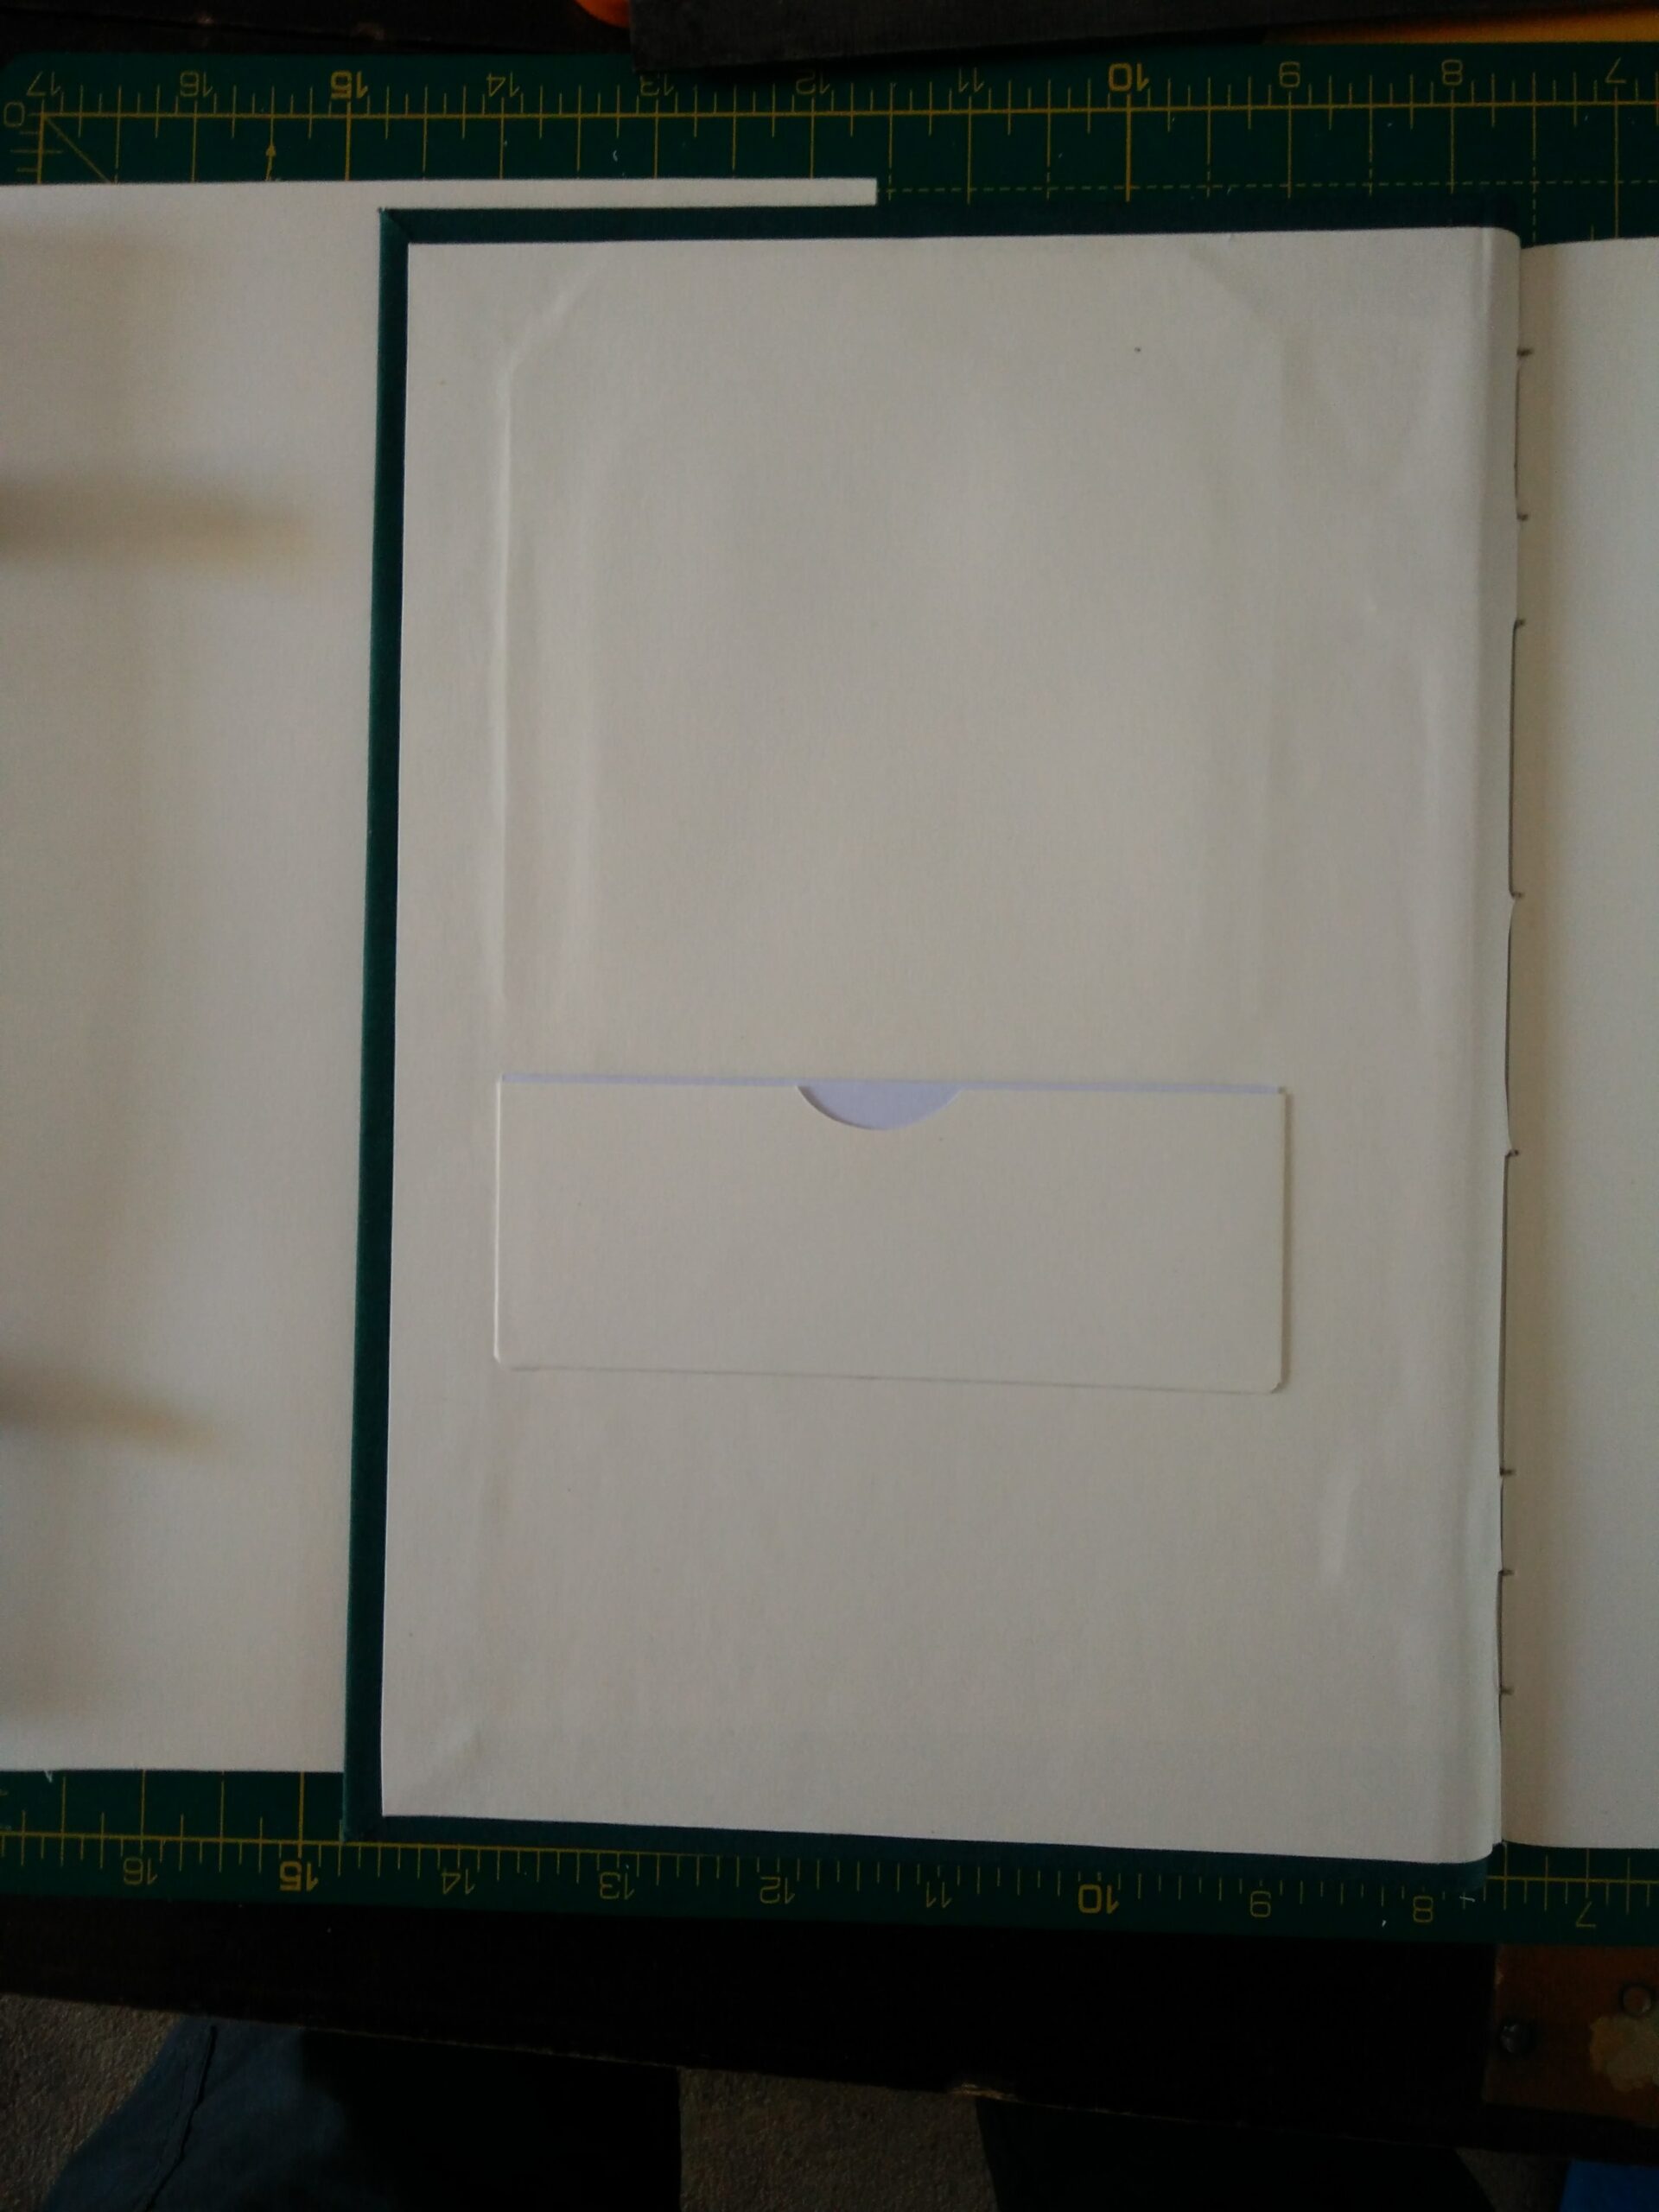
Open it up, and you can see the little pouch I made for the changeable window's content:
I also need to add a storage pouch for the extra changable texts.
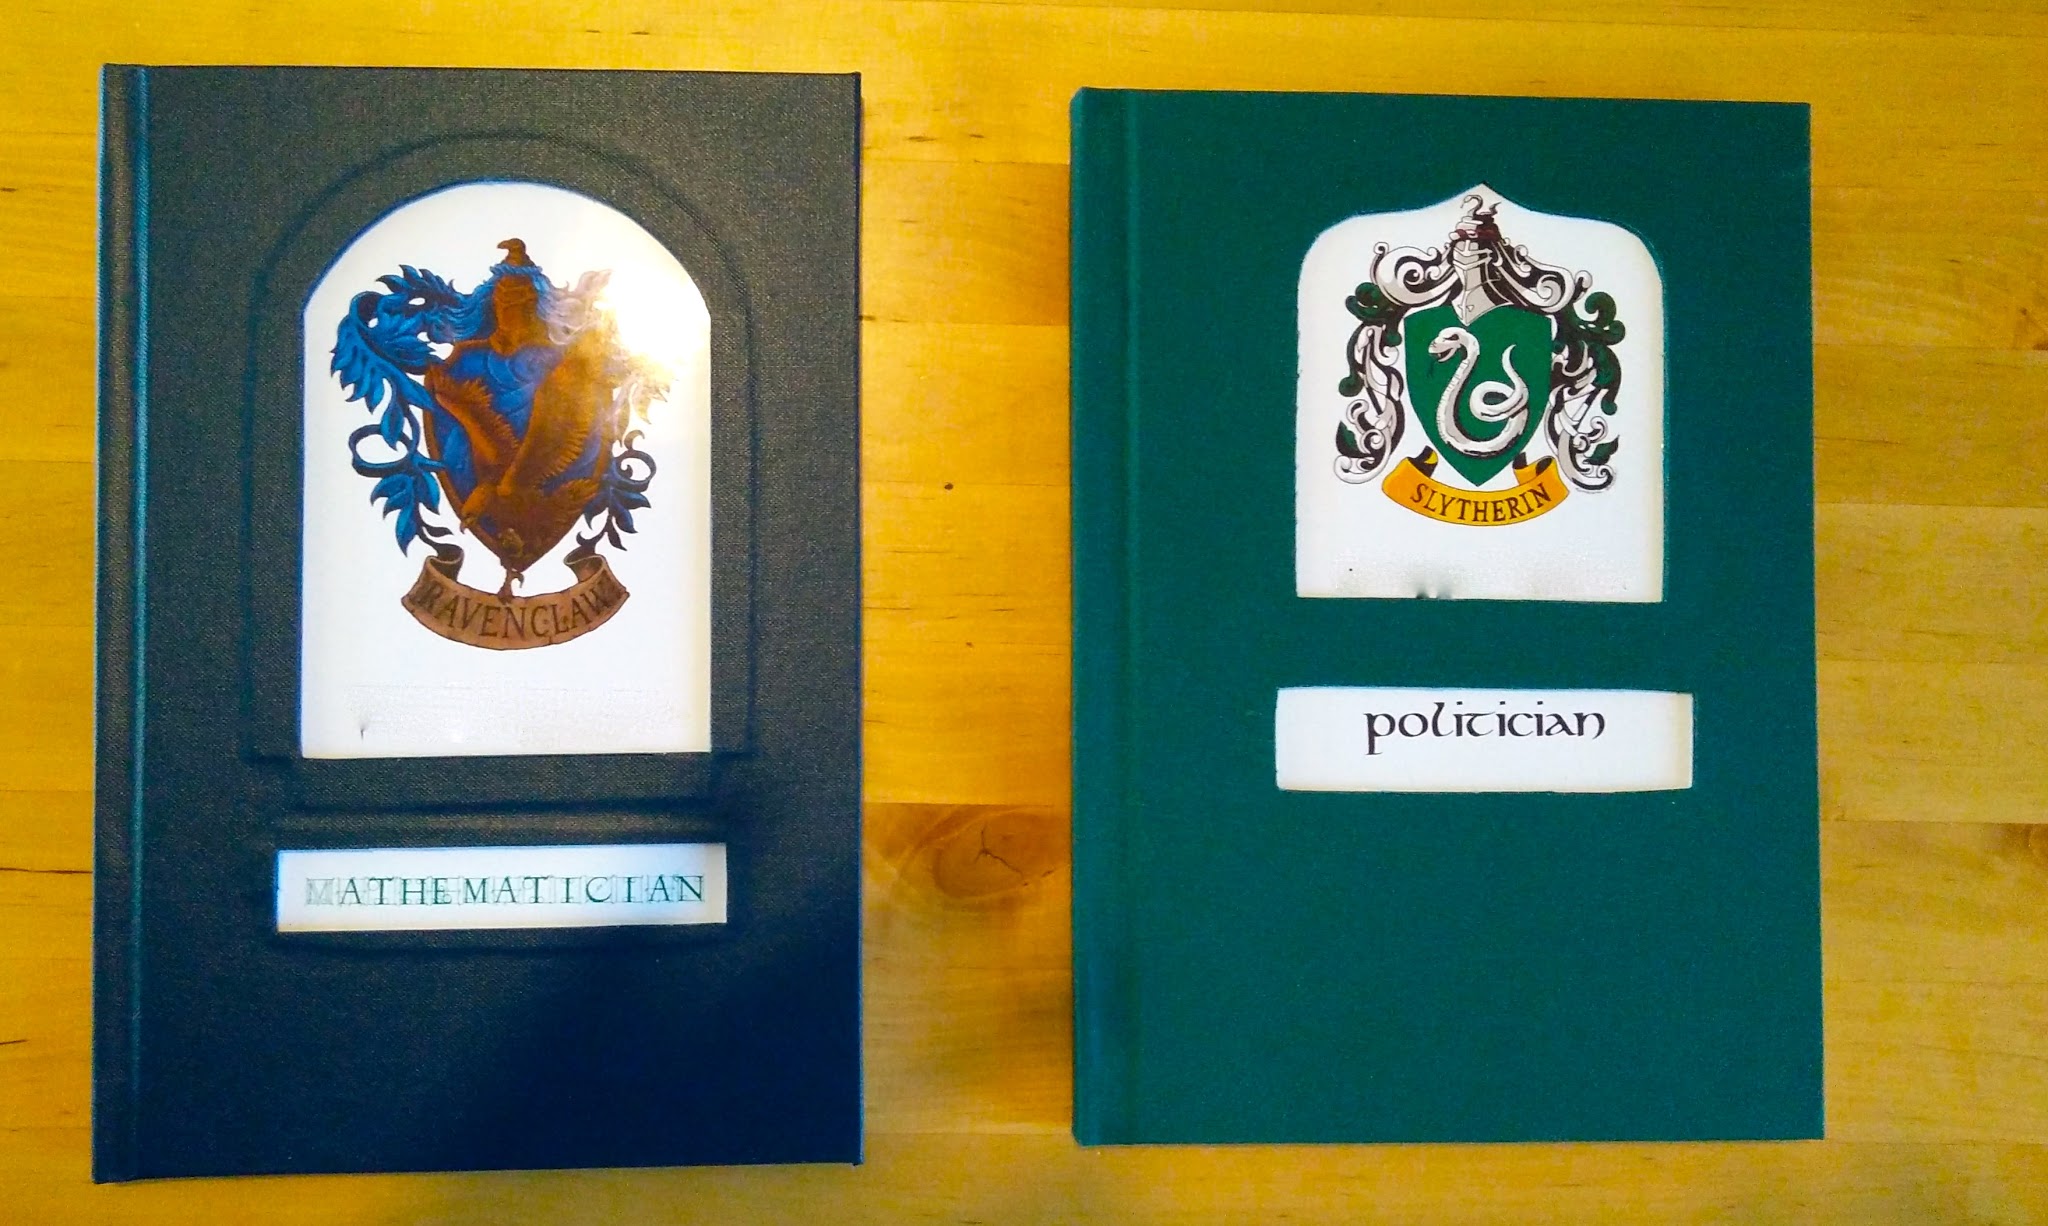
And here is the finished version of both books. The names have been blanked out, so the books look better than this in real life.
Awesome, or what?
Merry Christmas everyone!