

It has been a very long time since my last post; I have spent relatively little of it in the workshop, other than to make some scabbards, but a while back my friend Heli asked me to make a meditation stool for her. I jumped at it as a cast-iron excuse to potter about with chisels and planes.
Once we had discussed the basic idea, I made a quick maquette, nailed together from bits of pine. The maquette was too ugly to photograph, but did its job; my friend made suggestions about the pitch, and dimensions, and chose walnut as her preferred wood. I set to work. This is a simple design; a top with four through-mortices, into which the tenons of the two legs will fit. But what’s the betting I’ll find ways to make it more difficult…
I started with a plank of wood, left over from my sister’s wedding present. This would have given me all the pieces I needed and left skinny little offcuts, but beautiful wide boards are not grown to be wasted, so I decided to make the top out of one single board, and the legs out of two narrower pieces glued together. This left me with about two and a half feet of full width board for future projects. Heli is a serious environmentalist, so would have no objection!
Having cut them to width, I scrubbed them to approximate thickness, using a curved blade in my Record no. 4. I then very carefully dressed the edges to be joined, as I intended to use a rubbed joint: no clamps, just glue, served hot, of course. My readers here will know that I care not a fig for nasty modern adhesives; hot animal glue is the way to go!
[I have apparently lost all of the early pics I took; I'll dig them out when I get home, if not before, and update this with them. Modern technology, huh. I doubt they so easily misplaced giant glass photo negatives back in the good old days!]
Then I dressed the top board, flat and square all round (about an hour’s work, going carefully). I left the ends uncut.
At this point my smartphone went kaput two weeks before the warranty ran out, so there are no pics of the next stage; laying out and cutting the mortices. I find through mortices, such as those on my desk, really, really hard to do well. So I went very slowly, marking out and cutting the shape out with a chisel, drilling through on my wonky drill-press attachment thing, and more chiselling. Lots and lots of chiselling.
Tenons, by comparison, are easy. So I get the mortices dead square and done, then cut the tenons to fit. This allows me more wiggle room than doing it the other way round.
Cutting the tenons was pretty straightforward; I did as much as possible with the saw, then finished with chisel, shoulder plane and apron plane. After much tweaking, the legs fit, tight enough (but not too tight; the user wants this to be a knock-down version, for easier storage and travel.
She came by the shed when I was cutting the legs to length, so we could get the height and the pitch just right. I took this photo to see how much room there is between her feet and the top, in case I decide it needs a brace to keep the legs square.

Then the cutouts in the legs; I gave her lots of options, and gauging her reaction to each one, cut the best shapes out of paper and glued them on with Pritt, so she could see what the legs would look like. She went with the asymmetrical curves, which I cut out with a coping saw.

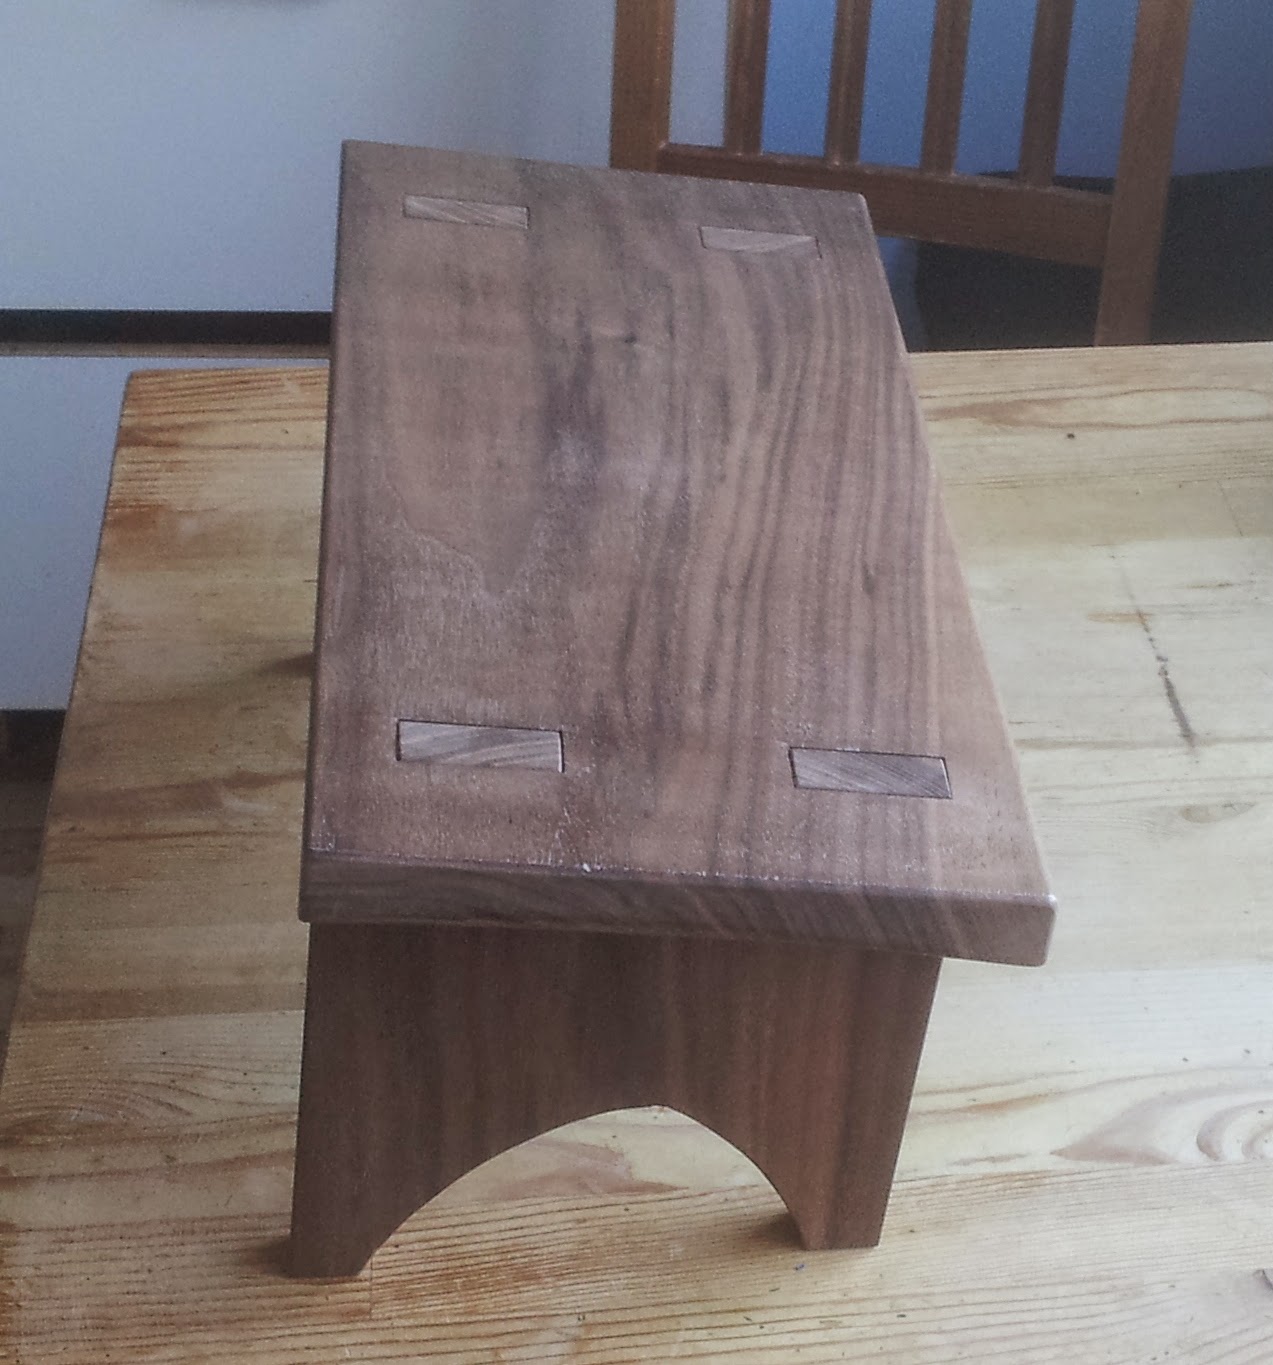
From there it was the usual clean up: scraper, sanding up through the grits raising the grain between each, and finish with linseed oil, and wax. I did the final wax at home, with a little help from my eldest [one of the images I have misplaced is of my then-5-year-old sawing out parts of the maquette].

It came out not too badly, as you can see above. Most importantly, Heli was pleased with it!
We had agreed that this was a commission, but when push came to shove I found charging for it very hard to do. I couldn’t simply charge by the hour because I had made no attempt to be efficient; I enjoyed every leisurely minute of this project. But if I just gave it to her she would have felt guilty. Then it hit me; pay me in wine! This was a crackingly good idea, as honour was satisfied all round, and I couldn’t possibly spend the money on anything boring (like groceries or mortgage payments). And may I say, Heli’s taste in wine is confirmedly excellent!