Search
Close this search box.

Guy's Blog

Guy frequently keeps this blog updated with thoughts, challenges, interviews and more!

Tag: longsword guards

I think that training ought to be focussed and goal oriented. The goal in any fencing context is to strike without being struck, so any problem can be thought of as “I’m getting hit” or “I’m not hitting”. Drills are the means by which we fix either of these core problems.

Let’s start with the “I got hit” problem. Here is a snazzy little flowchart:

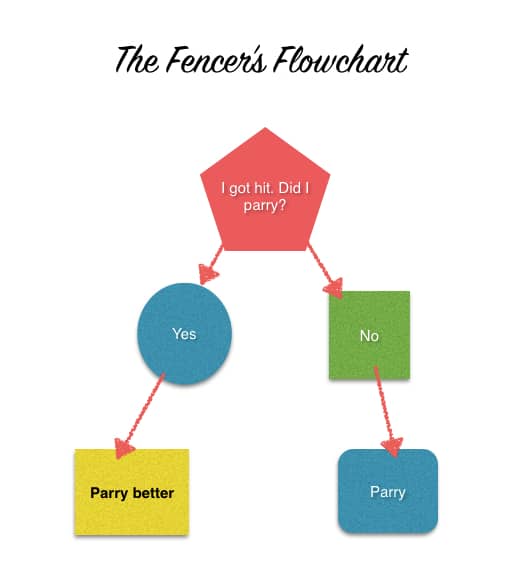
Yup, it boils down to this: the only reason you ever get hit is because you failed to parry. The hit is never wrong. This is really important. When we are past the point of teaching beginners the absolute basics, we don’t solve the problem of being hit by changing the attack. The attack is supposed to hit.

So whatever your current fencing problem is, here are the steps to fix it:

1) Reproduce the problem. If you can’t reproduce it, it was either a fluke, and so not something that can be trained against, or you didn’t understand what happened. You can’t fix training problems you don’t understand, so if that happens, find somebody to explain what happened to you. Your opponent might do that, or your teacher.

2) Analyse why you are getting hit. You are either doing the right thing, but not well enough, or you are doing the wrong thing. So the problem is either technical, or tactical. These have quite different solutions.

Technical problems are solved by training the technique in increasingly challenging contexts. In short, slow down until it works, then ramp up the speed and power gradually until you can do it at the necessary level. I think of this as solving problems of incompetence.

Tactical problems are solved by choosing a better solution at the critical moment, which you learn to do by using drills with ever increasing degrees of freedom. I think of this as solving problems of ignorance.

So whatever drill you are doing should be solving a specific problem of either ignorance or incompetence making you wiser and better.

(The specific details of how to use pressure and degrees of freedom are in Preparing for Freeplay. They are also described in The Medieval Longsword.)

I have put all this together in another nifty flowchart. The original was done by me in Scapple, which is a great app for thinking with, but doesn't do pretty charts. Several kind and lovely readers have sent me much prettier versions, of which this, by Andrew R. Mizener, is the clearest.


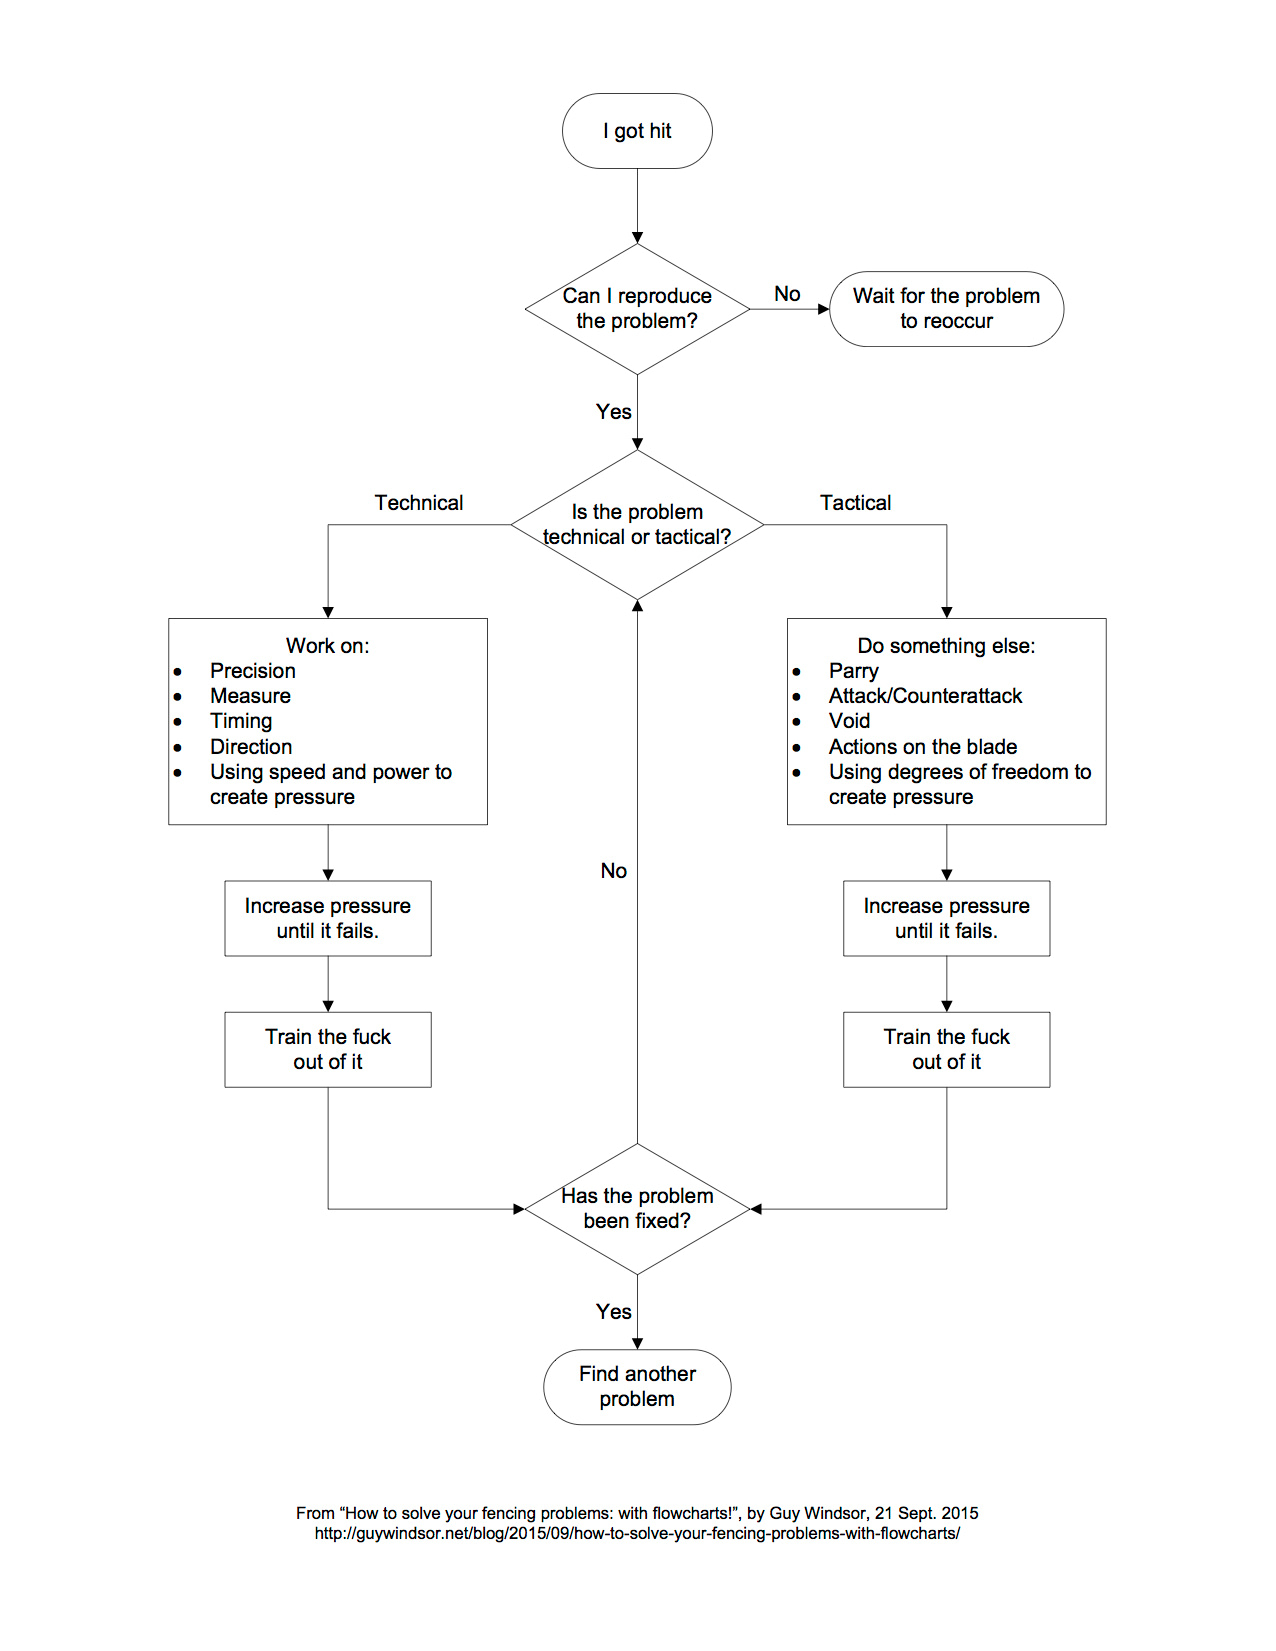
Thanks Andrew! (I absolutely love it when my readers step up and help. Really, it's the best feeling.)

If you’d like specific examples of drills that solve technical or tactical problems, let me know in the comments.

Good morning, and Happy Monday.

When I got back to my salle last week, after a 3 month absence, I found two rather hastily constructed Marozzo stars on the floor, left over from Ilkka Hartikainen's Bolognese swordsmanship seminar. I have always liked the design (readers of my The Swordsman's Companion will remember there's a reproduction of it on page 82) and it makes teaching some footwork patterns much easier.

from the 1536 edition, in the Corble collection.

Plus, I love geometry.

So I decided to start by ripping up the crappier of the two stars (in peeling electrician's tape, not centred according to any logic, nor put together to within any identifiable tolerances, and clearly knocked up in 10 minutes at the beginning of a seminar), and redoing it to my standards. We started by drawing a straight line from one side of the salle to the other, parallel to the longest wall, and located by centering it on the wall pillars. This line was 629″ long [Europeans: 1 inch is 2.54 cm. Do the maths! When working with proportions, I always think in inches.], so we ran a tight string from one point to the other, and then I went along with a 4′ straight edge [1 foot is approx 30 cm] and an indelible marker.  Then Zoe, Janne and I spent nearly an hour deciding on exactly where the centre point of the star should be. We eventually settled on siting it so that the North point and the East point were both accurately aligned with the two thrusting targets fixed to the pillars. (The original was placed any old how.)

Marking the large circle

From there, using a trammel beam, my large self-made dividers (in ash wood), and a long straight edge, we drew the perpendicular line from the centre, and, most difficult, drew the large circle. It has a radius of 51″, because my inside leg measurement is 34″, and my long pace guard position varies between 32 and 37″ depending on circumstance. 34 x 3 = 102. 102/2=51. The inner, smaller circle has a radius of 17″.

I finished the star the next day. Marking the diagonals and so on was very simple. [If you would like me to write up full geometrical instructions, let me know and I'll shoot a video.] At the moment it is just in indelible pen. I will buy some floor paint and paint it in one day soon…

Anyhow, last Thursday I was in the salle, in a geometrical mood, when I got talking to Ville Tilvis (who readers of The Swordsman's Companion will know from the photos on pp 125-7) about the volta stabile. I do it as a 135 degree turn. That got Ville (a maths teacher) thinking… and he came up with a very elegant and (as he is the first to say) rather useless but (I think) extremely cool proof regarding the optimal ratio between guard width and guard length, for a perfect volta stabile. It's 1:1+√2, or approximately 1:2.41

Ville's triangles. Read the pdf if all is not perfectly clear!

So, given a guard length of eg 34″, measured from ball of the foot to ball of the foot, your feet should be 14.1″ apart.

You can download Ville's article here: volta-stabile geometry.

The Fiore Extravaganza, a week-long immersion in medieval Italian martial arts, is now over. This year we spent much of our time working through Filippo Vadi's fencing theory, and his 25 longsword plays. This was in part to help with the commentary section of my upcoming Veni VADI Vici book, in part to satisfy the curiosity of the students present, and in part because it provided a set of key plays and concepts that bridge the gap between Fiore's longsword material other systems.

While it was clear that Vadi's presentation of the material is far less complete and far less well organised than Fiore's he nonetheless introduces some important concepts. In the first advanced class following the Extravaganza I summarised the critical insights like so:

1) Size matters. Vadi requires us to use a longer sword than the ones we see in Fiore. This has a huge impact on the appropriate responses to the crossing at meza spada. Video explanation to follow!

2) The blows of the mezo tempo “remain in a knot”. At the moment the default understanding seems to be that the “mezo tempo” equates to a counterattack with a half blow. That is just not how he is using the terms- they are instead the blows done from the meza spada crossing, in which your hands must remain in front of you and the sword going forwards turning around its midpoint or you get stabbed.

3) All of Vadi's longsword plays can be done from the meza spada crossing, which is analogous to Fiore's crossing in zogho stretto.

4) The solutions Vadi talks about when crossed at the middle of the swords are very similar to those found in Liechtenauer; and depend in large part on the sword being some inches longer than the ones illustrated in Fiore. He describes actions that are very similar to certain windings (e.g. “the arms play above the head”), and actions like zucken.

5) Vadi's longsword guards are not always created by blows, and though he makes little real use of them, he includes guards that we do not see in Fiore or the Liechtenauer system, but which appear in the later Bolognese.

6) His solution to avoiding the complexity of the plays from the meza spada (zogho stretto) is exactly as Fiore's- parry from the left with a good roverso and strike.

The Extravaganza ended, as always, with a tournament. The format was agreed beforehand by those participating, and unlike last year we went for the two teams approach. The participants were divided into the A team (seniors) and the B team (juniors). We started with two rounds in which the B team members challenged the A team member of their choice, at the weapon of their choice. This guaranteed every B team member at least two good fights. If the B team member won either of their fights, they got into the final. Those B team members that did not get into the final were organised into a pool and all fought each other, giving them more experience. The winner of the pool also won a place in the final.

The finalists, so the original A team plus successful B-team members, were organised by rank and experience, and fought a winner-stays-on elimination. Number one fought number 2, winner fought number 3, winner fought number 4, etc etc. The spectators got to pick the weapons used. So the most experienced person would have to beat every other finalist to win- the least experienced had to win only one fight to take the tournament. Janne Kärki of the Kuopio branch won in fine style, winning four matches in a row. His prize was a bout with me, which we both enjoyed thoroughly.

All in all, a fantastic week of research, training, and fighting. Well done all who took part!

Search

Recent Posts

Ready to Wrestle?

I’m delighted to let you know that From Medieval Manuscript to Modern Practice: the Wrestling

¡Viva la Panóplia!

I’m just back from the Panóplia Iberica, held in Alconchel, a village in Spain near

Categories

Categories

Tags